📝 Key Takeaways: ** Master Wang provides a practical explanation of the three core modes in NX Area Milling: Follow Periphery, Spiral, and Profile tool paths. He emphasizes critical points for avoiding pitfalls, such as component cleanup with Follow Periphery, finishing passes in Spiral mode, and proper Stepover application in Profile mode. Drawing from his rigorous and down-to-earth experience, Master Wang imparts hardcore NX programming tips—lessons you won’t find in textbooks—on how to optimize tool paths, prevent errors, and enhance machining efficiency and part accuracy. **
Listen up, lads! It’s your old buddy, Master Wang. Today, we’re diving deeper into the ‘tools’ within NX Area Milling. Don’t let the simple names of these modes fool you; there’s a lot more to them than meets the eye, and textbooks won’t necessarily teach you these nuances. These are all lessons I’ve ground out, one tool at a time, right by the machine!
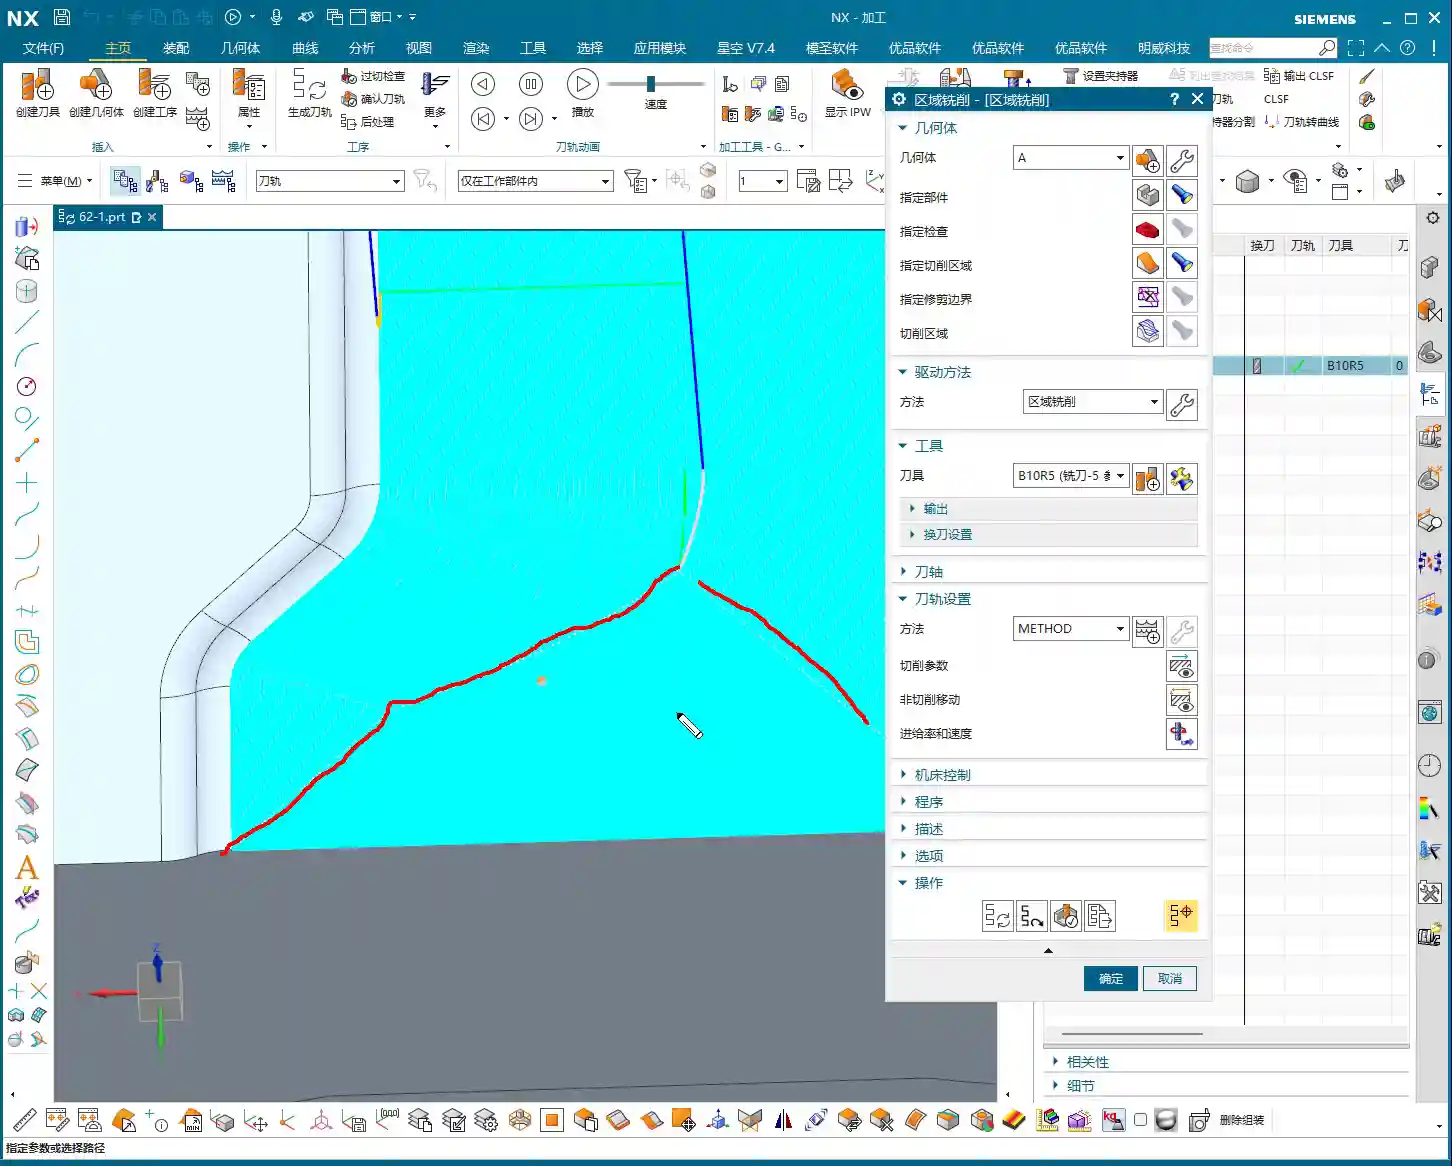
Mode One: Follow Periphery – The Corner Cleanup Ace, Circling Around
First, let’s talk about ‘Follow Periphery’. This is one of the most commonly used modes in our area milling operations. How does it work? Simply put, the tool starts from outside your selected machining region and circles inwards, or from inside outwards, like navigating a maze, machining the entire area.
Region Selection and Default Tool Paths: The Core Principle Remains Constant
You must first select your machining region. Remember, the tool path will be generated within the region you select. This is a fundamental logic in NX. The default tool paths are usually quite reasonable; NX has some real chops when it comes to automatic planning, so usually, major modifications aren’t needed.

Follow Periphery: The Finishing Philosophy of Out-to-In Circling
The characteristic of the ‘Follow Periphery’ mode is that the tool path follows the contour of your workpiece, layer by layer. Circling ‘from outside in,’ the tool continuously adjusts its path according to the shape. In this mode, you’ll observe the tool’s entry and traverse movements. Its advantage is that it handles material excess at the region’s edges exceptionally well, especially for irregular shapes, ensuring a very clean finish.
Core Logic: This mode is particularly suitable for machining operations that require cleanup starting from the edges, or where edge surface finish is critical, such as leaving a uniform stock allowance during semi-finishing for a subsequent finishing pass, or clearing out corner material.
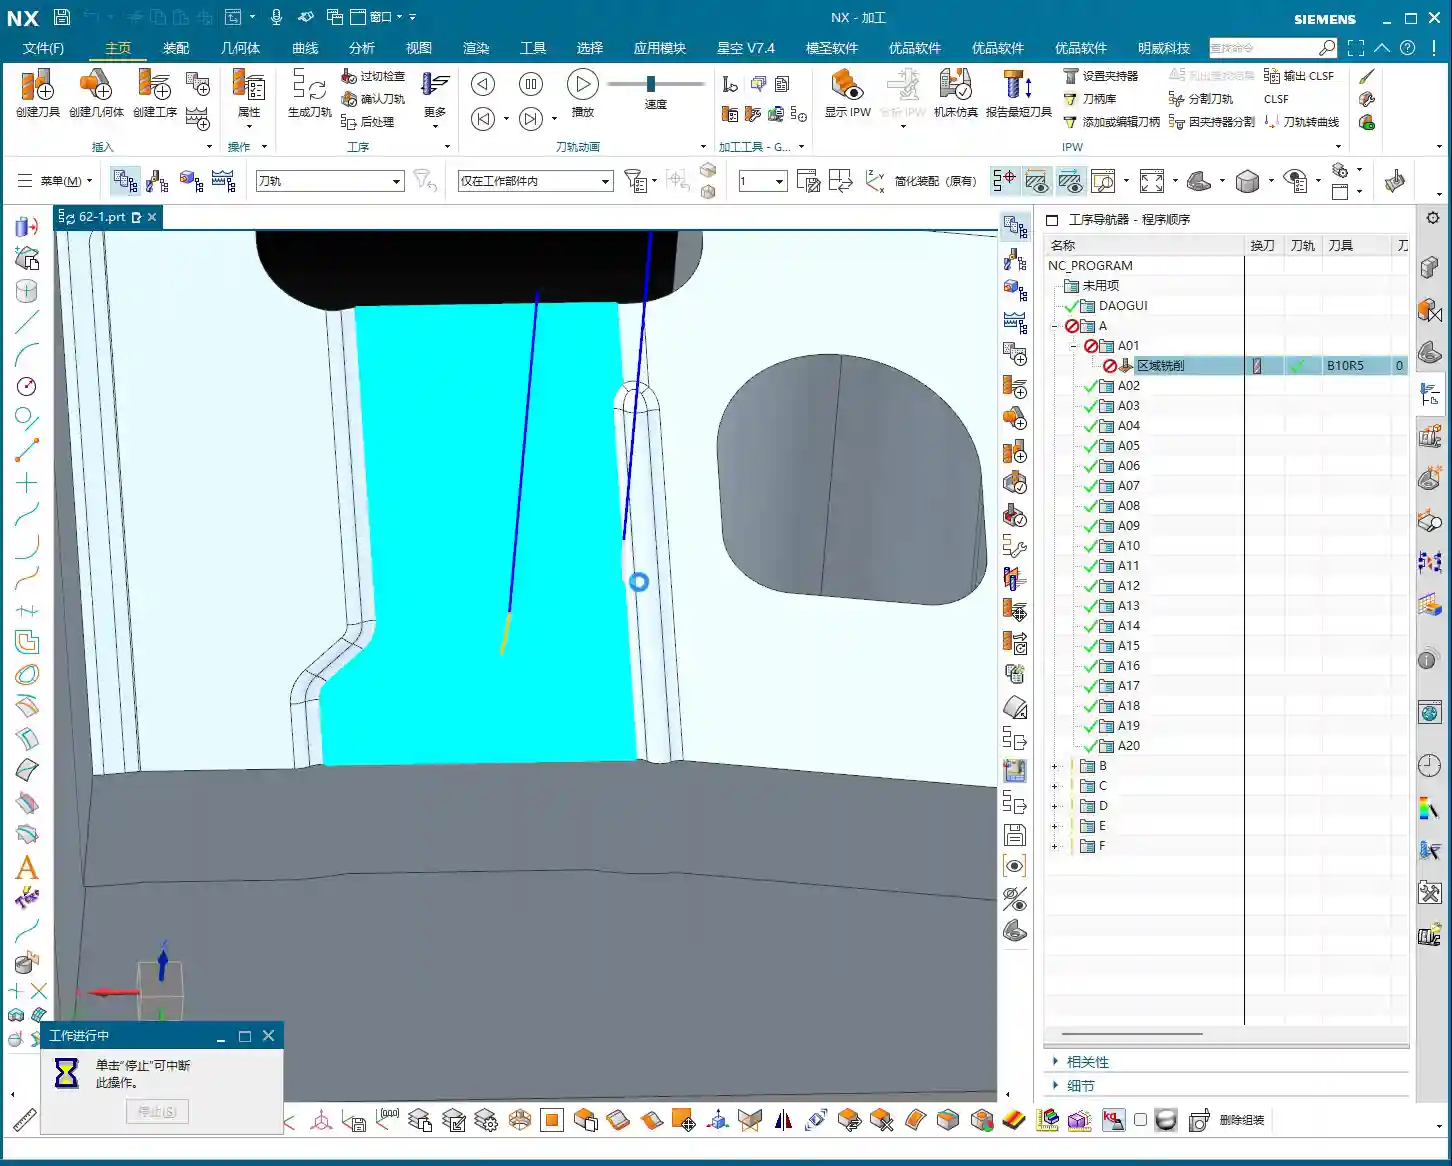
Component Cleanup and Non-Cutting Moves: The Critical ‘Final Pass’
In ‘Follow Periphery,’ there’s an option called ‘Component Cleanup.’ If you check it, NX will perform an additional pass along the workpiece contour at the very end of the machining operation. Don’t underestimate this pass; it thoroughly cleans up any tiny burrs or minute residual material left over from your previous machining. It’s like a machinist’s final scrape, all for that touch of perfection.
Pitfall to Avoid: Remember, ‘Component Cleanup’ is primarily designed for the ‘Follow Periphery’ mode, and it adds an extra cleanup path *after* the main tool path has finished. In other modes, such as ‘Zigzag,’ this function isn’t available.
Additionally, with the ‘Smooth’ option, when you enable smoothing for ‘Follow Periphery,’ the tool path becomes smoother, leading to better cutting performance. Also, ‘Tool Path Direction’ can be set to ‘Inward’ or ‘Outward,’ and ‘Climb Milling’ or ‘Conventional Milling.’ These choices depend on your machining requirements and material characteristics. Generally, we use ‘Climb Milling’ to reduce tool wear and achieve a better surface finish.
Mode Two: Spiral Milling – Continuous ‘Spinning and Traversing’

Having covered ‘Follow Periphery,’ let’s now look at ‘Spiral.’ This mode bears some resemblance to ‘Follow Periphery,’ but fundamentally, they’re entirely different. The ‘Spiral’ mode strives for one thing: continuity!
Spiral Mode: The Efficiency Advantage of Continuous Cutting
‘Spiral’ means the tool continuously cuts in circles downwards or outwards. The tool path is continuous, with virtually no retracts or rapid moves in between. It’s unlike ‘Follow Periphery,’ which sometimes requires the tool to retract and re-engage due to changes in shape.
Core Logic: This characteristic of continuous cutting makes ‘Spiral’ mode extremely efficient when machining flats, circular, or nearly circular pockets, significantly reducing idle tool time. Time is money, and that truth hits even harder on the shop floor!
You can also choose ‘Inward’ or ‘Outward’ spiral, depending on your machining strategy. For instance, expanding from the center outwards, or contracting from the outside inwards.
Include Finishing Pass: Control Over Start and End Details
In ‘Spiral’ mode, there’s a crucial option called ‘Include Finishing Pass’. Below it, you’ll find two sub-options: ‘Start’ and ‘End.’ What do these mean?
If you check ‘Start,’ NX will add an extra pass around the periphery of your machining region *before* the spiral operation begins, serving as an initial cleanup. If you check ‘End,’ then *after* the spiral machining concludes, it will also add another pass along the region boundary for final trimming.
Practical Tip: Why add these two passes? Because while spiral tool paths are continuous, at the actual start and end points, the tool’s cutting conditions might subtly change, or there might be minute residual material at the starting position. These two passes ensure that both the start and end boundaries of the entire region are thoroughly cleaned, resulting in better part surface finish and guaranteed accuracy.
Especially during finishing passes, these two passes are crucial; they effectively compensate for any ‘imperfections’ that spiral machining might leave at the beginning or end.

Mode Three: Profile Milling – The Boundary Line ‘Patrolman’
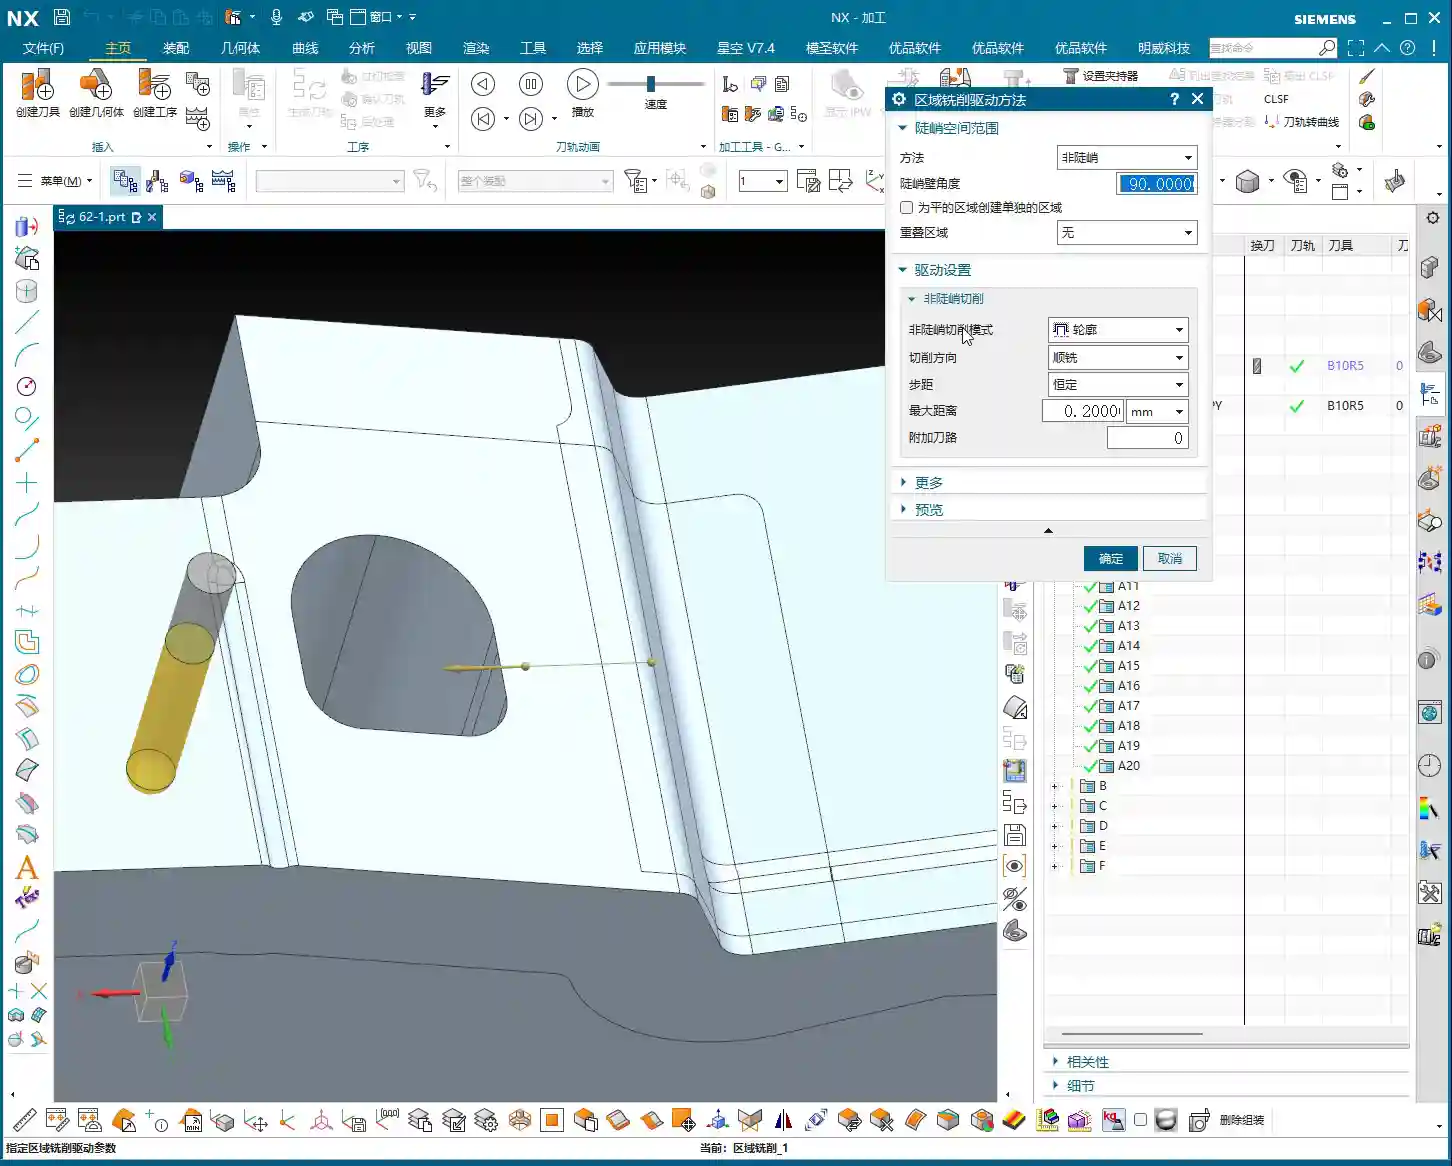
Lastly, let’s talk about ‘Profile’ mode. This mode isn’t as ‘all-encompassing’ as the first two; it’s a ‘point-to-point’ precision strike.
Profile Mode: The Faithful Follower of Boundary Lines
As the name suggests, ‘Profile’ mode guides the tool along the selected geometric contour lines; it only follows lines, it doesn’t machine surfaces. For example, if you select a curve, it will make a single pass along that curve; if you select the outer edge of a face, it will circle along that outer edge.
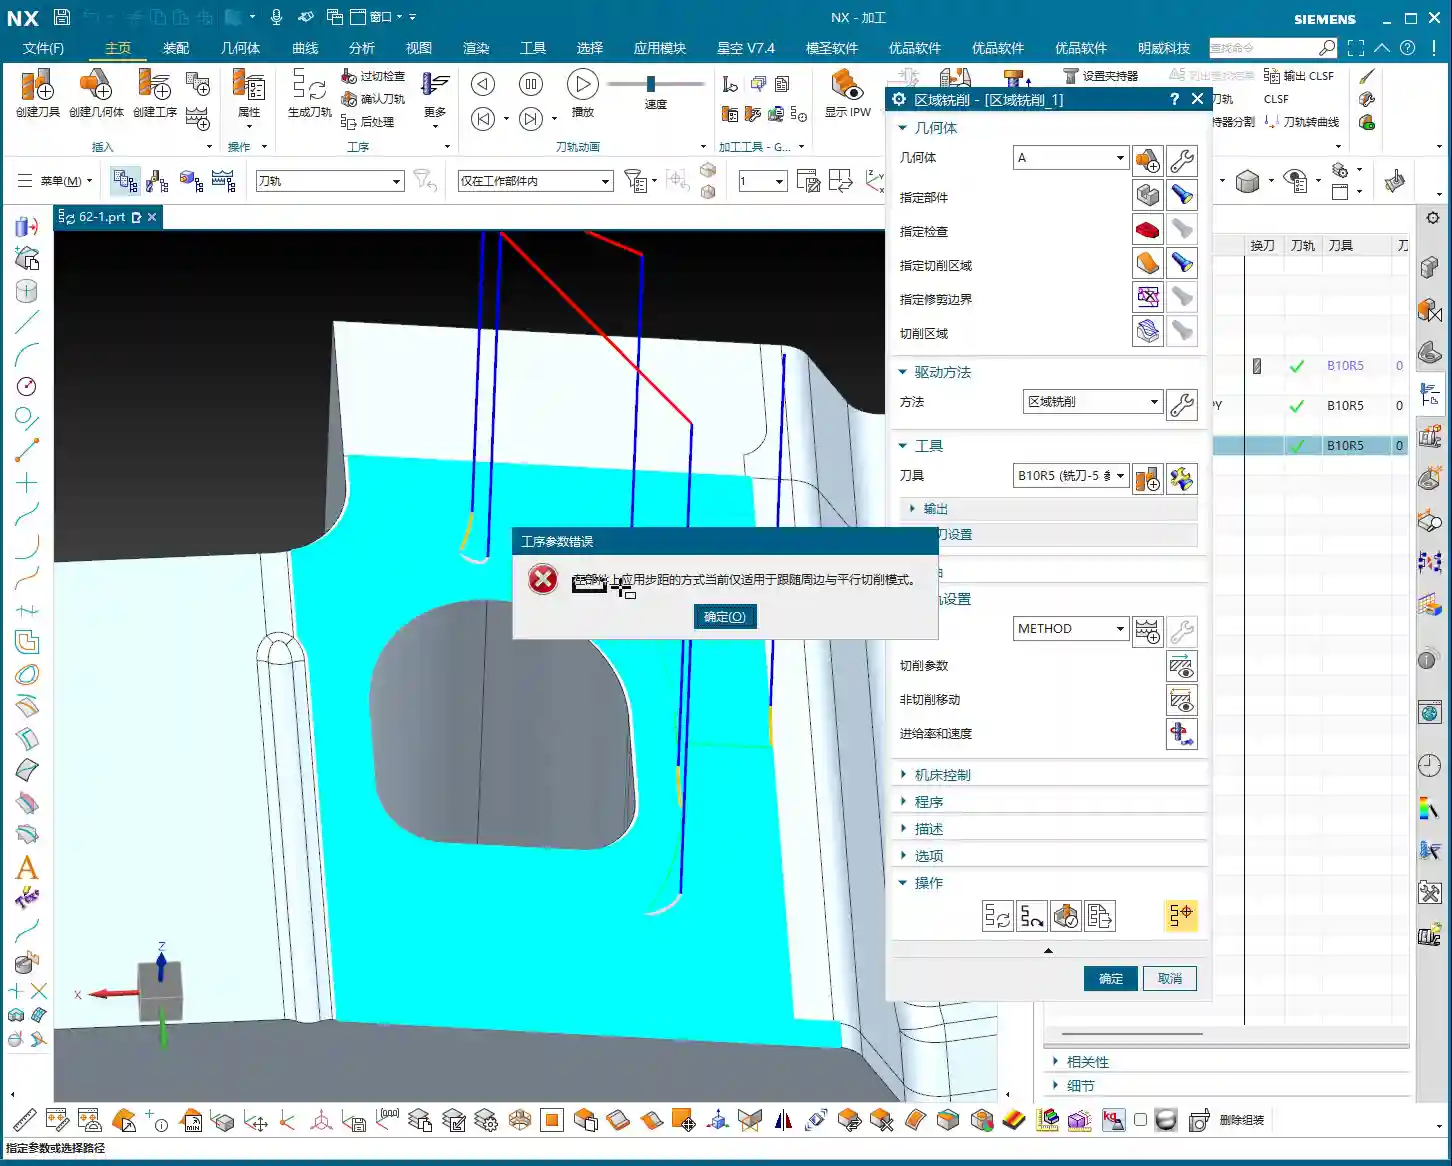
Pitfall to Avoid: Here’s a common point of trouble, which was also the mystery behind that error in the previous video. When you’re in ‘Profile’ mode, and you select an entire face as the machining region, *and* the ‘Stepover Application Method’ is set to ‘On Part,’ NX will throw an error. That’s because it thinks: you’ve selected a face, but you only want it to follow the profile, and you also want the Stepover to be based on the part – that logic is conflicting!
Solution: If you encounter this error, either diligently select the ‘profile curves’ you want to machine, rather than the entire face. Or, change the ‘Stepover Application Method’ to ‘On Plane’ or simply set it to ‘None,’ allowing it to merely follow the face’s boundary. Remember, an error isn’t a bug; it’s NX telling you its ‘thoughts’!

Offset Application: Flexible Extension of Profile Machining
Although ‘Profile’ mode only follows lines, it’s not entirely ‘rigid’. You can make it more dynamic using the ‘Offset’ function. For instance, if you set an ‘Offset Value,’ the tool will use your selected contour line as a reference and offset inwards or outwards by a certain distance, then perform one or even multiple passes.
Practical Tip: This ‘Offset’ function is particularly useful for finishing side walls, clearing narrow grooves, or chamfering specific boss shapes. For example, if you want to offset an outer contour inwards by 0.5mm, simply set the offset distance. You can even offset the line first to generate a new curve, then have ‘Profile’ mode machine this new curve. Using it flexibly can save you a lot of trouble!
Summary: Pitfall Avoidance Guide
Lads, take my advice: no matter how much theory you know, you still have to figure things out through practice. None of these NX modes are ‘one-size-fits-all’; there’s only the ‘most suitable’ one.
- Follow Periphery: Suitable for cleaning regions from outside-in or inside-out, with advantages for boundary cleanup. Don’t forget to use it with ‘Component Cleanup’—that’s a critical pass for improving surface finish.
- Spiral: Aims for continuous cutting, high efficiency, and reduced idle tool time. It’s the preferred choice for large flat areas or pockets. But remember to check the ‘Start’ and ‘End’ sub-options under ‘Include Finishing Pass’ to ensure the quality of the machined edges.
- Profile: Strictly machines along lines, offering high precision. The biggest pitfall is that when you select a face as the machining region, the ‘Stepover Application Method’ cannot be set to ‘On Part’; you must select ‘On Plane’ or directly choose the boundary curves. If you absolutely need to extend the cutting region, make good use of its ‘Offset’ function.
These little details in NX are crucial in actual machining, determining your efficiency and accuracy. Don’t just stare at the generated tool path; think more about why it moves that way, why it throws an error, and then try to solve it. That’s real skill! Alright, that’s it for today. Next time, we’ll talk about something else.
👤 About the Author:
The author is a veteran CNC machining professional with 15 years of industry experience, specializing in UG NX programming. This article is an original work representing personal practical insights.
⚠️ Copyright Notice: Unauthorized reproduction or distribution without prior communication is strictly prohibited.