📝 Key Takeaways: Master Wang personally teaches practical NX programming, delving deep into full sequential machining of front and back sides of parts. From roughing and corner cleanup to finishing pass strategies, covering NX ‘3D Constant Stock Machining’, stock control, tool selection, material property handling, and error compensation. Special emphasis is placed on the importance of simulation and on-machine verification, sharing practical tips and pitfalls not found in textbooks, to help you boost your machining efficiency and precision.
[VIDEO_HERE]
Roughing and Corner Cleanup Insights: Details Make or Break It
Listen up, lads! Today we’re continuing from last time, discussing the full sequential machining of this part’s front and back sides, especially how to cleanly and efficiently tackle those tricky corners and areas prone to leaving residual material. Don’t underestimate “corner cleanup”; there’s a lot more to it than meets the eye, and you won’t necessarily find these details in textbooks.
Step One: Initial Corner Cleanup and Residual Material Removal
We’ve already removed most of the stock from the large faces, right? Now, we need to deal with the residual material left in the corners after the initial roughing pass. If you don’t clean these areas thoroughly, your subsequent finishing pass tools will be prone to excessive tool load, or even premature failure.
- Select Operation: Right-click on the operation group, Insert -> Operation -> Reference Toolpath Corner Cleanup. This is a commonly used and flexible corner cleanup function in NX.
- Specify Area: Remember, only select the side walls and bottom face where corner cleanup is needed; never select the back face as well! Otherwise, the machine will attempt to machine the back, which can lead to major issues, either a tool collision or wasted machining time.
- Tool Selection: Typically, for corner cleanup, we choose a ball nose end mill or flat end mill one size smaller than the roughing tool. In the audio, for convenience, we used a slightly larger tool, but in practice, you must determine this based on the corner radius and depth.
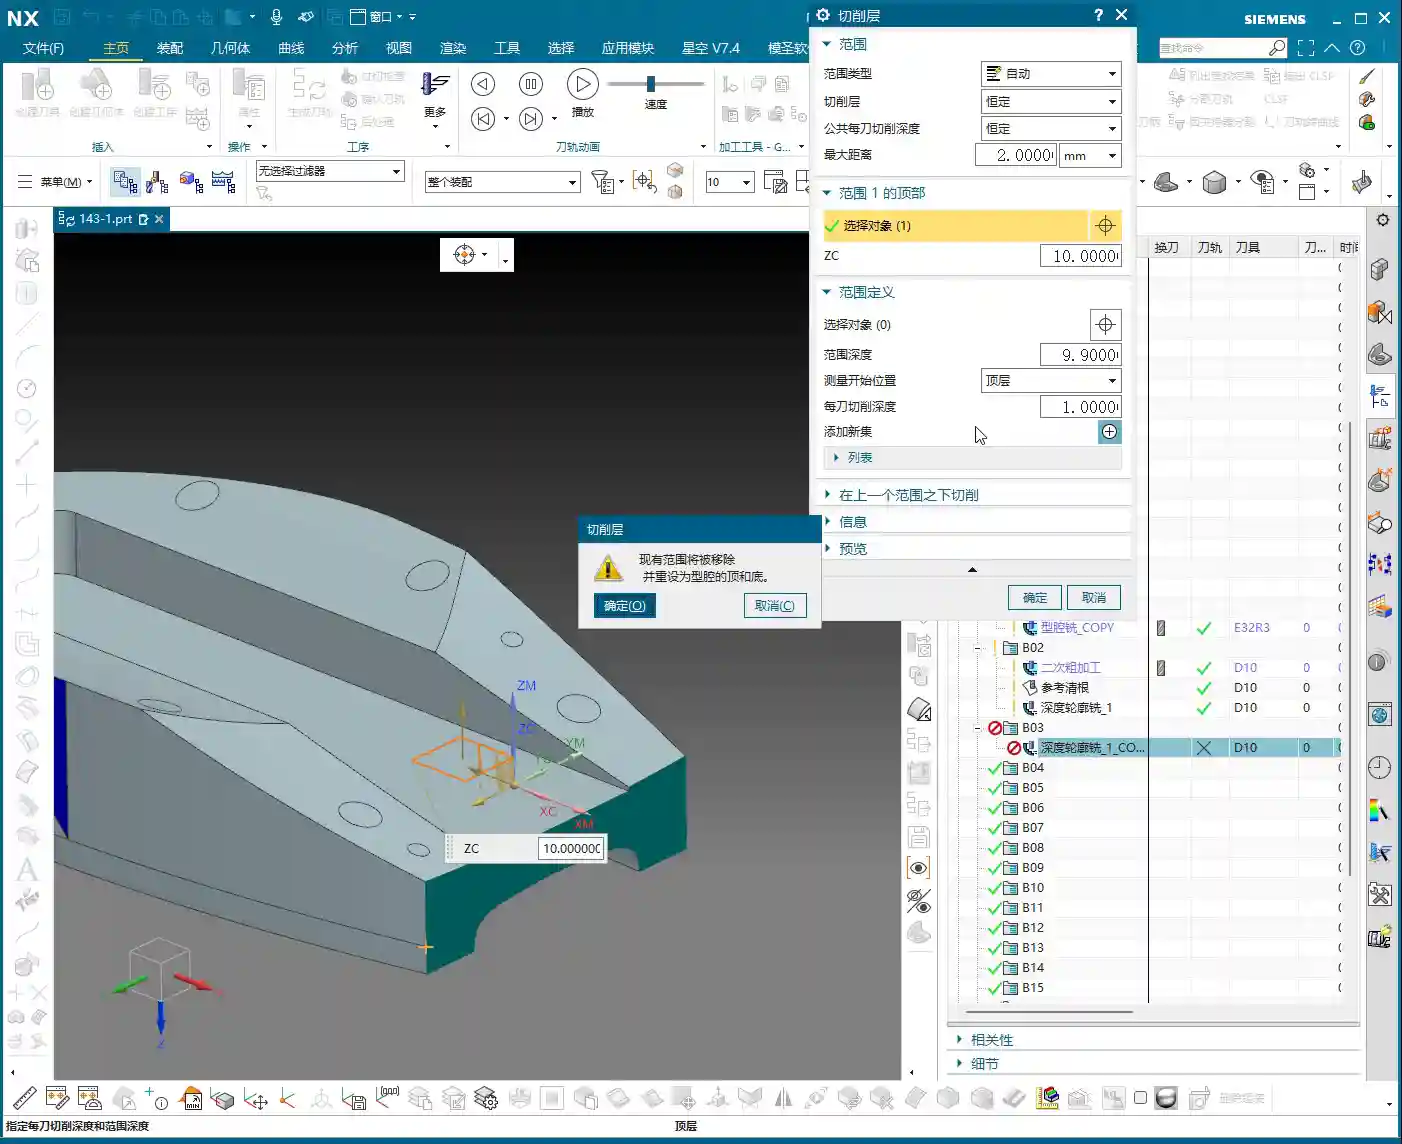
- Stock Allowance and Depth of Cut:
- Set bottom face stock allowance to 0, and side face stock allowance can be 0.05mm to 0.1mm, leaving it for the finishing pass.
- The cutting depth of cut (DOC), which is the distance for each downward pass, we’ll set to 0.3mm. This parameter depends on the material; for titanium alloys and high-temperature nickel-based alloys, the depth of cut must be small and the feed rate slow, otherwise, chipping or burning of the tool can easily occur. For common aluminum parts, it can be slightly larger.
- Key Checkpoints: After generating the toolpath, you must carefully check if the toolpath covers all residual material areas, especially at the corners. Don’t just rely on software simulation; click through and inspect the details multiple times.
Finishing Pass Strategies: Smoothness and Precision
With the residual material cleared, next comes the finishing pass – this is where your ability to control surface quality and dimensional accuracy is truly tested. Here, we’ll use various finishing pass strategies to ensure every surface is mirror-smooth and meets dimensional requirements.

Step Two: 3D Constant Stock Finishing Pass
For complex or irregular surfaces, 3D Constant Stock Machining (referred to as ‘San Tong Machining’ in older NX versions) is an excellent choice. It ensures uniform residual stock across the entire machining area, laying the groundwork for subsequent fine-tuning.
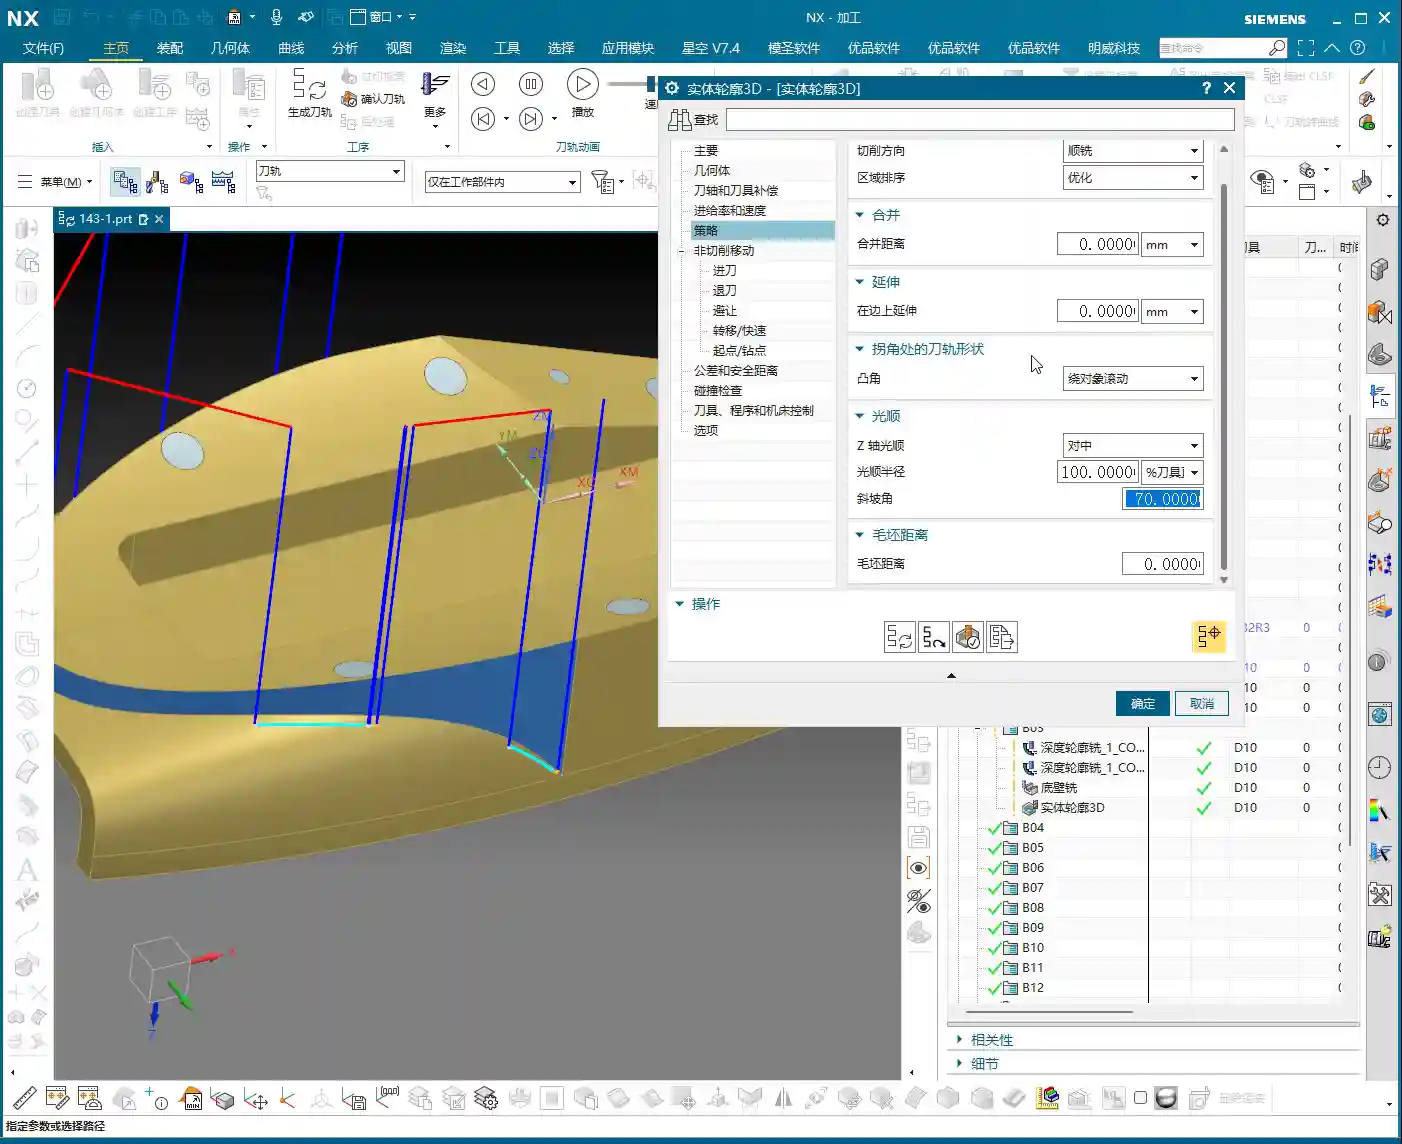
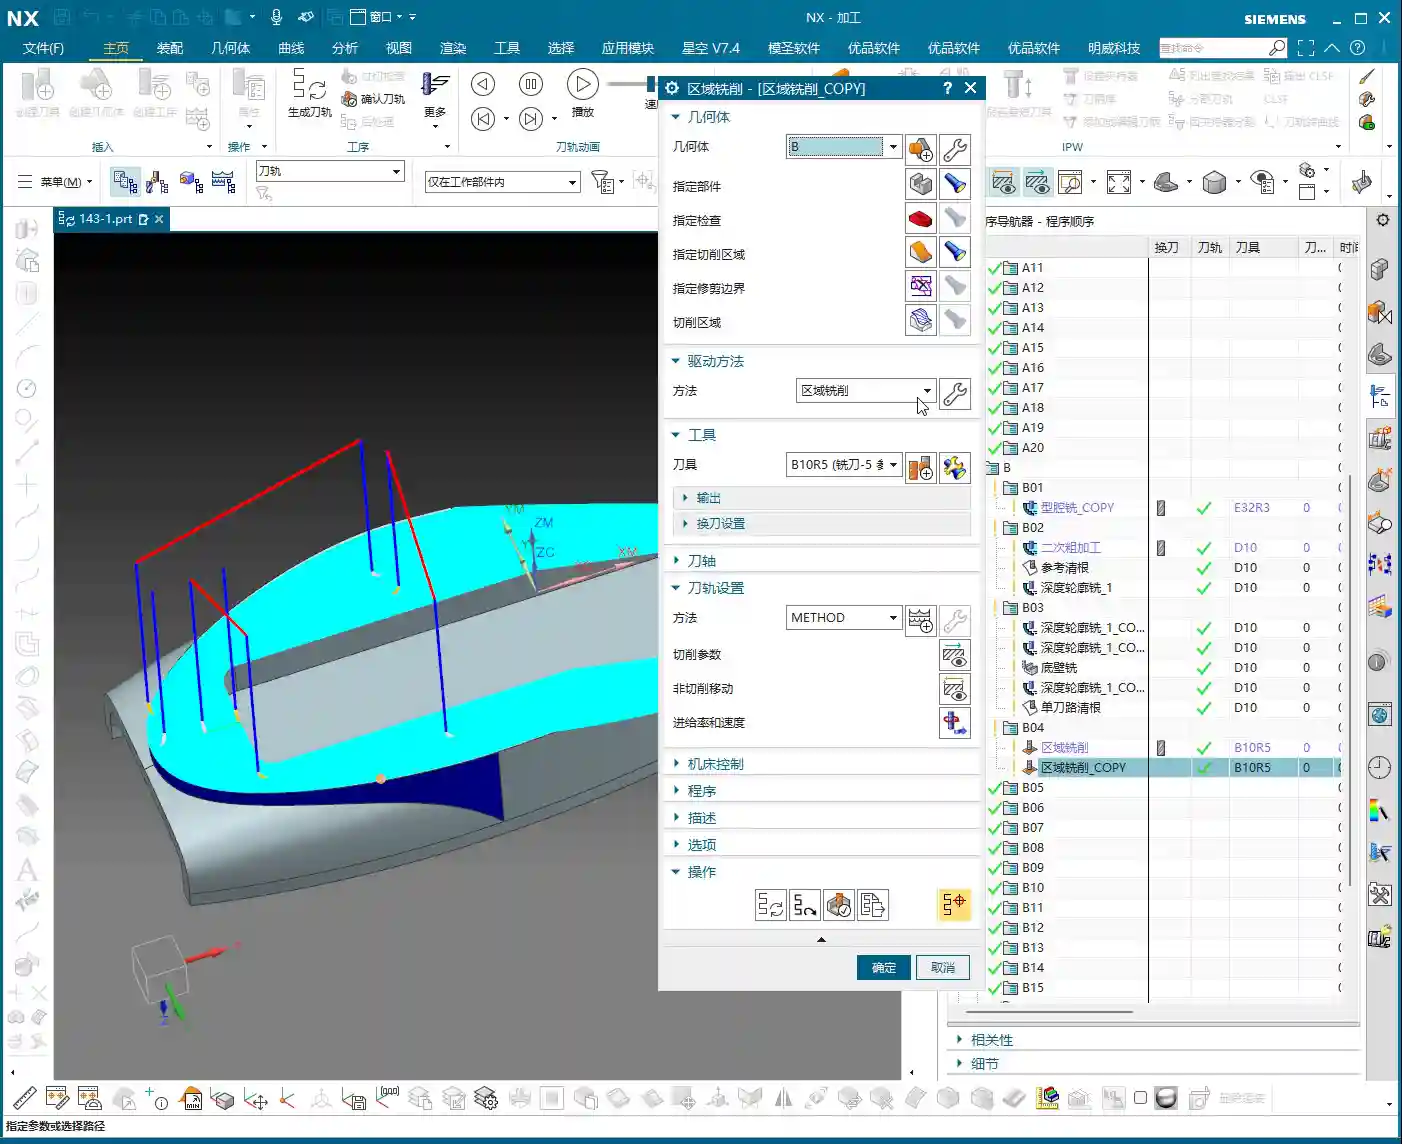
- Select Operation: Insert Operation, select 3D Constant Stock Machining (or Flowcut/Contour Area), decide based on the part geometry and surface complexity.
- Specify Area: Again, only select the areas that need machining. Here, we’re machining the part’s side faces and bottom face; the top face is for clamping and must not be touched.
- Stock Control:
- For the side walls and bottom face, we set the finishing pass stock allowance to 0; this is the strategy for the final finish cut. However, you must ensure the tool is sharp enough and the machine rigidity is sufficient.
- If considering part deformation or subsequent grinding and polishing operations, you can leave a small stock allowance of 0.01mm to 0.02mm.
- Cutting Method: Generally, use climb milling to reduce tool wear and improve surface quality. Conventional milling is useful in certain specific situations, but for finishing passes, always try to use climb milling.
Step Three: Side Wall and Bottom Face Finishing Pass
Side walls and bottom faces usually demand the highest surface finish and precision. Here, we employ dedicated finishing pass strategies to ensure optimal machining results.
- Tool Selection: Typically, small-diameter flat end mills are chosen, such as a D10 flat end mill, or a corner radius end mill whose radius matches the part’s design radius.
- Stock Allowance Setting: Set wall and bottom face stock allowances to 0. This is for final dimensions, so machine accuracy and tool wear status are especially critical here. I used to achieve ±0.005mm accuracy, relying entirely on precise judgment of machine error compensation and tool condition.
- Corner Handling: For internal corners of the part, if the tool cannot fully perform corner cleanup, leave a small amount of stock, or use a small-radius tool for corner cleanup, as mentioned in the audio, leave a tiny bit of “corner” stock for the smaller tool to handle.
- Toolpath Strategy: Use one-way cutting or spiral cutting to ensure even tool loading and prevent tool marks.

Practical NX Programming Tips and Pitfalls
NX programming isn’t about rigidly following instructions; it’s dynamic! As I always say, many things aren’t taught in books; you have to learn them through hands-on practice, observation, and repetition.
Flexible Adjustment of Key Parameters
In practical operation, you can’t rely on a single set of parameters for every job.
- Depth of Cut (DOC) / Stepdown and **Stepover**: These parameters must be dynamically adjusted based on material hardness, tool material, tool diameter, and machine rigidity. For example, when machining titanium alloys, both depth of cut and stepover must be conservative, and the feed rate also needs to be slowed down; otherwise, tool life will be severely reduced, or the tool may even chip directly. Don’t assume the software’s default values are always optimal; they are merely general templates.
- Stock Allowance Setting: The smaller the stock allowance for the finishing pass, the higher the demands on the machine and tool. If machine accuracy is insufficient or the tool is worn, leaving 0.02mm is more likely to guarantee the final dimensions than leaving 0. It’s better to perform an extra finishing pass than to aim for one-shot completion and end up scrapping the part.
- Post-Processor Modification: Often, post-processor files are not foolproof. You need to understand some G-code and M-code, enabling you to manually modify the post-processor file when necessary, to optimize machine movements, reduce air cuts, and improve efficiency. Back in my day, I spent a lot of time working with post-processors to optimize 5-axis toolpaths.

Insights on Handling Special Areas
When encountering special areas, don’t rigidly apply conventional methods.
- Deep Pocket Corner Cleanup: For very deep pockets, there will be significant residual material at the bottom and side wall junctions after roughing. In such cases, you’ll need to use small-diameter tools multiple times for corner cleanup, or even grind custom non-standard tools. Also, consider chip evacuation; otherwise, cutting heat won’t dissipate, leading to rapid tool wear and potential part deformation.
- Thin-Wall Machining: Thin-walled parts are most susceptible to deformation. When clamping, use multi-point support or vacuum chucks. During machining, use sharp tools, small cutting parameters, take multiple passes in layers, and distribute the cutting forces. Don’t plunge aggressively; that’s asking for excessive tool load!
- Fine Corners: In the audio, we encountered a corner difficult to process with standard tools. You can consider NX’s ‘Corner Cleanup’ or ‘Corner Milling’ functions, or use a very small ball nose end mill. If all else fails, manually grind a special tool to get the job done.
Simulation and Verification: The Key to Avoiding Detours
No matter how extensive your programming experience, the simulation and verification step cannot be skipped. This is the safest method with the lowest cost of error on the machine.

The Right Approach to Simulation
Don’t just think simulation is watching an animation; that’s only scratching the surface.
- “If you’re unsure if it will work, simulate it” – that’s something I always say. NX’s simulation capabilities are very powerful, able to simulate stock distribution, toolpaths, collision detection, and more during the machining process.
- Focus on checking stock allowance: Especially before the finishing pass, check the simulated stock distribution. If there’s excessive stock, it means previous operations didn’t clean it thoroughly; if stock is negative, it indicates an overcut, so adjust immediately. In the audio, we found that “the tool had no remaining stock,” which is a red flag, indicating either incorrect parameter settings or an issue with the simulation model.
- Check for collisions: Interference between the tool holder, clamping devices, and the workpiece is the most common mistake newcomers make. Simulation can help you detect these issues in advance, preventing tool collisions on the machine – that’s no joke.
On-Machine Verification and On-Site Adjustments
No matter how realistic the simulation, the final step is always on the machine.
- “Don’t just look at software simulation; watch the cutting sparks” – on the machine, observe the tool’s cutting status, listen to the cutting sound, and examine the chip shape and color; these are all learned through experience. Normal cutting should be stable, with uniform sparks and well-formed chips.
- First Article Inspection: Machining the first piece of any new part requires utmost caution. First, perform a small test cut, then precisely measure using tools like feeler gauges, dial indicators, or CMMs, and only proceed with full production after confirming dimensional accuracy.
- Process Compensation: If precision issues arise at the ±0.005mm level, besides machine compensation, you must also learn to fine-tune by adjusting tool radius compensation, toolpath, or even coolant concentration. This requires an in-depth understanding of machine characteristics and material properties.
Solving Programming Challenges: Adaptive Thinking
As in the audio, I tried ‘Single Toolpath Corner Cleanup’ or ‘3D Milling’ but encountered some minor issues, possibly due to parameter settings or a misunderstanding of the commands (after all, some less frequently used commands can indeed be forgotten over time). At such times, never be stubborn; learn to adapt.
- Change your approach: If one method doesn’t work, immediately try another. NX offers various machining strategies, such as Z-level Milling (Z-level), Flowcut Milling (Flowcut), Contour Area Milling (Contour Area), etc. There’s always one that fits.
- Simplify complex areas: Sometimes, breaking down a complex region into several simpler ones for machining is actually more effective.
Summary: Pitfall Avoidance Guide
Apprentices, remember these points, and you’ll save yourselves a lot of unnecessary hassle:
- Stock control is critical: Leave sufficient stock for roughing, ensure uniform stock for corner cleanup, and achieve precise stock for finishing passes. Especially for the final stock on bottom and side faces, set it strictly according to the operation and requirements.
- Tool selection matters: Choosing the right tool for different operations and materials is crucial. Don’t try to use one tool for everything; change it when necessary. Grinding custom non-standard tools is a specialized skill that can solve major problems.
- Simulation and verification are indispensable: Don’t be lazy; spending a few minutes on simulation is a hundred times better than a machine collision or scrapping a part.
- On-site experience is king: Software is a tool, but the person is key. Observe the machine diligently, analyze cutting phenomena, and only then can you become a true master.
- Learn to adapt, don’t be stubborn: When you encounter problems, don’t get fixated on one solution. There are countless NX programming methods; if one path is blocked, find another.
These are all hard-won lessons from my 15 years in the trenches, apprentices. Learn them well, and you too will be able to stand on your own two feet!
👤 About the Author:
The author is a veteran CNC machining professional with 15 years of industry experience, specializing in UG NX programming. This article is an original work representing personal practical insights.
⚠️ Copyright Notice: Unauthorized reproduction or distribution without prior communication is strictly prohibited.