📝 Key Takeaways:
Optimizing Multi-Operation Roughing in NX
M…
[VIDEO_HERE]
Master’s Insight: Part Overview and Machining Strategy
Hello everyone, I’m Master Wang. Today, let’s talk about a typical multi-operation part, specifically the first operation’s roughing. There’s a lot to it – things you won’t learn from textbooks. Many young programmers using NX often end up with disorganized toolpaths, excessive air cuts, and low machining efficiency. That’s simply unacceptable! Today, I’ll teach you how to optimize these roughing toolpaths in NX to be precise and efficient, saving both tool wear and time.
Initial Part Analysis and Machining Sequence
Listen up, for this part, we need to perform three-sided machining. First, we’ll machine one side, then its back face, and finally address the front face. Of course, you could also machine the back face first, then the front face; either approach is fine. The key is to clearly understand the machining sequence and the characteristics of each face.
The top and bottom surfaces of this part are parallel, and most of its side faces are straight. Its Z-axis width is approximately 130 to 140 mm (approx. 5.1 to 5.5 inches), and the raw material thickness is 36 mm (approx. 1.4 inches). Keep these basic dimensions in mind. We’ll first define a machining datum. Typically, we select the back face and Face Mill it flat to serve as the primary datum surface.

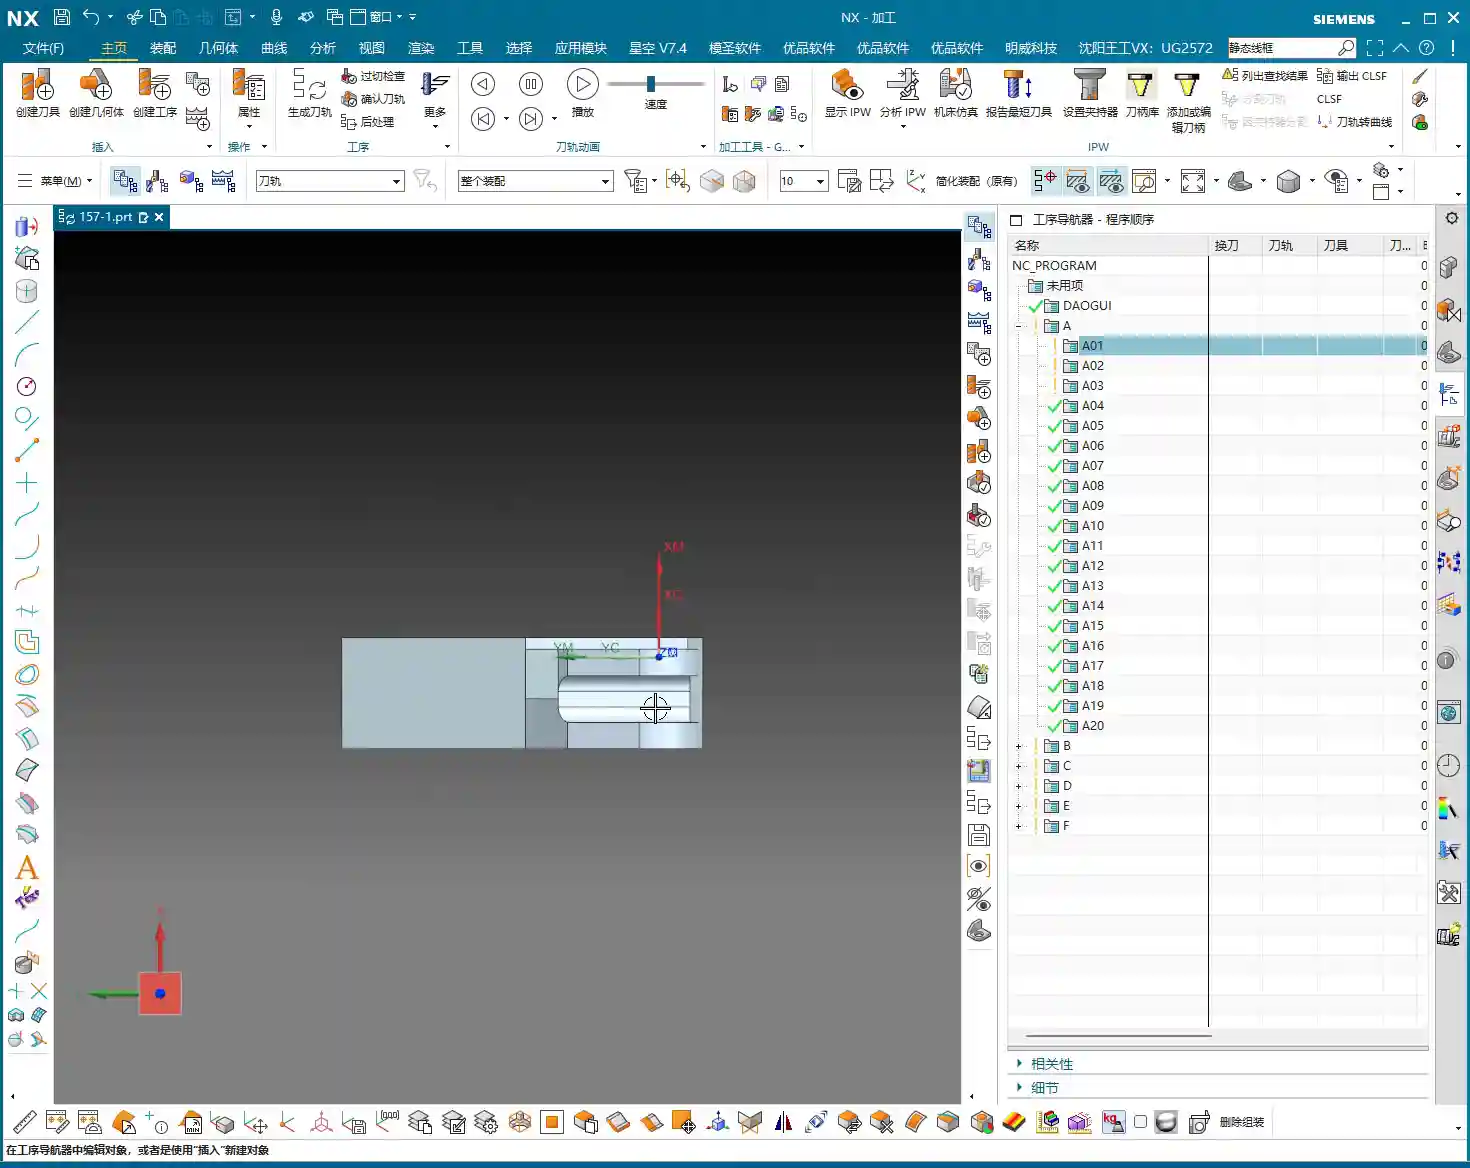
Machining Datum and Stock Definition
When programming in NX, the first step is to establish the Work Coordinate System (WCS). For this part, clamped in a vise, let the Z-axis point downwards, and ensure the part is properly oriented. Stable positioning and secure clamping are absolutely fundamental. Without them, even the best program is useless.
In NX, remember to organize the part, stock, and external contours into separate layers for easy management.
* Place the Part on Layer 10
* Place the Stock on Layer 100
* Place the External Contour on Layer 200
This way, your operations will be clean, clear, and easy to follow.
Tool Selection: Experience and Dimension Matching
Selecting a tool isn’t just grabbing any random one; you need to consider part features, efficiency, and tool life. This is a hands-on skill based on real experience, something you can’t fully learn just from a tool catalog.

Main Roughing Tool: D10 Flat End Mill
After reviewing the part, most areas have generous radii, and some sections are quite wide. Therefore, a D10 flat end mill is the most suitable choice as our primary roughing tool.
* The internal corners have R7 and R5 radii, which the D10 end mill can easily navigate without excessive cutting forces.
* For some narrow areas with an edge clearance of 10.5 mm (approx. 0.41 inches), the D10 can still access and perform roughing.
* It’s versatile for contouring and slotting, providing high efficiency.
Finishing and Semi-Finishing Tool: D12R3 Ball Nose End Mill / Torus End Mill
Don’t forget, the part also has areas with R3 radii, as well as some sections with a width of 15 mm (approx. 0.59 inches). Use a D12R3 ball nose end mill (or a torus end mill) to handle these areas, serving both for semi-finishing after roughing and preparing for the finish cut. This D12R3 tool offers good rigidity and can also handle some R5 areas, killing two birds with one stone.
Small Contours and Corner Cleanup: D6 Flat End Mill / Ball Nose End Mill
When encountering small contours, deep cavities, or corners that the D10 or D12R3 can’t reach, you’ll need to use a D6 flat end mill or a D6 ball nose end mill. This is an excellent tool for corner cleanup, but it’s primarily used for finishing or as an aid in secondary roughing. Try to avoid using it for heavy-duty roughing.

NX Programming in Practice: Roughing Strategies and Toolpath Optimization
Alright, with the tools selected, now let’s see how to master them in NX. Remember, don’t just rely on software simulations; pay attention to the cutting sparks! That’s the real machining state.
Initial Face Milling (Back Face)
First up is Face Milling the back face; this is straightforward. Use the D10 flat end mill for a Face Milling operation, directly machining down to the final stock thickness. Since this face typically doesn’t have strict tolerance requirements, the main goal is to create a flat datum surface. In a word: speed!
Part Draft Angle Analysis and Machining
Our part isn’t entirely flat; it definitely has draft angles. In NX, use Draft Analysis to see: green areas are flat, while yellow and red areas indicate draft or sloped surfaces. For these sloped surfaces, especially small contours, improper toolpath selection during roughing can lead to incomplete machining or overcutting. You need to clearly understand which faces are flat and which are sloped to select the appropriate cutting method.

Avoiding Air Cuts and Inefficient Machining: The Clever Use of Auxiliary Surfaces
This is the crucial point for today’s discussion! Many young programmers in NX, as soon as they start, have the tool wandering everywhere, resulting in a multitude of air cuts and poor efficiency. Why? Because you haven’t told it which areas *not* to cut!
When we perform roughing, especially contour roughing on the front face, the target area is specific. However, NX’s default roughing algorithms will try to machine all available areas. What to do? Use auxiliary surfaces! This is a tried-and-true trick in practical machining.
**Master Wang’s Auxiliary Surface Techniques:**
1. **Limit Machining Area:** For areas you don’t want to machine, such as the exterior of the part or other irrelevant faces, use NX’s ‘Extend Sheet’ command to slightly extend them outwards, or use the ‘Thicken’ command to add a layer, or even directly use ‘Extrude’ or ‘Revolve’ to create a simple blocking surface.
2. **Define Restricted Zones:** These auxiliary surfaces essentially create “no-go zones” for the tool, letting the toolpath know where it shouldn’t go and where it can machine.
* For example, if you only want to machine the part’s internal contour, cover the external areas with auxiliary surfaces, ensuring the tool only travels within them.
* Conversely, if you want to clean up the external contour, use auxiliary surfaces to “block off” the internal areas.
3. **Reduce Air Cuts:** This way, the tool will obediently work only in the areas you intend to rough, significantly reducing air cutting time and boosting machining efficiency. Don’t foolishly let the tool wander aimlessly across the entire stock.
4. **Precision Requirements:** Remember, auxiliary surfaces don’t need perfect precision; they just need to effectively block the toolpath, saving time and effort. The purpose is to make the toolpath smarter, not to draw more precise models.
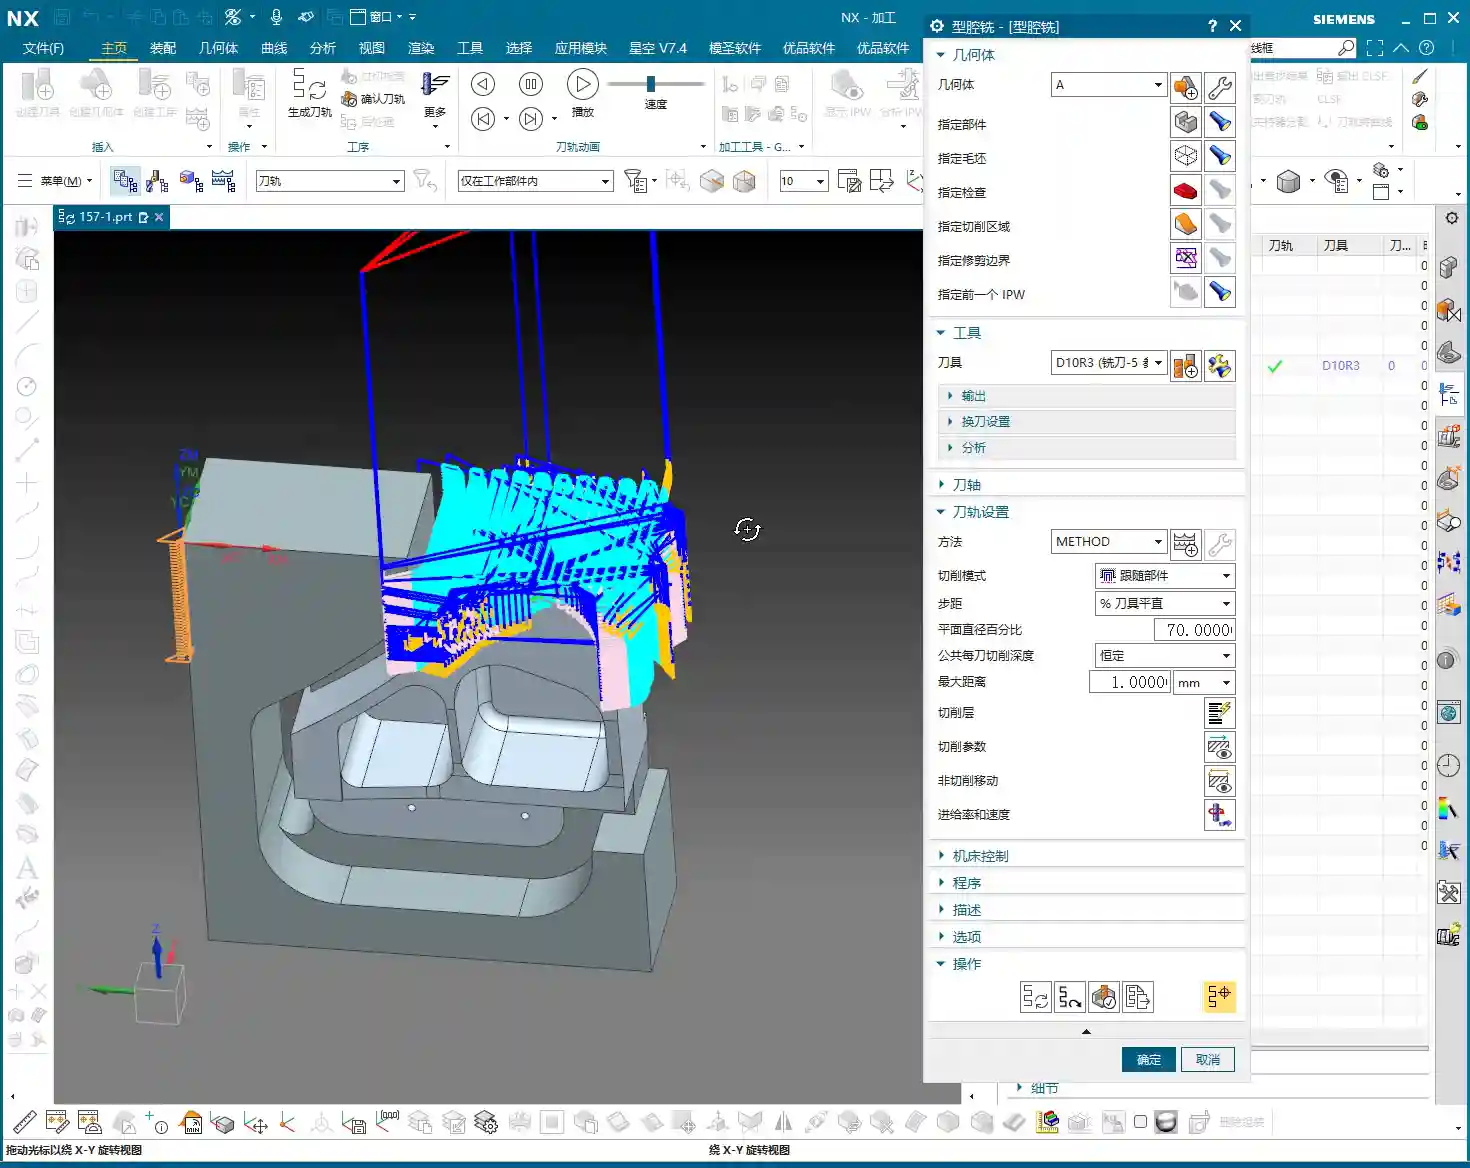
Contouring and Depth of Cut Control
For contour areas, we’ll use NX’s ‘Contour Milling’ or ‘Cavity Milling’ operations. The Depth of Cut must be determined based on material hardness and tool strength. For aluminum, you can go deeper. For titanium alloys and high-temperature nickel-based alloys, you need to be more conservative, with depths of 0.5 mm (approx. 0.02 inches) or even 0.2 mm (approx. 0.008 inches) possibly being necessary. Don’t just rely on software parameters; observe the cutting sparks and chip condition – those are the most authentic feedback.
Be sure to utilize NX’s ‘Reference Tool’ function to prevent the tool from re-cutting previously machined areas during secondary roughing, and to effectively avoid overcutting. For instance, if you’ve roughed with a D10, when performing semi-finishing with a D12R3, set the reference tool to D10. The D12R3 will then only machine areas that the D10 couldn’t reach.
Summary: Pitfall Avoidance Guide
* **Pitfall One:** Blind programming without analyzing part geometry, leading to excessive air cuts and low efficiency.
* **Master Wang’s Tip:** Before programming, use NX’s analysis tools (such as Draft Analysis, distance measurement) to thoroughly understand the part’s “personality” before taking action. Don’t just look at drawings; combine them with the 3D model for intuitive assessment.
* **Pitfall Two:** Not effectively using auxiliary surfaces, causing the tool to make unnecessary passes in irrelevant areas or engage where it shouldn’t.
* **Master Wang’s Tip:** Flexibly utilize functions like ‘Extend Sheet,’ ‘Thicken,’ and ‘Extrude Body’ to create auxiliary surfaces that limit the tool’s machining range, achieving precise roughing and ensuring toolpaths are perfectly controlled.
* **Pitfall Three:** Improper tool selection—using a tool that’s too large or too small, or one that doesn’t match the radii.
* **Master Wang’s Tip:** Select tools based on the part’s smallest radius and the width of the machining area, ensuring both cutting efficiency and quality are met. When necessary, grinding custom tools yourself is a skill only seasoned machinists possess.
* **Pitfall Four:** Ignoring material characteristics and using a “one-size-fits-all” approach for cutting parameters.
* **Master Wang’s Tip:** For different materials, feed rate, spindle speed, and Depth of Cut all require adjustment. Aluminum alloys can be machined aggressively, while high-temperature alloys demand slower, steadier parameters. Don’t just follow the manual; observe the cutting sparks, chip color, and shape – the machine is “talking” to you.
* **Pitfall Five:** Over-reliance on software simulations without considering actual machine conditions.
* **Master Wang’s Tip:** Software is merely a reference. Machine accuracy, fixture rigidity, coolant supply, and workpiece clamping deformation are all critical factors affecting machining. For the first part, always perform a low-speed, small-feed trial cut, and only increase speed once confirmed everything is correct. Experience is paramount!
👤 About the Author:
The author is a veteran CNC machining professional with 15 years of industry experience, specializing in UG NX programming. This article is an original work representing personal practical insights.

⚠️ Copyright Notice: Unauthorized reproduction or distribution without prior communication is strictly prohibited.
Leave a Reply