📝 Key Takeaways:
Master Wang’s Lecture: Unveiling Core Machining Proce…
[VIDEO_HERE]
Master Wang’s Lecture: Unveiling Core Machining Processes in Siemens NX Programming
Hello everyone, I’m Old Wang. After dealing with you young lads for a while, I’ve noticed a problem: you’ve got all the textbook theories down, but once you’re in front of the machine with a real part, you freeze up. So today, in this session, let’s go over those programming commands we’ve learned, but from a practical, real-world perspective. Don’t just focus on the commands themselves; look at the actual work they accomplish, how they help you machine the part efficiently and effectively.
Simply put, the core of programming is part analysis and process planning. When you get the blueprint and the raw blank, you need to have a clear plan in mind before you even start. Listen up, this isn’t like drafting design drawings; we’re talking about real work with real tools!
Step One: Reconciling the Part and the Blank – Absolutely Critical!
Many newcomers rush to open Siemens NX for modeling and programming as soon as they get the drawing. This is a huge mistake! Do you know what I emphasize most? Analyze, analyze, and then analyze again!
- Dimensional Inspection: Use Siemens NX’s analysis tools to clearly understand the part’s overall and critical dimensions. For complex surfaces, what’s the slope? What’s the radius of the internal fillets? These are fundamental factors that determine your tool selection and machining strategy.
- Clamping/Fixturing Plan: How will this part be Clamping or Fixturing? Will you use clamps or a vise? Which areas can be clamped without interfering with machining, while also ensuring rigidity? Which face will be machined first, and which second? This dictates the entire sequence of your machining processes. One wrong step, and you’re in trouble; you could even scrap the part!
- Blank Comparison: This is paramount! Don’t just look at the 3D model; inspect the physical blank! Is it a casting, a forging, or raw bar stock? Do its dimensions match our expectations? How much stock allowance is there? If you program for 5 mm (approx. 0.2 inch) of stock, but the actual blank has 10 mm (approx. 0.4 inch), you’re headed for serious trouble! I’ve seen too many cases of scrapped tools and crashed parts because the blank wasn’t properly measured. So, before programming, always compare against the actual blank. That’s real-world experience.

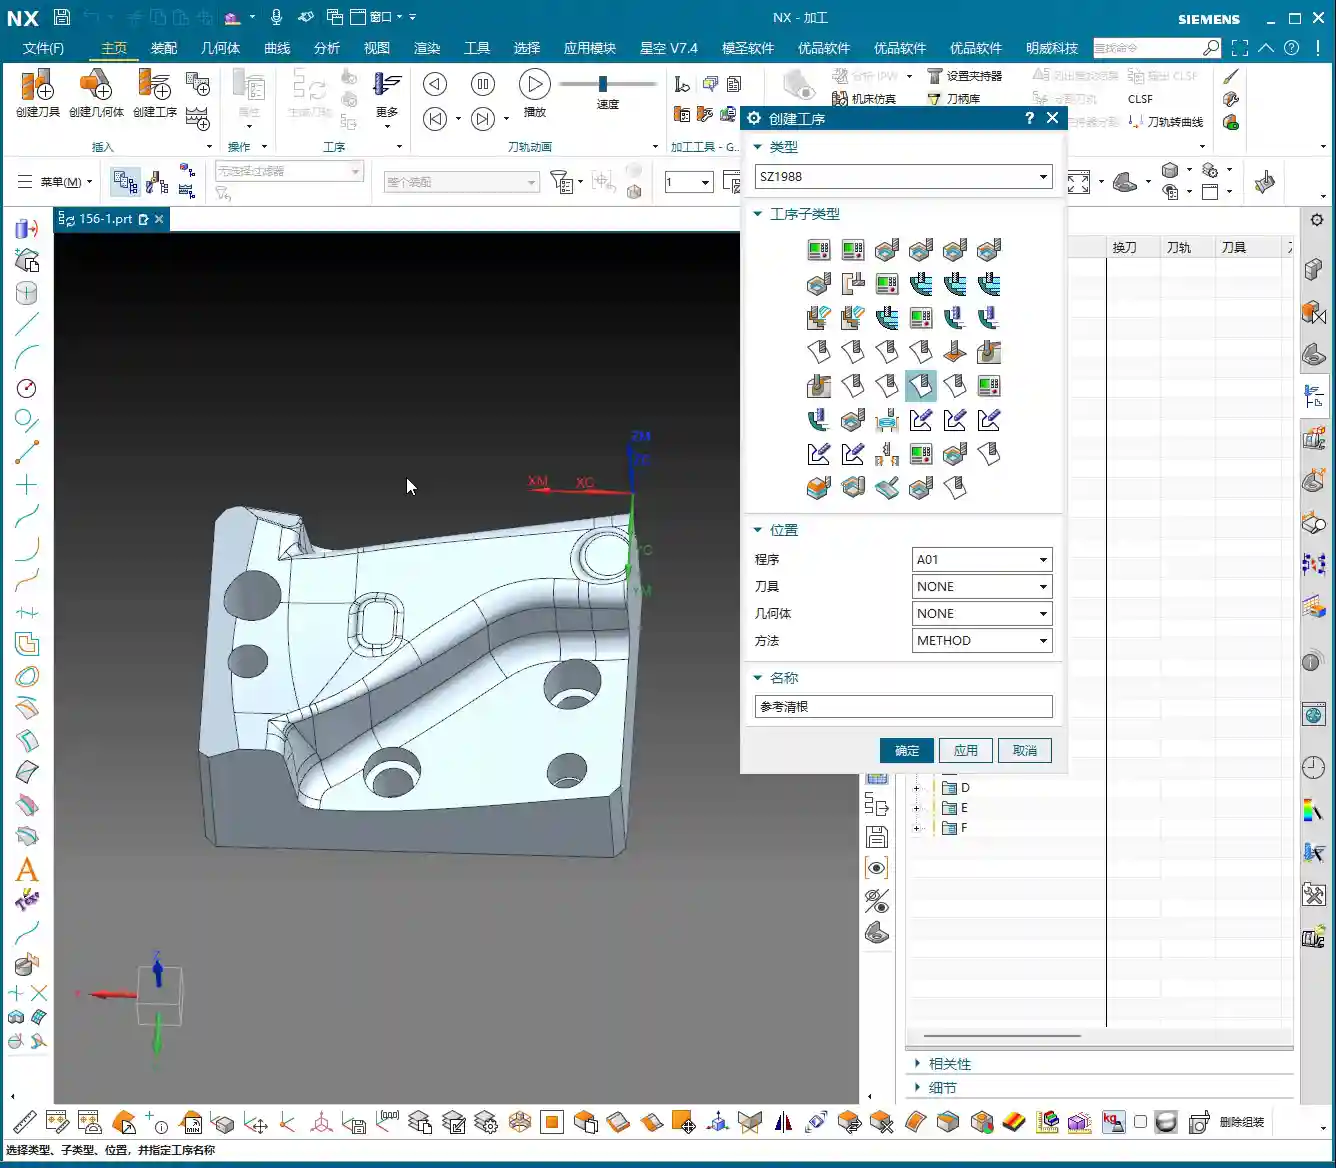
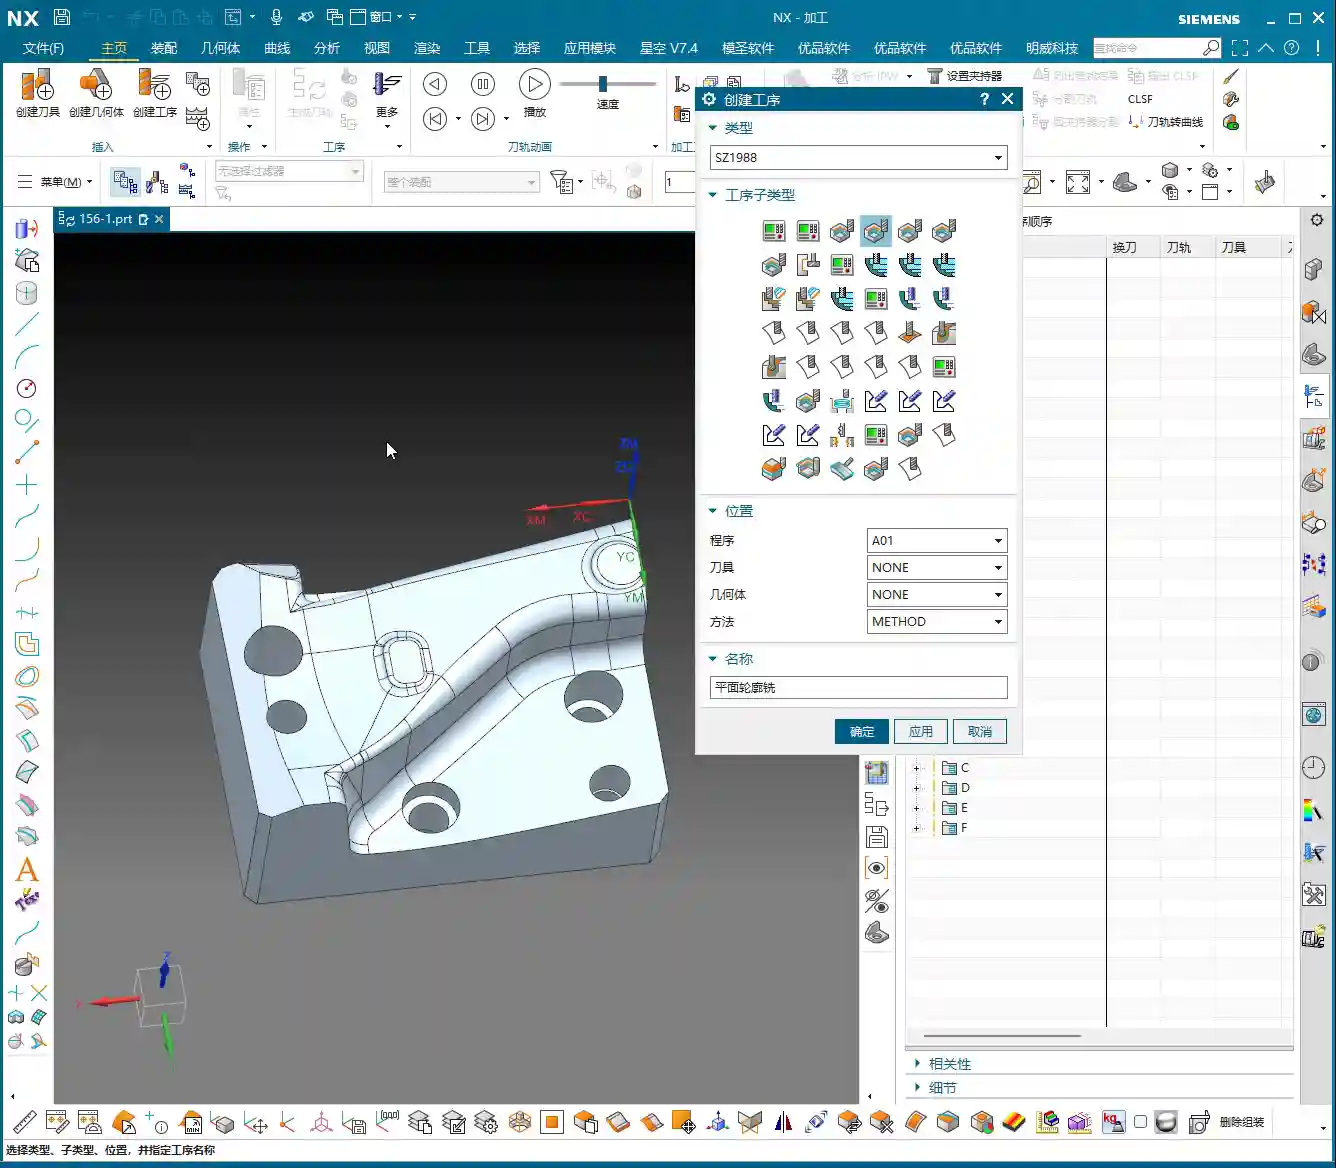
The ‘Cosmic Shift’ of Siemens NX Programming Commands – Simplifying Complexity
We’ve covered over 150 lessons, learning dozens, even hundreds, of Siemens NX programming commands. Does that sound overwhelming? In practice, these commands, despite their variations, boil down to just a few main categories. The core principles remain constant!

Six Core Machining Strategies to Master Any Job!
To summarize, all the commands we’ve learned can essentially be grouped into these six core machining approaches:
- Floor/Bottom Milling: Primarily used for roughing or finishing flat bottoms or planar areas. Don’t underestimate its simplicity; used correctly, it’s highly efficient.
- Planar Milling: This broad category includes many sub-commands, but their core purpose is machining flat surfaces. Whether it’s cleaning up planes, side walls, or grooves, the principle is largely the same.
- Cavity Milling: Used for processing internal cavities of various shapes. This is our primary strategy for Roughing! Remember, be aggressive with Roughing, prioritize efficiency, but don’t damage the part.
- Deep Helical Milling / Side Wall Finishing: For machining side walls in deep cavities and steep regions, deep helical cutting offers high efficiency and stable tool engagement. Side wall finishing is crucial for ensuring surface finish during the Finishing pass.
- Fixed-Axis Milling: This includes commands driven along curves or from points to surfaces. They are powerful tools for Finishing pass complex surfaces. You need to know when to use “curve-driven” and when to use “surface-driven” — that comes with experience.
- Corner Cleanup / Rest Milling: This is the final step, using smaller tools to clean out corners and remove residual material that larger tools couldn’t reach, ensuring the part’s final accuracy and quality.
Don’t be intimidated by the number of commands. The machining process for most parts is just a combination of these main categories. Understand their applicable scenarios and respective pros and cons, and you’ll be able to apply them broadly to handle any complex part.

Practical Process Flow: Master Wang’s Programming ‘Playbook’
For a part from raw blank to finished product, our typical Siemens NX programming workflow generally follows this pattern:
1. Roughing: Rapid ‘Material Removal’
No matter how complex the part, the first step is Roughing. We typically choose Cavity Milling, using large tools and high feed rates to rapidly remove most of the stock allowance.
Listen up, during Roughing, you absolutely must define boundaries around any holes or slots that shouldn’t be touched! Otherwise, the tool will plunge into empty space, leading to air cutting, which not only reduces efficiency but can also damage the tool. Don’t just trust the pretty toolpath simulations; the actual cutting sparks and sounds on the machine don’t lie!

2. Semi-Roughing / Semi-Finishing: Paving the Way for Finishing
After Roughing, if the part has large internal fillet radii or still has significant stock allowance, we typically perform a Semi-Roughing pass. This uses a slightly smaller tool than for Roughing to remove some of the remaining material, reducing the load on the subsequent Finishing pass tools and ensuring greater stability during finishing. It’s like building a house: after laying the foundation, you create a rough structure before moving on to the final interior finishes.
3. Finishing: Surface Quality and Accuracy
Finishing is where your true skill is tested. Here, your choices must be based on the part’s geometric features:
- Side Wall Finishing: For relatively shallow side walls, we can use Area Milling; for steep regions (e.g., slopes over 45 degrees), you’ll need to use Deep Helical Milling or other machining strategies for efficient regions. Remember, for steep areas, use appropriate tools and toolpath strategies to avoid unstable cutting and surface marks.
- Contour Milling: For certain sloped surfaces, you can first perform Contour Milling. A common approach is to contour first, then finish. The machining sequence for these areas can be flexibly adjusted based on the part geometry and accuracy requirements.
During the Finishing pass stage, you must also pay close attention to tool Chatter and wear. For areas requiring high precision, the tool condition must be excellent, and cutting parameters must be stable.
4. Corner Cleanup / Rest Milling: The Perfect Finish
Once most surfaces have undergone the Finishing pass, the final step is Corner Cleanup and Rest Milling. Use smaller tools, such as ball end mills or corner radius end mills, to clean out internal corners and residual material that larger tools couldn’t reach. While this is a finishing touch, it’s extremely critical, directly impacting the part’s final quality and assembly performance.

Master Wang’s Heart-to-Heart: Practical Experience Sharing
Lads, let me tell you honestly: theoretical knowledge is the foundation, but true skill comes from hands-on practice.
Don’t Be Intimidated by the Number of Commands; Grasp the Core Principles
Siemens NX has many commands, but most are optimizations for different scenarios, and their core concepts are interconnected. If you practice for an hour every day, spend some time studying, and stick with it—really delve into the lessons we’ve taught, all 150+ of them—you’ll be able to program most parts. Initially, you can emulate existing programs, see how I’ve programmed them, understand the underlying thought process, then modify them yourself, and eventually program from scratch. That’s how you make rapid progress.
Just Starting Out? Don’t Expect to Tackle 5-Axis Right Away
In today’s programming roles, many entry-level tasks involve relatively simple parts, such as drilling holes, milling slots, Face Milling flat surfaces, and simple contours. Complex 5-axis simultaneous machining, Fixed-Axis Milling, and even Cavity Milling or Deep Helical Milling are rarely used initially. This doesn’t mean they’re not important; it means you need to start with the basics. Master foundational skills like Floor/Bottom Milling, Planar Milling, drilling, and hole milling, become efficient at them, and then you can gradually move on to more complex work.
In fact, for many companies, the primary job of a programmer isn’t high-precision complex surfacing, but rather nesting and layout optimization. They use these basic Siemens NX commands, but the focus is on maximizing material utilization and enabling rapid batch production. That’s another level of technical skill entirely. So, you need to understand that learning technology requires a comprehensive approach, combined with practical application.
Tool Selection and Process Planning: Paramount Importance!
Which tool to select? What Depth of Cut (DOC) or Stepdown to use? These are more critical than the programming commands themselves! A tool’s material, coating, and geometry determine the cutting efficiency and quality. For the same part, using different tools and process plans will yield vastly different results. Let me tell you, I can control machining accuracy to ±0.005 mm (approx. ±0.0002 inch), not just by simple command operations, but by a deep understanding of tools, materials, and machine characteristics, combined with process compensation. These are things you won’t learn from textbooks.

Summary: Pitfall Avoidance Guide
Finally, here are a few ‘pitfall avoidance’ tips that Old Wang has gathered from years of hands-on experience in the field:
- Pitfall One: Neglecting Part and Blank Analysis. Don’t rush into programming as soon as you get the drawing. First, use a tape measure, calipers, or even your naked eye to ‘read’ the part and the blank. If you don’t compare against the blank and just dive in, you’ll run into serious problems sooner or later.
- Pitfall Two: Blindly Trusting Software Simulation While Ignoring Cutting Sparks. No matter how beautiful the Siemens NX toolpath simulation looks, you must also consider the actual cutting sound, sparks, and chip evacuation to determine if the process is appropriate. Simulation is theory; the shop floor is practice.
- Pitfall Three: Only Learning Commands, Not Practicing Actual Operation. Programming is like driving; you can memorize all the traffic laws, but without hands-on practice, you won’t be able to drive. Practice more, think more, and summarize more.
- Pitfall Four: Having Only a Superficial Understanding of Material Properties. Aluminum, steel, titanium alloys, high-temperature nickel-based alloys—their cutting characteristics and heat treatment distortion tendencies are completely different. Without understanding the materials, you’ll encounter all sorts of unexpected problems during machining.
- Pitfall Five: Underestimating Fixture Design and Clamping Strategies. A good fixture is the foundation for high-precision machining. Unstable Clamping or Fixturing renders everything else useless. Don’t cut corners on fixtures for the sake of convenience.
- Pitfall Six: Ignoring Machine Accuracy and Error Compensation. No machine tool is perfect. Learning to utilize its characteristics and compensate for errors by adjusting process parameters is key to improving accuracy.
- Pitfall Seven: Disregarding Cost and Efficiency. Our ultimate goal in this line of work is to create value for the company. How to complete a task in the shortest time, with minimal tool wear, all while ensuring quality, is a question every excellent programmer must consider. This directly impacts a product’s market competitiveness and can even determine if an industrial product keyword will rank prominently in search engine results!
👤 About the Author:
The author is a veteran CNC machining professional with 15 years of industry experience, specializing in UG NX programming. This article is an original work representing personal practical insights.
⚠️ Copyright Notice: Unauthorized reproduction or distribution without prior communication is strictly prohibited.
Leave a Reply