📝 Key Takeaways: Master Wang provides a step-by-step explanation of the complete process for planar profile milling engraving in Siemens NX: from text creation and tool selection to depth layering and retraction optimization. Combining practical experience with Siemens NX programming techniques, he teaches you to avoid common pitfalls, improve engraving accuracy and efficiency, eliminate burrs, and make your parts more exquisite!
Hello everyone, Master Wang here. Today, we’re cutting straight to the chase: planar profile milling for engraving in Siemens NX. Don’t let this “small job” fool you; there’s a lot more to it than meets the eye. Many think engraving is simple, but they quickly run into issues like burrs, inaccurate cuts, or excessive tool retraction, wasting valuable machining time. Don’t worry. Today, I’m pulling out all my hard-earned, real-world experience—the kind of practical know-how you won’t find in any textbook.
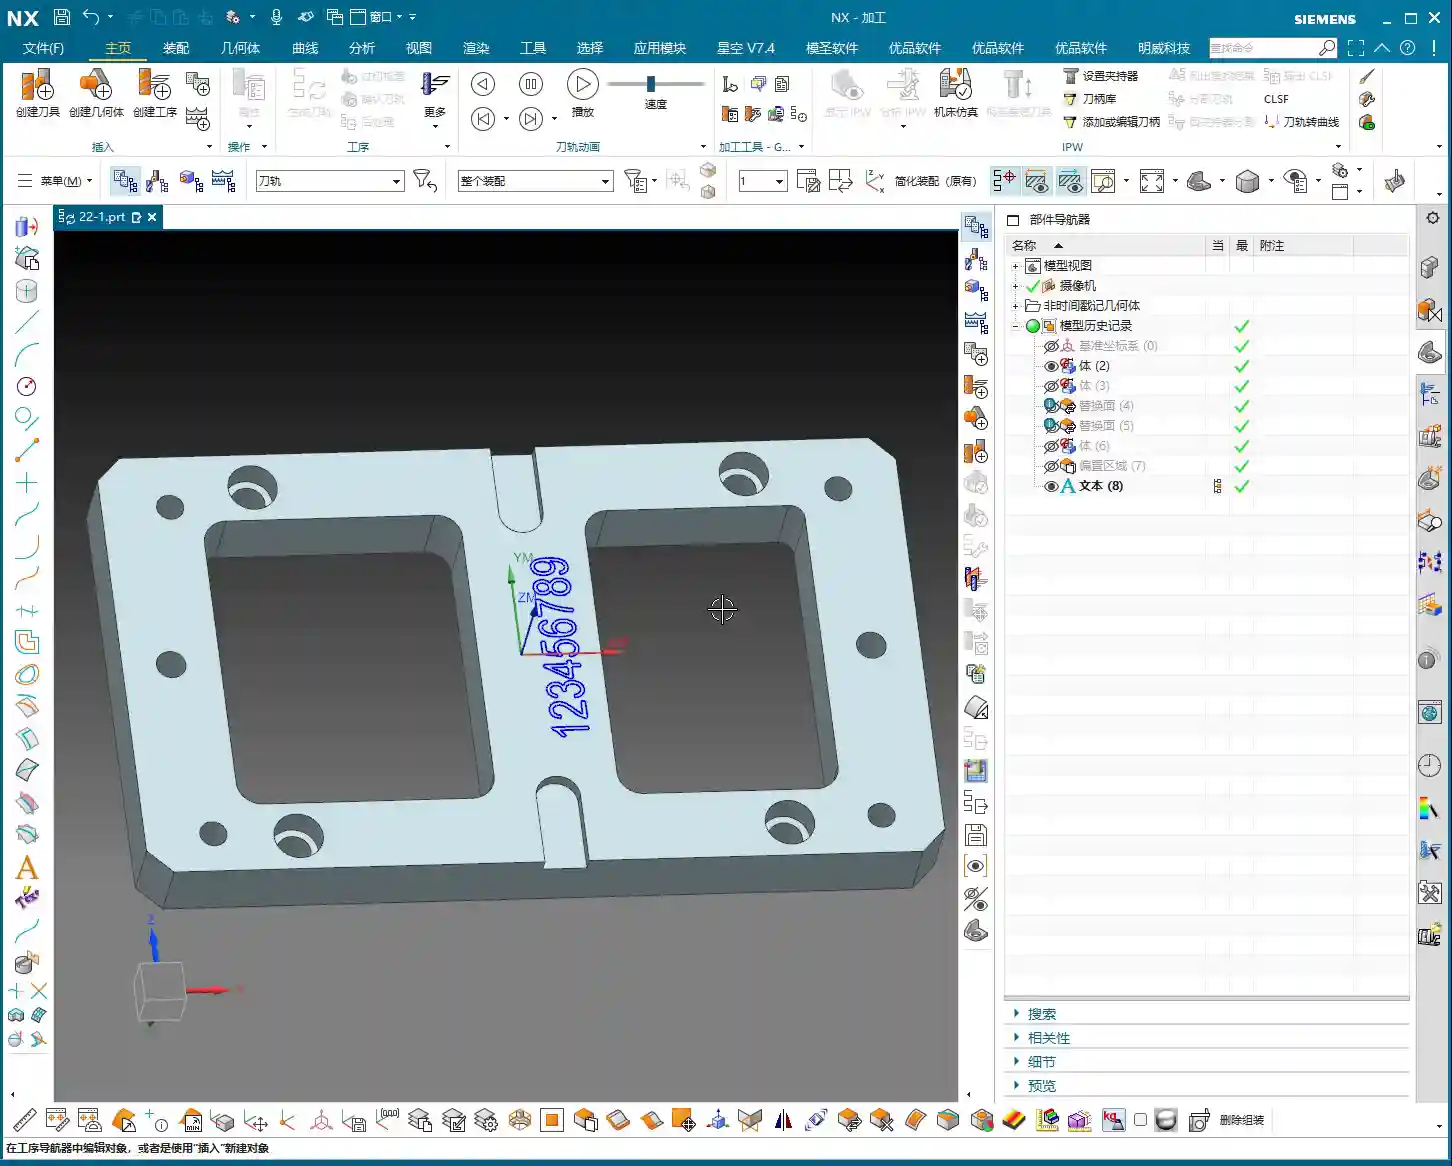
Step One: Engraving Preparation – Standardized Text Creation
Listen up. This first step, text creation, is crucial—don’t skimp on it. Well-defined text is the foundation for your engraving; get it right here, and CAM programming becomes much smoother. Head over to the Modeling module and find the “Text” function.
Selecting the Datum Plane and Text Content
Where do you want your text engraved? Select that specific face or curve as your datum. Typically, we engrave on flat surfaces of the workpiece, so just selecting a face will do. Then, input the text you want to engrave—it can be numbers, letters, or even Chinese characters; Siemens NX handles them all. Here’s a pro tip: Text size and font style should be planned upfront to match your desired final engraving. Don’t wait until the toolpaths are generated to realize the text is too small or the font is wrong; rework is a headache.

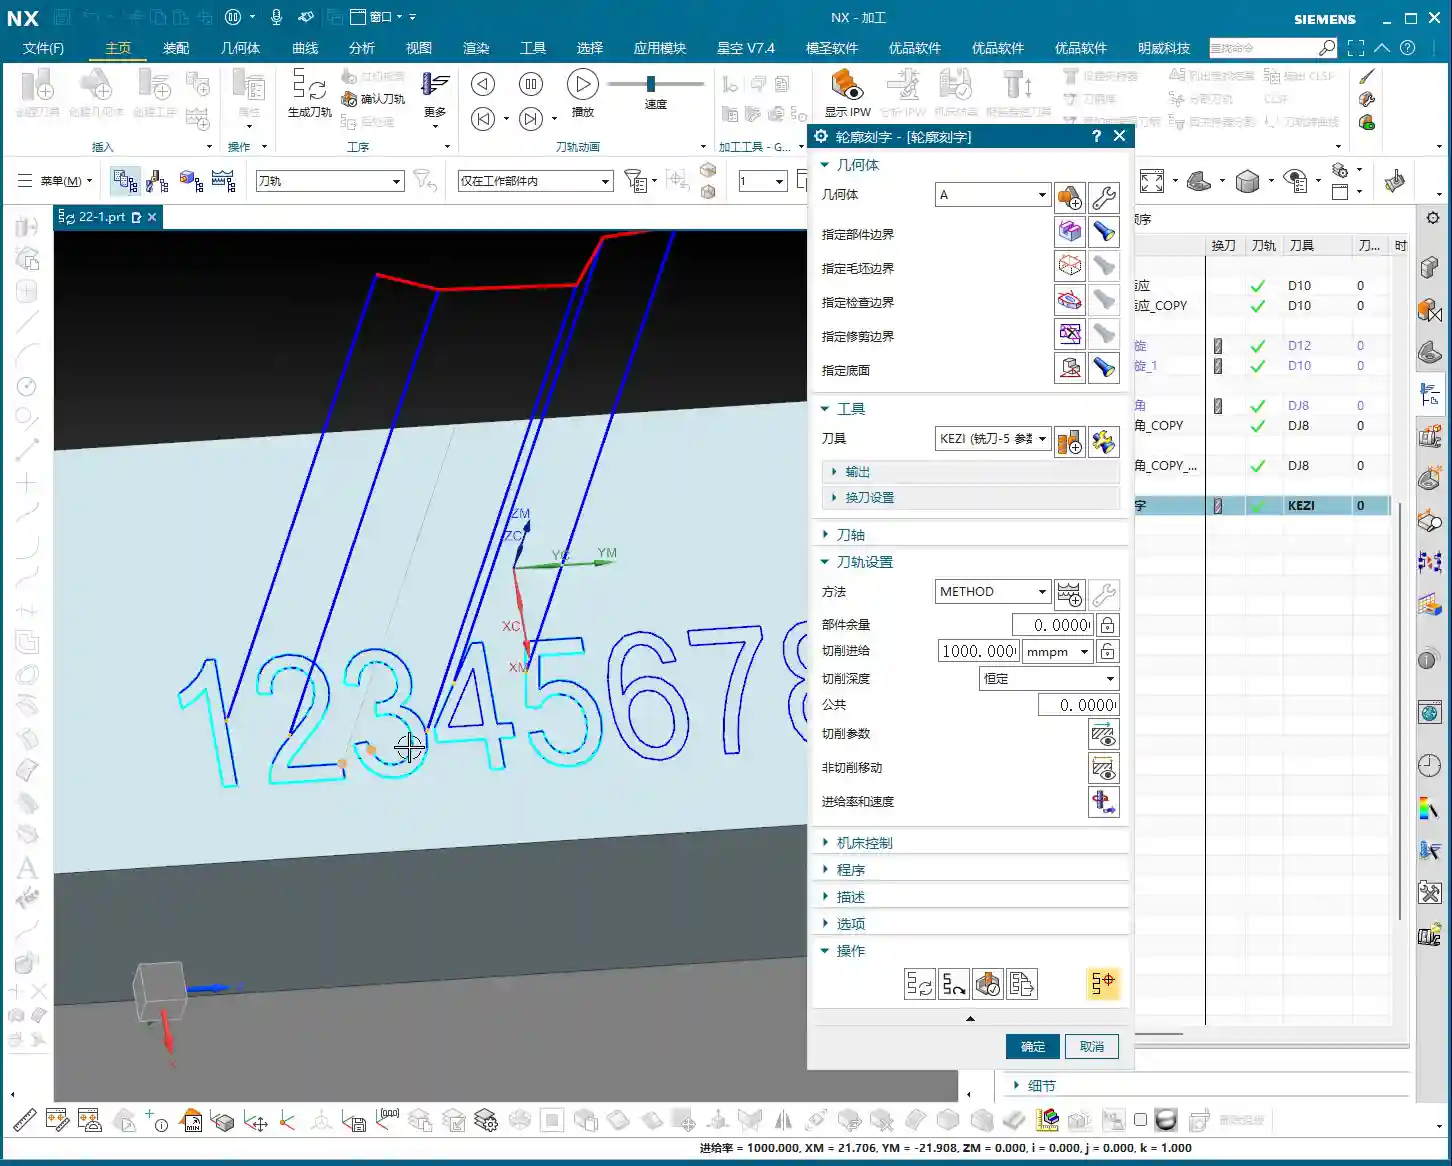
Step Two: Siemens NX Planar Profile Milling Operations – The Core of Engraving
Once your text is created, we move into the Manufacturing module. In the Operation Type, select “Mill Planar”. Then, for Program Type, choose “Planar Profile”. And the Subtype, which is our focus today, will be “Engraving”. These two are the golden combination; you can’t have one without the other.

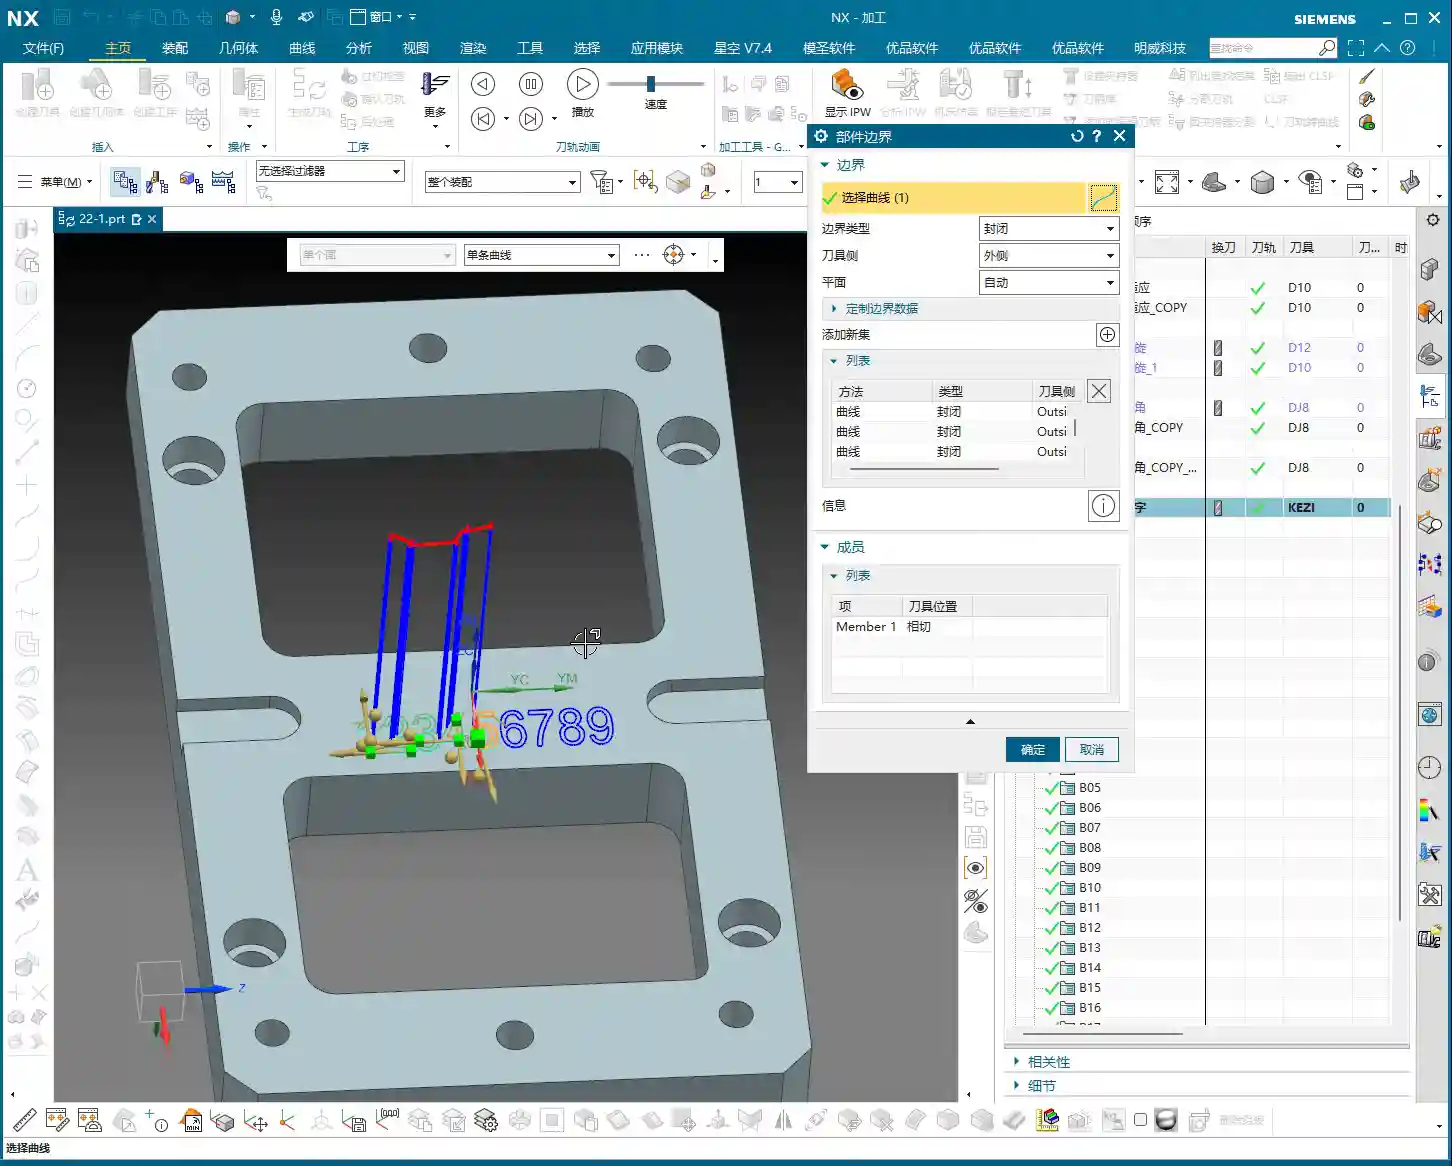
Defining Machining Geometry: Correct Contour Selection is Key
This step is critical, and where new users often make mistakes. Our goal is engraving, so for Part Geometry, you must select the text curves you just created. Click carefully, ensuring no letters are missed or extra entities selected. Verify that all desired text is highlighted.
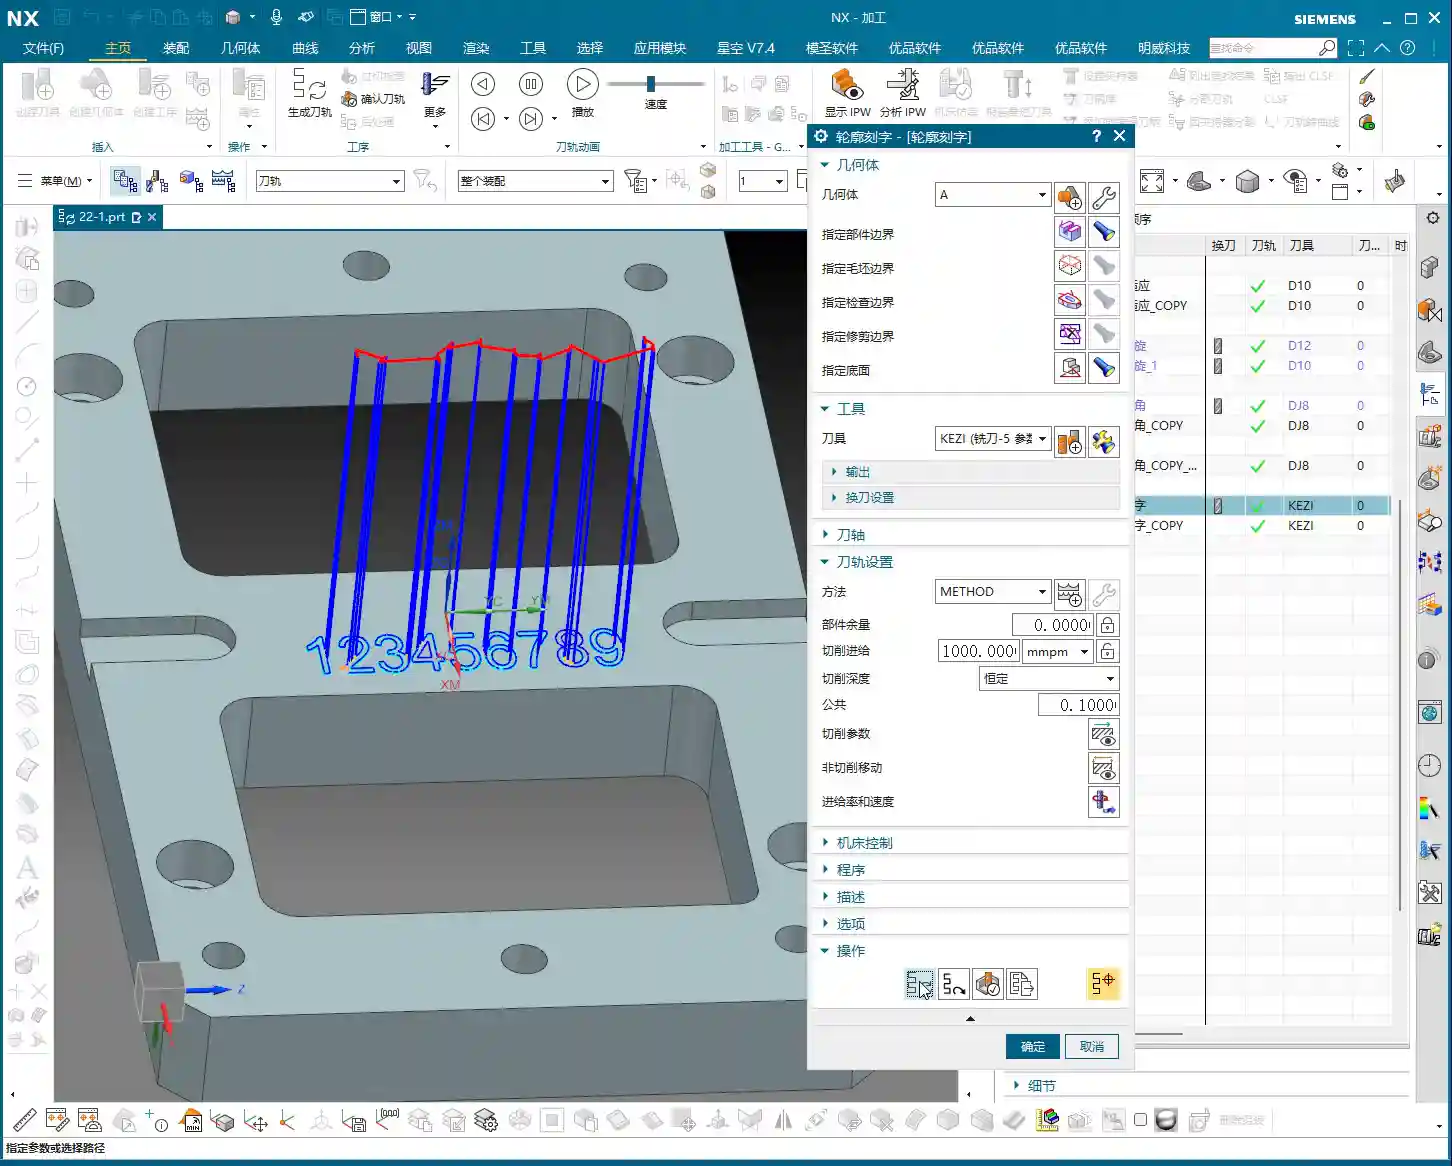
Next is to specify the bottom face. This bottom face serves as the “zero point” for your engraving, relative to which the tool will reach your programmed depth. This face *must* be the same plane where your text was created. Choose incorrectly, and your toolpath might shoot into thin air, or worse, plunge right through your workpiece—a disaster you want to avoid.
Tool Selection: The Science and Art of Engraving Tool Grinding
Engraving demands precision. That’s why we need engraving tools, often referred to as engraving cutters or pointed end mills, which have a very small, or even sharp, tip radius. I typically opt for carbide tools with a diameter of 0.5mm or even finer. The smaller the tool, the clearer the engraved text, especially for complex Chinese characters with many strokes. Remember, the cutting edge must be sharp—this is critical for preventing burrs. Sometimes, standard tools just don’t cut it, and we have to grind our own, custom-making a tool with a specific angle and custom tip radius. That’s real craftsmanship, not something you learn just by watching Siemens NX tutorials. When grinding, be patient and ensure a high-quality finish on the cutting edge.
Cutting Parameter Setup: The Art of Depth and Layering
Cutting parameters are core to determining engraving quality and efficiency. In this area, we need to adjust based on the actual material and tool.
-
Depth of Cut (DOC): How deep do you want to engrave? Simply enter a negative value in “Floor Stock”. For instance, if you want to engrave 0.5mm deep, set it to -0.5mm. This negative value indicates the tool will cut below your specified bottom face.
-
Multiple Passes (Layered Cutting): If the engraving is relatively deep, say over 0.5mm, or if you’re working with hard materials (like titanium alloys or high-temperature nickel-based alloys), you cannot cut it in a single pass. You absolutely must use multiple passes (layering). In “Depth of Cut” or “Maximum Roughing Stepdown” (depending on your Siemens NX version and operation type), set a small stepdown, for example, 0.1mm. By taking layers, the tool won’t chip, and the workpiece won’t deform due to excessive force. Especially for hard materials, layering is the infallible way to protect both your tool and your part.
-
Cutting Direction: Engraving typically follows the contour line, so the choice between “Inside” or “Outside” is crucial. Usually, when engraving, we want to hollow out the text, so you should select “Inside”. If you select incorrectly, you might end up cutting away the area *around* the text, leaving raised letters—which is the opposite of what we’re trying to achieve with engraving.

Retraction and Lead-in/Lead-out Optimization: Minimizing Air Cuts and Boosting Efficiency
Tool retraction is an art. Don’t just watch the software simulate high retractions; on a real machine, that’s pure wasted time. Especially for small, dense machining like engraving, frequent high retractions severely drag down efficiency.
-
Transfer Method: In “Non Cutting Moves”, set “Transfer between Regions” to “Previous Plane” or “Clearance Plane”. And try to keep the clearance distance as small as possible. The ideal scenario is “Surface Tracking Rapid”; as long as you ensure no interference, the tool can rapidly move along the workpiece surface to the next machining position, drastically reducing air cutting time.
-
Lead-in/Lead-out Methods: For fine paths like engraving, “Ramp-in” is an excellent choice. The tool smoothly enters the material, reducing impact and minimizing tool wear. Directly “Plunging” isn’t strictly forbidden, but it creates greater impact on both the tool and material, often leading to chipping or degraded workpiece surface quality. So, if you can ramp-in, do it—that’s a piece of wisdom from experience.

Step Three: Simulation and Real-world Verification – Cutting Sparks Don’t Lie
No matter how realistic Siemens NX toolpath simulation is, it’s still theoretical. When you’re actually on the machine, you need to observe the cutting sparks and listen to the cutting sound—those are your truest forms of feedback.
Observing Cutting Conditions and Adjusting Machining Parameters
If the sparks are uniform and the sound is stable, it indicates the tool’s Depth of Cut (DOC) is appropriate and machining is stable. If the sparks are erratic or the sound is sharp and grating, it could mean the feed rate is too high, the spindle speed is incorrect, or the tool is worn. In such cases, you must immediately stop the machine, inspect, and adjust your parameters. Don’t just rely on simulation; trust your eyes and ears—they are your most direct sensors.
Considering Accuracy Errors: The Challenge of ±0.005mm
If your engraving demands exceptionally high precision, like ±0.005mm (approx. ±0.0002 inch), you must account for machine geometric errors and thermal deformation. I’ve seen too many new apprentices whose toolpath programs are flawless, yet they can’t achieve the required accuracy. In such cases, we need to implement process compensations, such as adjusting tool offsetting, altering the cutting path (e.g., switching from conventional to climb milling, or vice versa), or even anticipating deformation during clamping/fixturing. These are the practical skills you won’t learn from textbooks; they require experience and a deep understanding of the machine.
Step Four: SEO Mini-Lesson – Get Your Precision Engraving Noticed
Doing great work isn’t enough; you also need to promote it effectively. No matter how technically advanced your precision engraved parts are, they’re useless if clients can’t find you. As Master Wang, I don’t just machine high-precision parts by hand; I also know how to get these products discovered by clients online.
Practical Strategies for Industrial Product Promotion
So, how do you get potential clients to find your Siemens NX engraving services? It’s simple. Describe your work in professional language, write more technical articles, and share your experience with Siemens NX toolpath optimization, layered cutting techniques, and solutions for engraving special materials (e.g., titanium alloys, stainless steel). Complement this with high-definition images and videos to showcase your machining capabilities and finished part quality. And don’t forget: keyword placement is the golden rule of search engines:
- Exact Match Keywords: “Siemens NX Engraving Programming”, “NX Engraving Machining”, “CNC Precision Engraving Services”, “Metal Surface Engraving”.
- Long-Tail Keywords: “Siemens NX Planar Profile Milling Engraving Tutorial”, “High-Speed Engraving Solutions”, “Micro Tool Engraving”.
Publish more original content that addresses customer pain points. For example, questions like “How to eliminate burrs in engraving?” or “What tool to use for titanium engraving?” are what clients search for. Your professional answers will be your best calling card.
Summary: Pitfall Avoidance Guide
Alright, today we’ve thoroughly covered the ins and outs of planar profile milling for engraving in Siemens NX. To summarize, if you want to produce exceptional engraving work, remember these key points to save yourself a lot of trial and error:
- Precise Boundary Selection: The text curves must be selected correctly. Pay special attention not to confuse “Inside” with “Outside”; engraving typically means cutting inwards.
- Sharp and Appropriately Sized Tools: Lean towards smaller rather than larger. The cutting edge is paramount. If necessary, grinding your own tools is a true skill.
- Depth Control with Negative Stock: Enter a negative value in “Floor Stock”. For deeper engravings, always use multiple passes (layered cutting). Set a small stepdown to protect the tool and improve surface quality.
- Optimize Retraction Paths: Don’t let the tool constantly retract to high clearances. Set “Transfer between Regions” to “Previous Plane” or “Clearance Plane”, and reduce the safety distance to minimize air cutting time. Prioritize “Ramp-in” for lead-in moves.
- Observe Real-Time Machine Status: Don’t solely rely on software simulation. Cutting sparks and sound provide the most accurate feedback. Adjust parameters promptly if issues arise; this is crucial to avoid batch scrap.
- Don’t Forget to Promote Your Skills: Even excellent products require marketing. Utilize SEO and original content to ensure your precision engraving services are discovered by more clients!
Practice often, observe closely, and summarize thoroughly. Master these insights, and your machining skills will undoubtedly reach the next level!
👤 About the Author:
The author is a veteran CNC machining professional with 15 years of industry experience, specializing in UG NX programming. This article is an original work representing personal practical insights.
⚠️ Copyright Notice: Unauthorized reproduction or distribution without prior communication is strictly prohibited.
Leave a Reply