📝 Key Takeaways: ** Master Wang reveals the real-world pain points of NX Fixed Contour Milling! He emphasizes that for curve machining, the “Specify Part” function is crucial for offset and multiple passes, otherwise overcutting or program errors are highly likely. The article details curve selection, direction control, and the critical 0.005mm tolerance setting, helping you avoid textbook traps and improve machining efficiency and precision. Master Wang guides you to understand the essence of NX toolpath optimization from a shop floor perspective. **
Chapter One: Do You Really Understand “Specify Part”?
Hey everyone, Master Wang here. Today, let’s continue talking about Siemens NX operations. Last time, we touched on “Specify Part” in Fixed Contour Milling. Some of you might think it’s nothing special, just selecting a part. Listen up, this is a critical pitfall that textbooks won’t necessarily explain thoroughly!
The “Flexibility” and Traps of Specifying Parts
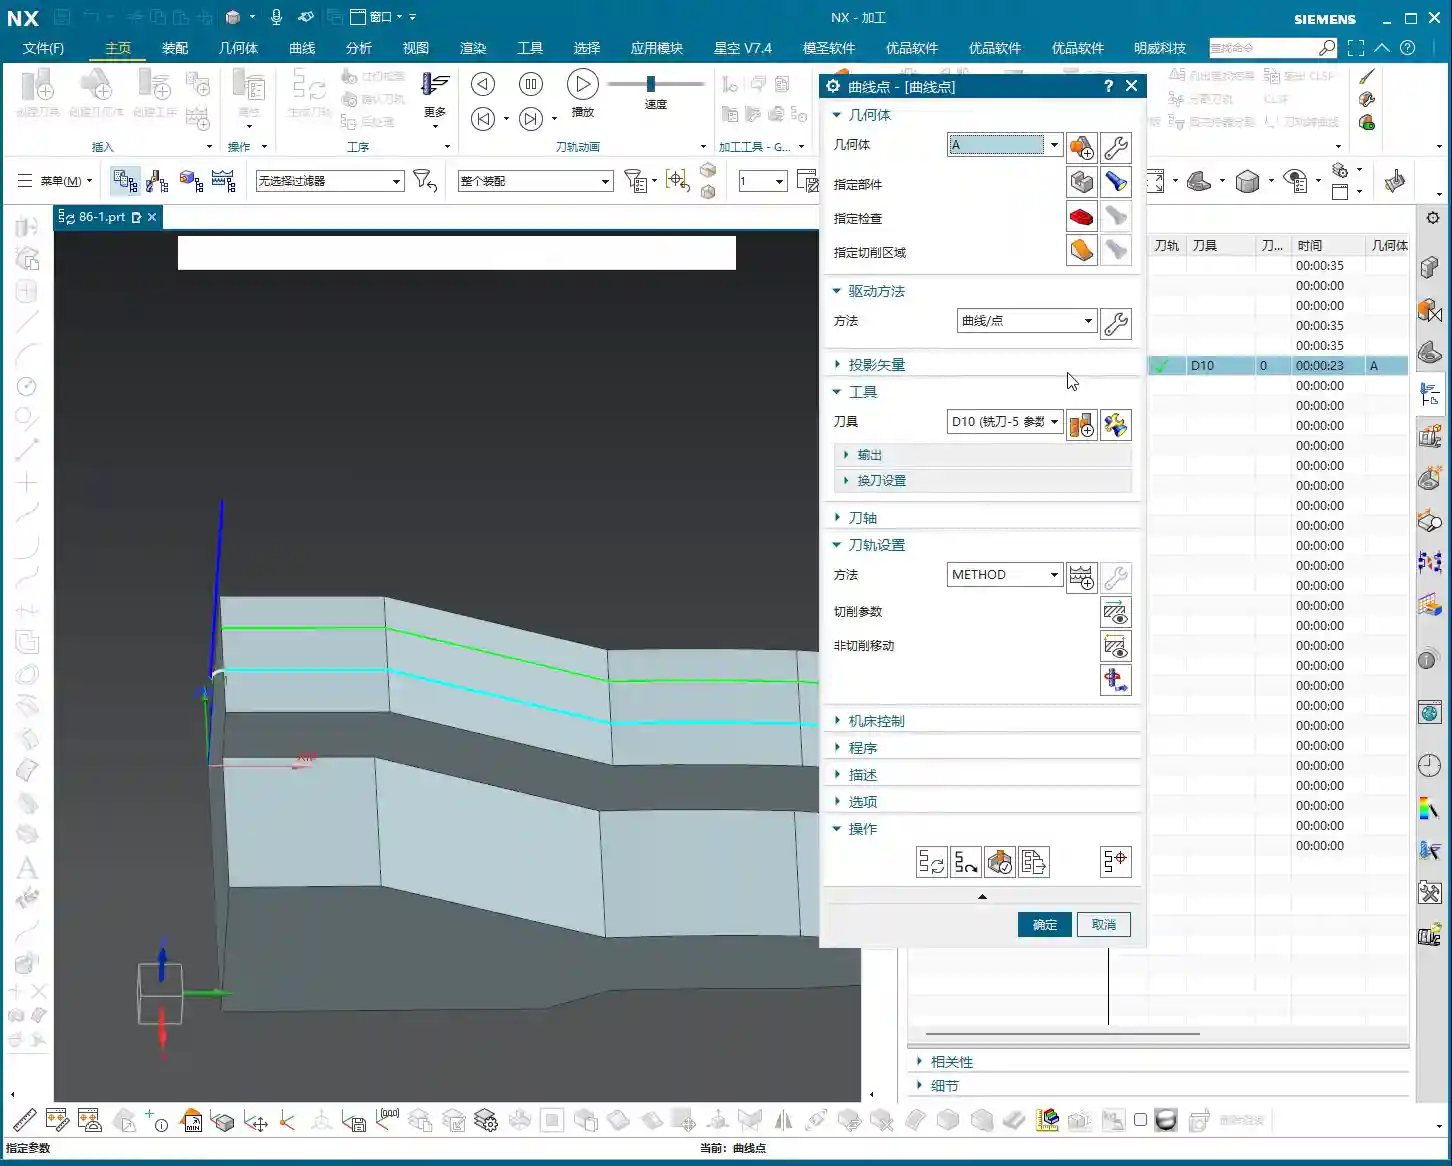
Generally, in NX, many machining operations require you to explicitly specify the part to be machined. However, in “Fixed Contour Milling,” especially when dealing with drive methods like Boundary Flow Curves, Surface Area, Specify Cut Area, and today’s “Curve Point,” you might notice a strange phenomenon: sometimes, the program will run even if you don’t select “Specify Part”!
Why is that? Because it allows you to select within the “Drive Method.” But this doesn’t mean you can just skip it whenever you want. Many engineers stumble here, thinking it’s fine not to select it, only to get stuck later when using Offset or Multiple Passes, with the program either overcutting or throwing an error. So, while it gives you this “flexibility,” you need to know when to use it and when it’s a critical error point! It’s like driving: you can coast in neutral, but would you dare to do that all the way down a steep hill? You’d certainly engage a gear and use the brakes – safety first!
Chapter Two: The Art of Curve Selection and Toolpath Direction
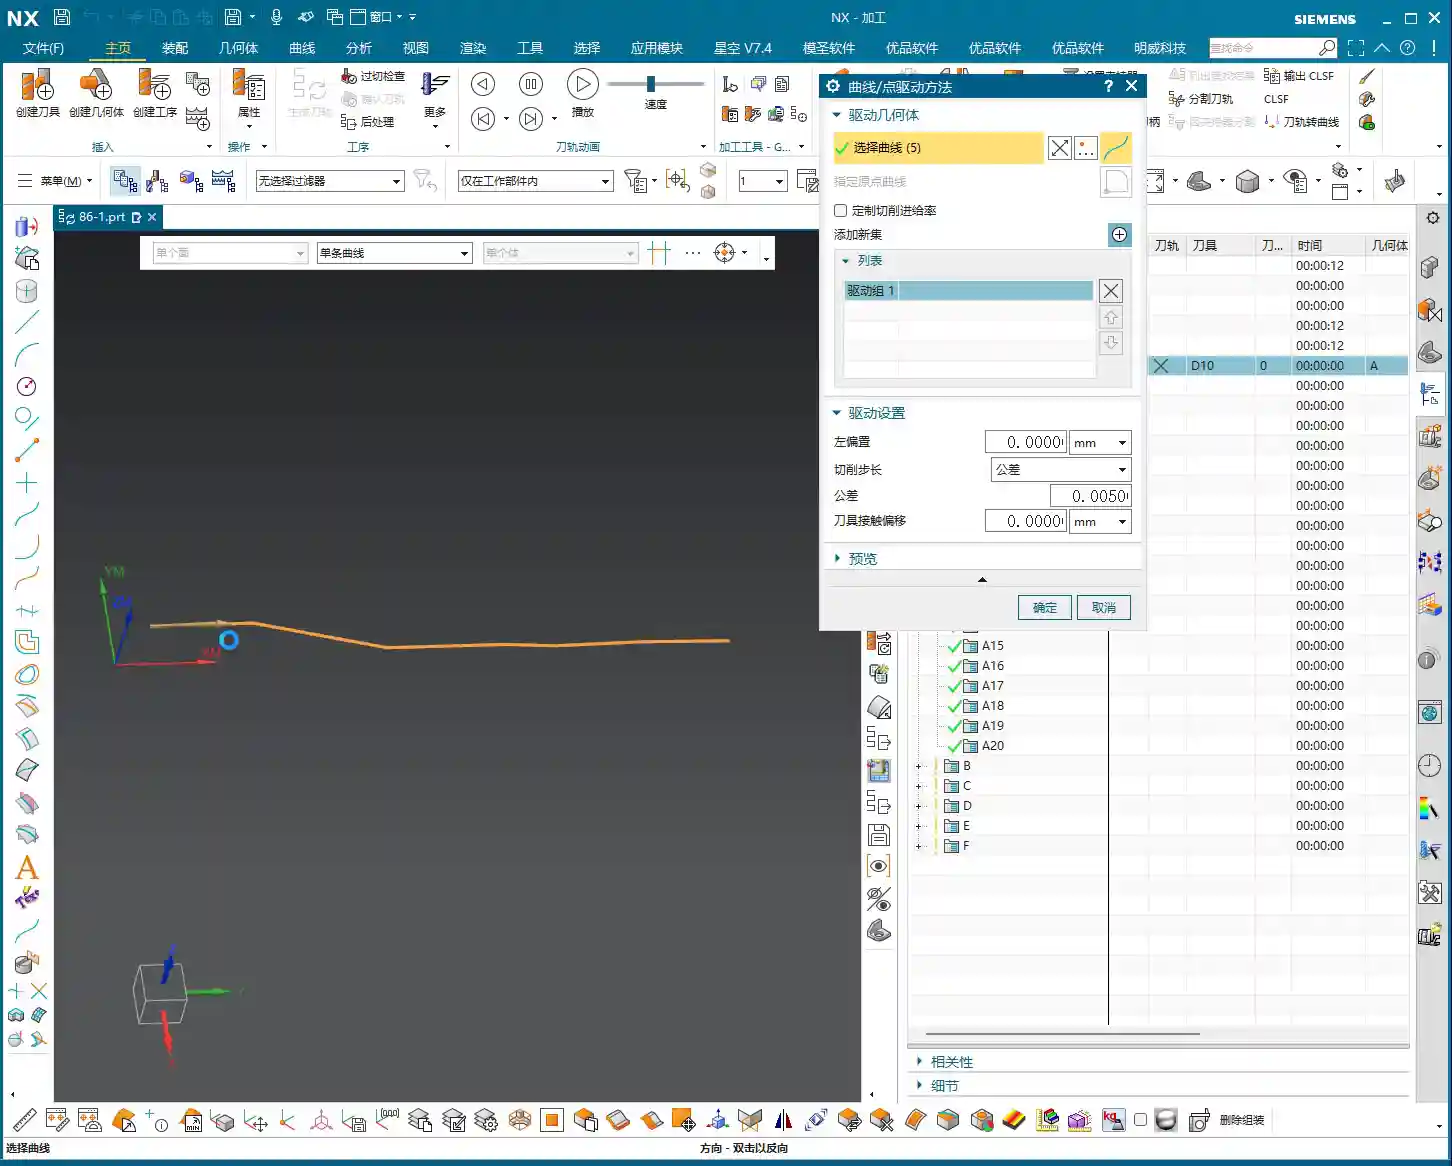
Let’s start with the most basic: curve selection. In Fixed Contour Milling, if you don’t specify a part, then you must diligently select your machining curves within the “Edit” options.
Curve Selection Techniques and Machining Direction
Once you select a curve, you’ll see a green arrow. This isn’t just for show; it dictates your cutting direction. Double-click this arrow, and the direction will reverse. This is crucial in actual machining, as it determines climb milling or conventional milling, which impacts cutting forces, chip evacuation, and surface finish! Don’t just rely on software simulations. How the sparks fly, whether there’s chatter or chip welding during cutting – that’s the real feedback. Your eyes and ears are far more reliable than software animations!
The program will follow the trajectory of your selected curve. If the curve is 3D, it will follow 3D; if it’s 2D (planar), it will follow 2D. Simply put, it can generate toolpaths for both 3D and 2D, completely following the lines you’ve selected. As long as the lines are chosen correctly and the direction is clear, program generation takes mere minutes. Efficiency lies in these small details.
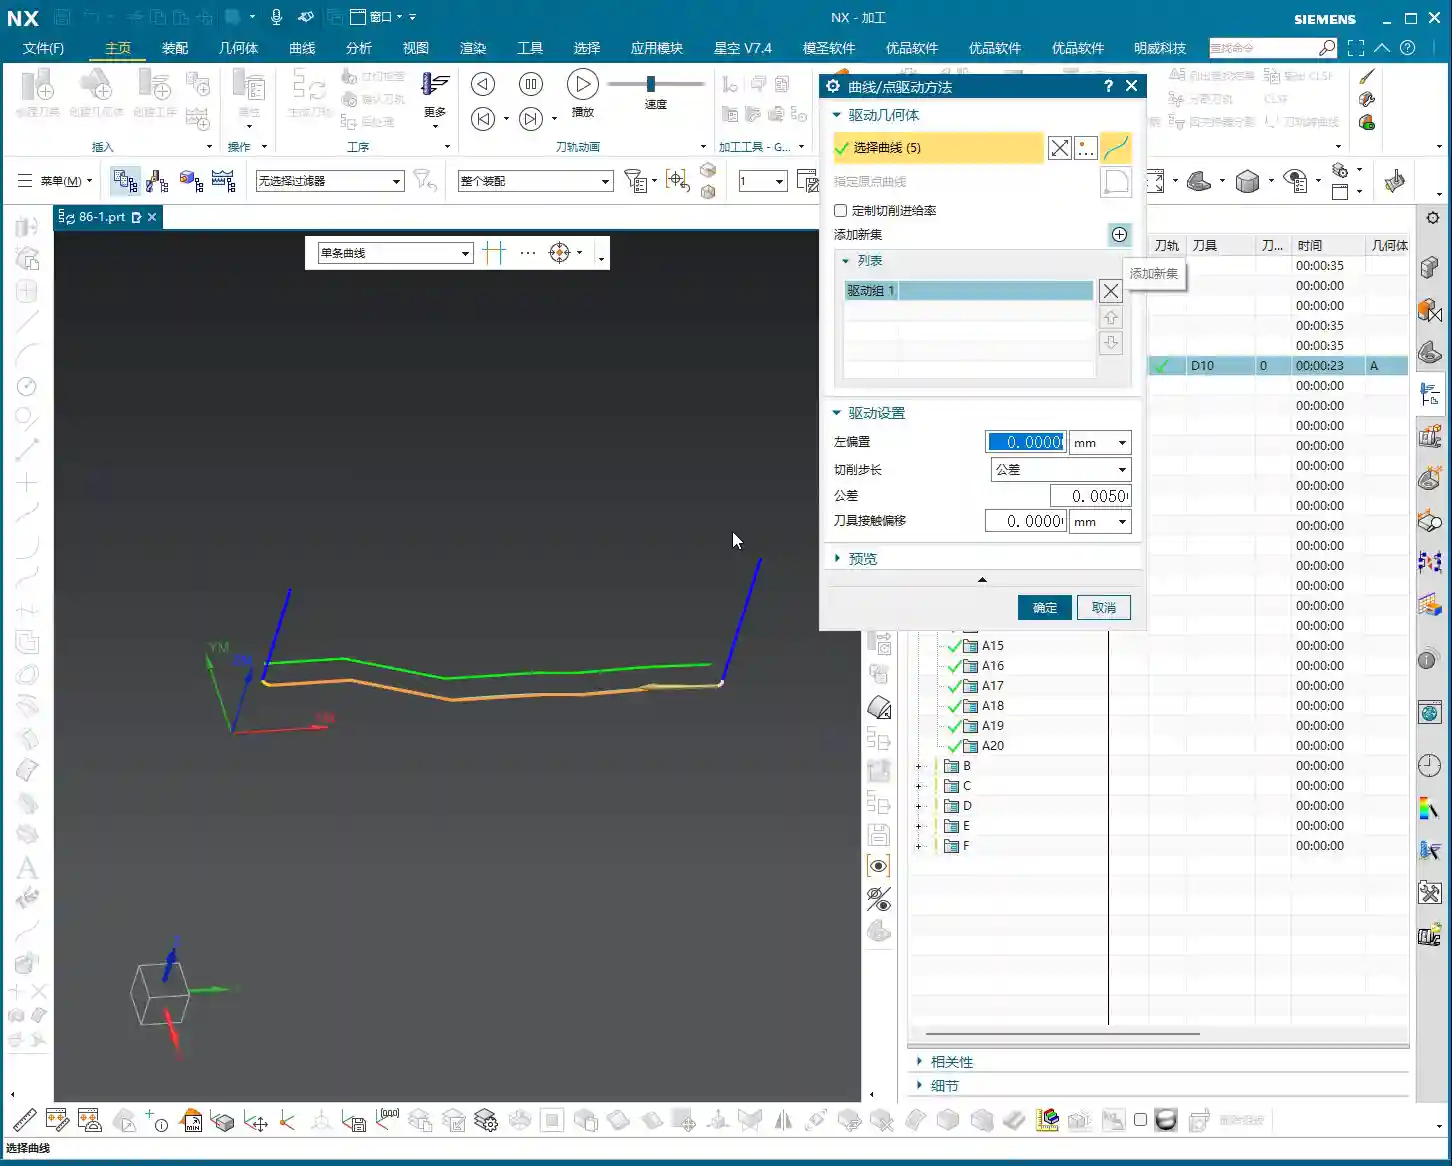
“Add Feed”: The Connector for Multi-Curve Machining
When we need to machine multiple discontinuous curves, NX provides an “Add Feed” function. Click this, and it will automatically connect these curves for you, allowing the tool to transition smoothly from one curve to another, avoiding unnecessary rapid retracts and air moves. But remember, even with this feature, you still need to plan your cutting order carefully to minimize idle travel – that’s what truly makes it efficient! Good programming saves money; every unnecessary rapid retract wastes valuable time.

Chapter Three: The Core Secret – Why Are Offset and Multiple Passes Dependent on Specifying a Part?
This is the absolute core of what we’re discussing today! As we just explained, sometimes a toolpath can be generated without selecting “Specify Part.” But this situation comes with a major caveat!
The Root Cause of Offset Failure: No “Reference Boundary”
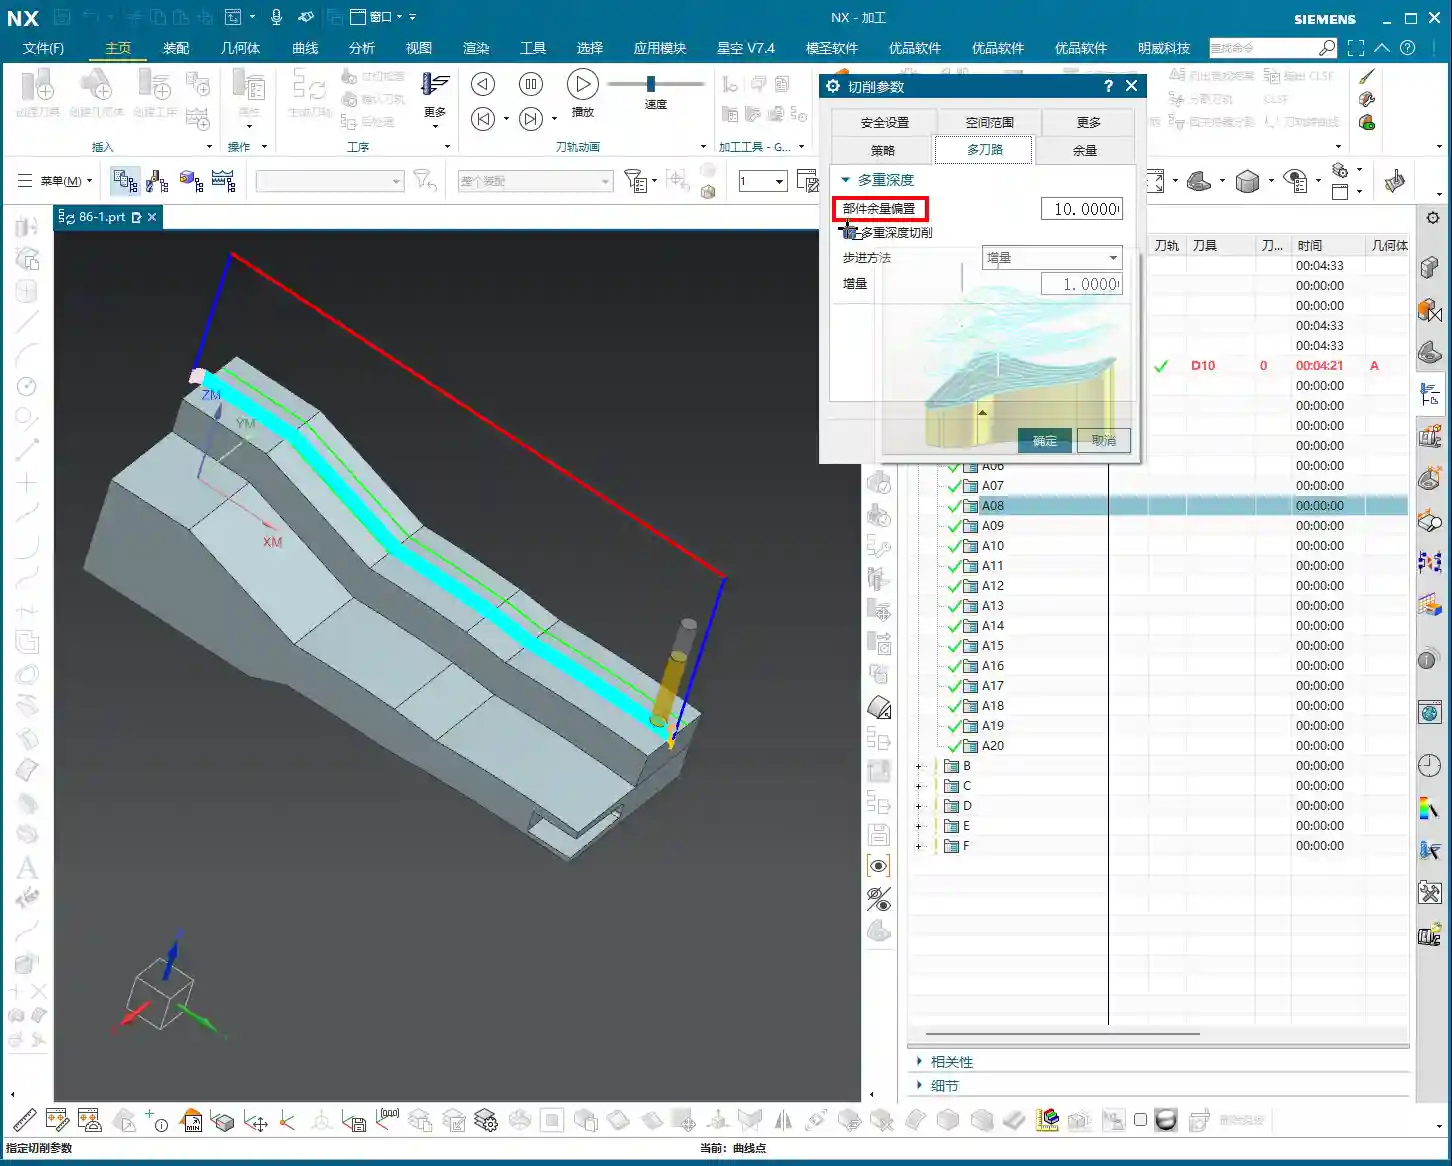
Now, try to apply an Offset to your toolpath, say, by 10 mm. You’ll find that the program might directly throw an error, or even if it generates a toolpath, a simulation will reveal that the tool has moved into the part, resulting in a direct overcut! Why does this happen?
Because you haven’t specified the part, the software doesn’t know where your “part boundary” is! When you try to perform an offset, it doesn’t know whether to offset “inward” or “outward,” nor does it know if the offset will collide with the part. It’s like a person who has lost their reference point, blindly offsetting, and the result is the tool tip directly plunging into the part’s interior. This is extremely dangerous; putting it on the machine will scrap the material! Don’t just look at the tool center path being outside; the tool tip could have already penetrated the part.
Multiple Passes (Multi-Layer Cutting) Also Rely on the Part
By the same logic, if you want to use the “Multiple Passes” function for multi-layer cutting, you must also specify the part. Without a part as a reference, the software cannot determine the safe boundary for each cutting layer, which will also lead to overcutting or the inability to generate correct toolpaths. This is like trying to navigate stairs in a dark room; without light, you have no idea if there’s a step underfoot, and you’re bound to fall!
To summarize: When you need to use functions like “Offset” or “Multiple Passes,” you absolutely must diligently “Specify Part”! Otherwise, the tool will be unable to correctly determine safe areas and cutting boundaries, inevitably leading to serious machining accidents. Generally, selecting just the surface you intend to machine as the part is sufficient; there’s no need to select the entire component. Efficiency is important, but safety is paramount.
Tolerance and Cutting Compensation: The Cornerstone of Precision
In the “Cutting Parameters” settings, we typically choose “Tolerance” rather than “Number of Passes.” This tolerance controls your toolpath precision. I usually recommend setting it to 0.005 mm (which is 5 microns). Don’t underestimate these few microns; they directly impact your part’s surface finish and dimensional accuracy. Especially for high-precision molds or aerospace components, this is absolutely critical! A smaller tolerance results in a more detailed toolpath, but also a larger program size and longer machining time, so you must weigh this against actual requirements. The tolerance settings for common aluminum parts and titanium alloys will certainly differ; it depends on the specific material you’re machining and the required precision.
As for “Tool Contact Offset” and similar settings, we’ll delve into those later when we discuss more complex Surface Milling, as there are many more nuances there.

Summary: Pitfall Avoidance Guide
- Master the “Specify Part” function: In Fixed Contour Milling’s Curve Point drive method, if you’re just making a simple pass along a curve, you *can* omit specifying the part. However, if you want to use functions like Offset, Multiple Passes, or Part Stock, you absolutely *must* specify the part! Otherwise, the tool will overcut, the program will error out, or even result in a machine crash. This is an unbendable rule!
- Curve direction is critical: Double-clicking the curve arrow reverses the direction, which affects your climb milling/conventional milling strategy. This has a significant impact on machining quality and tool life, so always check it carefully. If the direction is wrong, the machined surface will look terrible, or the tool might even break.
- Tolerance settings must be precise: It’s recommended to change the “Cutting Parameters” to “Tolerance,” typically set to 0.005mm. This is fundamental for ensuring machining accuracy, but also consider machining efficiency. A tolerance that’s too loose will compromise accuracy; one that’s too tight will lead to excessively long machining times. You need to find a balance.
- Remember offset direction: Keep in mind, when the arrow points towards the inside of the part, a left offset corresponds to a positive value (e.g., 10mm), and a right offset corresponds to a negative value (e.g., -10mm). Getting this detail wrong will reverse the offset direction and could lead to a direct tool collision. Don’t be careless.
- Practical experience trumps theory: Don’t just stare at the blue toolpaths in the software. Pay close attention to the sparks, sounds, and vibrations during actual cutting – that’s the machine “talking” to you. These “un-textbook” experiences are the stepping stones to truly becoming a master machinist! Get hands-on, think critically, and you’ll integrate knowledge effectively.

👤 About the Author:
The author is a veteran CNC machining professional with 15 years of industry experience, specializing in UG NX programming. This article is an original work representing personal practical insights.
⚠️ Copyright Notice: Unauthorized reproduction or distribution without prior communication is strictly prohibited.
Leave a Reply