📝 Key Takeaways:
Siemens NX Enclosed Region Entry Motion: Master Wang’s Practical Tips
Hello everyone, I’m Old Wang, Master Wang. I’ve been working at the…
Hello everyone, I’m Old Wang, Master Wang. I’ve been working at the machine shop for fifteen years, and I’ve seen it all: turning, milling, planing, grinding, EDM. With Siemens NX, it’s not just about building models; the real skill is programming toolpaths that are both fast and stable.
Today, let’s talk about entry motion and enclosed regions in Siemens NX machining. Don’t think it’s just a few clicks in the software; there’s a lot more to it, and you won’t learn these tricks from textbooks.
Non-Cutting Moves Overview: Why is Entry Motion So Important?
Listen up: in Siemens NX, when programming toolpaths, besides the actual cutting process, a critical aspect is non-cutting moves. This includes entry motion, retract motion, smoothing, and so on. Don’t underestimate these rapid moves; they directly impact your machining efficiency and tool life. Incorrect entry motion can lead to minor tool wear, or worse, chipped tools, tool breakage, or even a machine crash!

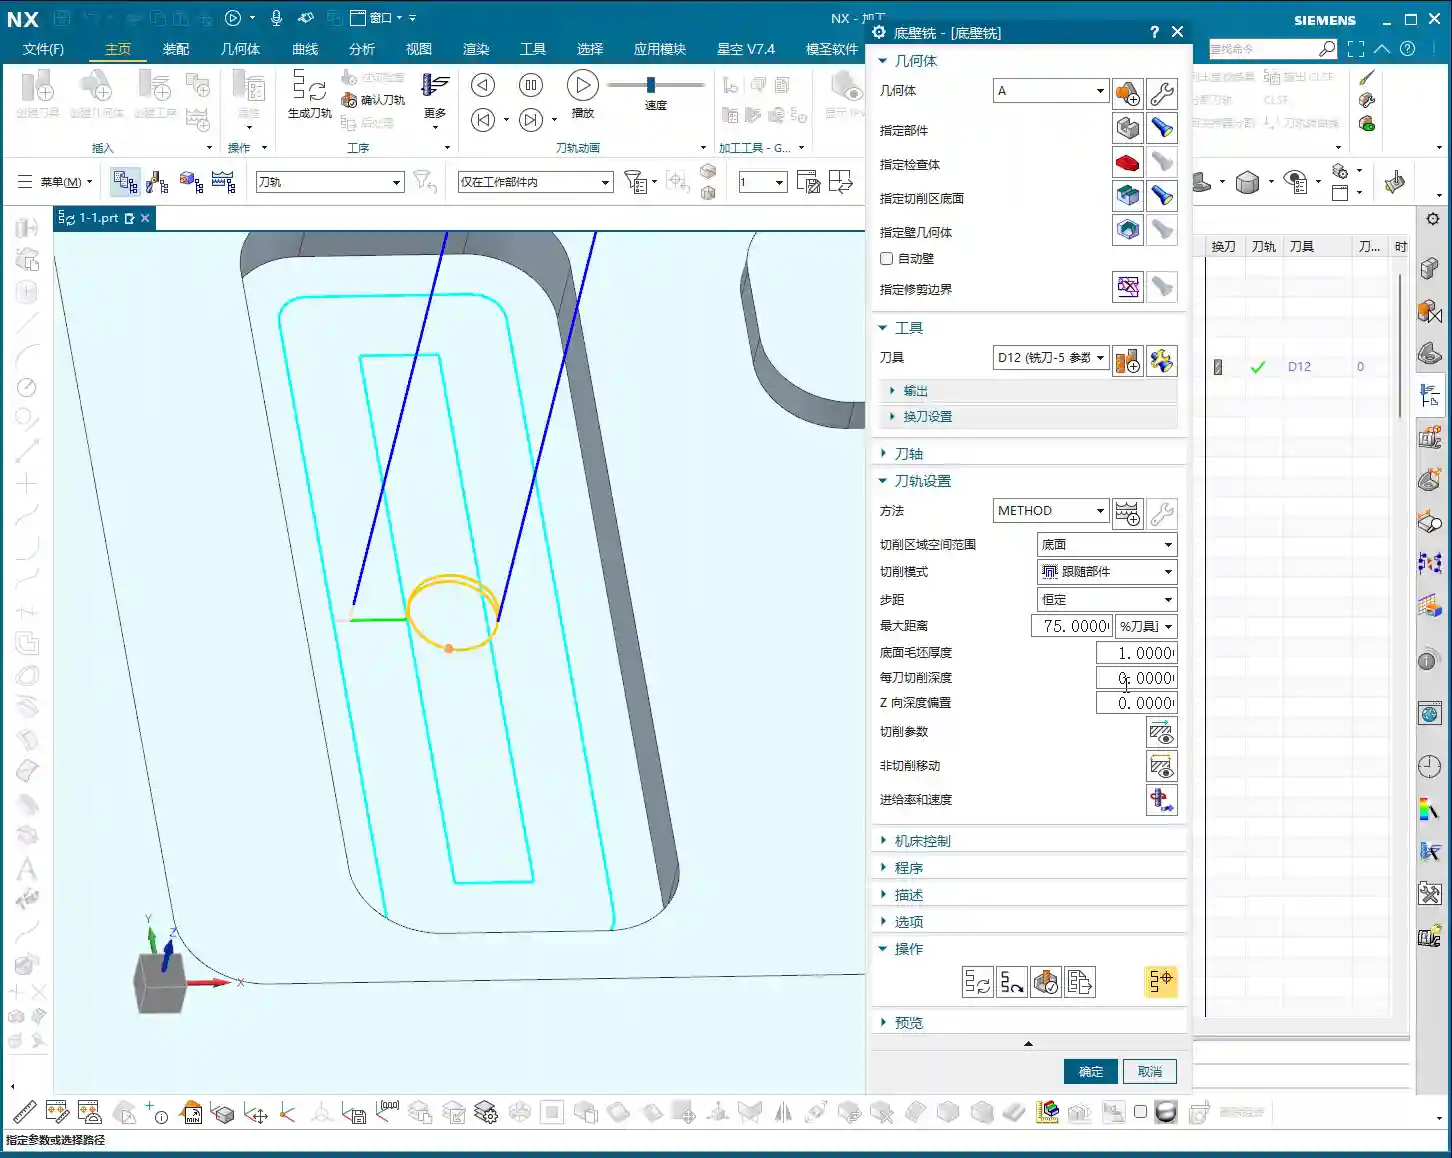
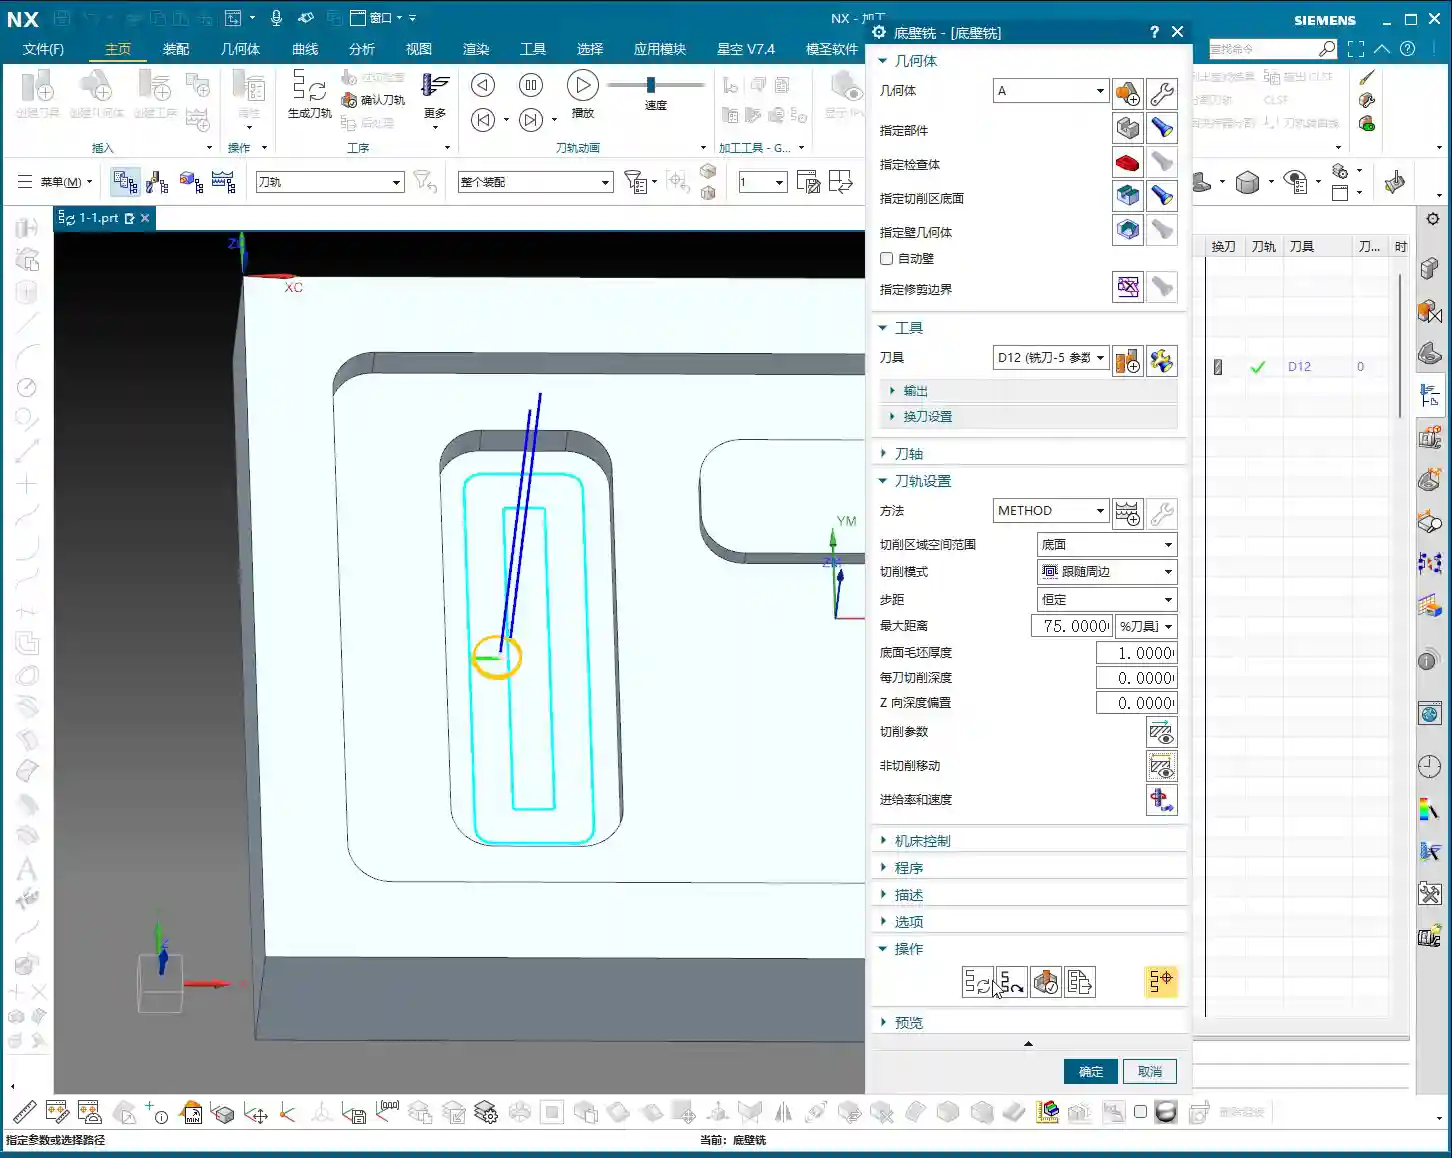
Entry motion, in particular, is the tool’s first contact with the workpiece, determining the initial state of cutting forces on the tool. Especially when encountering enclosed regions, the tool cannot simply enter from the side; it must “drill” into the material. This requires careful consideration of how to “drill” in a stable and efficient manner.
Region Type Analysis: Enclosed vs. Open, How Siemens NX Sees It?
First, you need to understand whether the area you’re machining is enclosed or open. Siemens NX programming is much smarter than you might think.

What is an Enclosed Region?
Simply put, it’s an area where the tool cannot directly enter from the side. For example, a fully enclosed deep pocket, blind hole, internal groove, etc. The tool must either plunge vertically into the material or descend to the specified depth via helical or ramp entry before cutting can begin.
Master Wang’s Insight: When encountering such areas, the tool is like a diver entering the water; it needs a safe and stable way to descend. Otherwise, plunging straight in will lead to severe Depth of Cut (DOC), causing problems!
What is an Open Region?
As the name suggests, this is an area where the tool can freely enter from the outside of the workpiece or from the side of an already machined area. For example, the outer contour of a part, an open slot, or an internal area that has already been opened up through roughing.
Master Wang’s Insight: Open regions are much easier; the tool can directly plunge in, or gently “graze” in from the side, eliminating the need for helical entry and resulting in higher efficiency.
Siemens NX’s Intelligent Judgment: Don’t Blindly Change Parameters!
I want to emphasize that Siemens NX is very intelligent! After you select a machining region, it will automatically determine whether it’s an enclosed or open region. Accordingly, it will only apply the entry motion parameters you’ve set for that specific region type.
- If you’re machining an enclosed region, then changing “open region entry motion parameters” as much as you like will be useless! It will only look at the settings under “enclosed region entry motion.”
- The inverse is true: when machining an open region, it will only acknowledge the “open region entry motion” parameters.
Master Wang’s Reminder: Don’t waste time changing parameters that won’t take effect! You might think the software will obey you, but in reality, it has its own “judgment.” You need to clearly identify what type of region you’ve selected, then apply the appropriate settings. The yellow line in the software simulation is the entry path you really need to pay attention to!

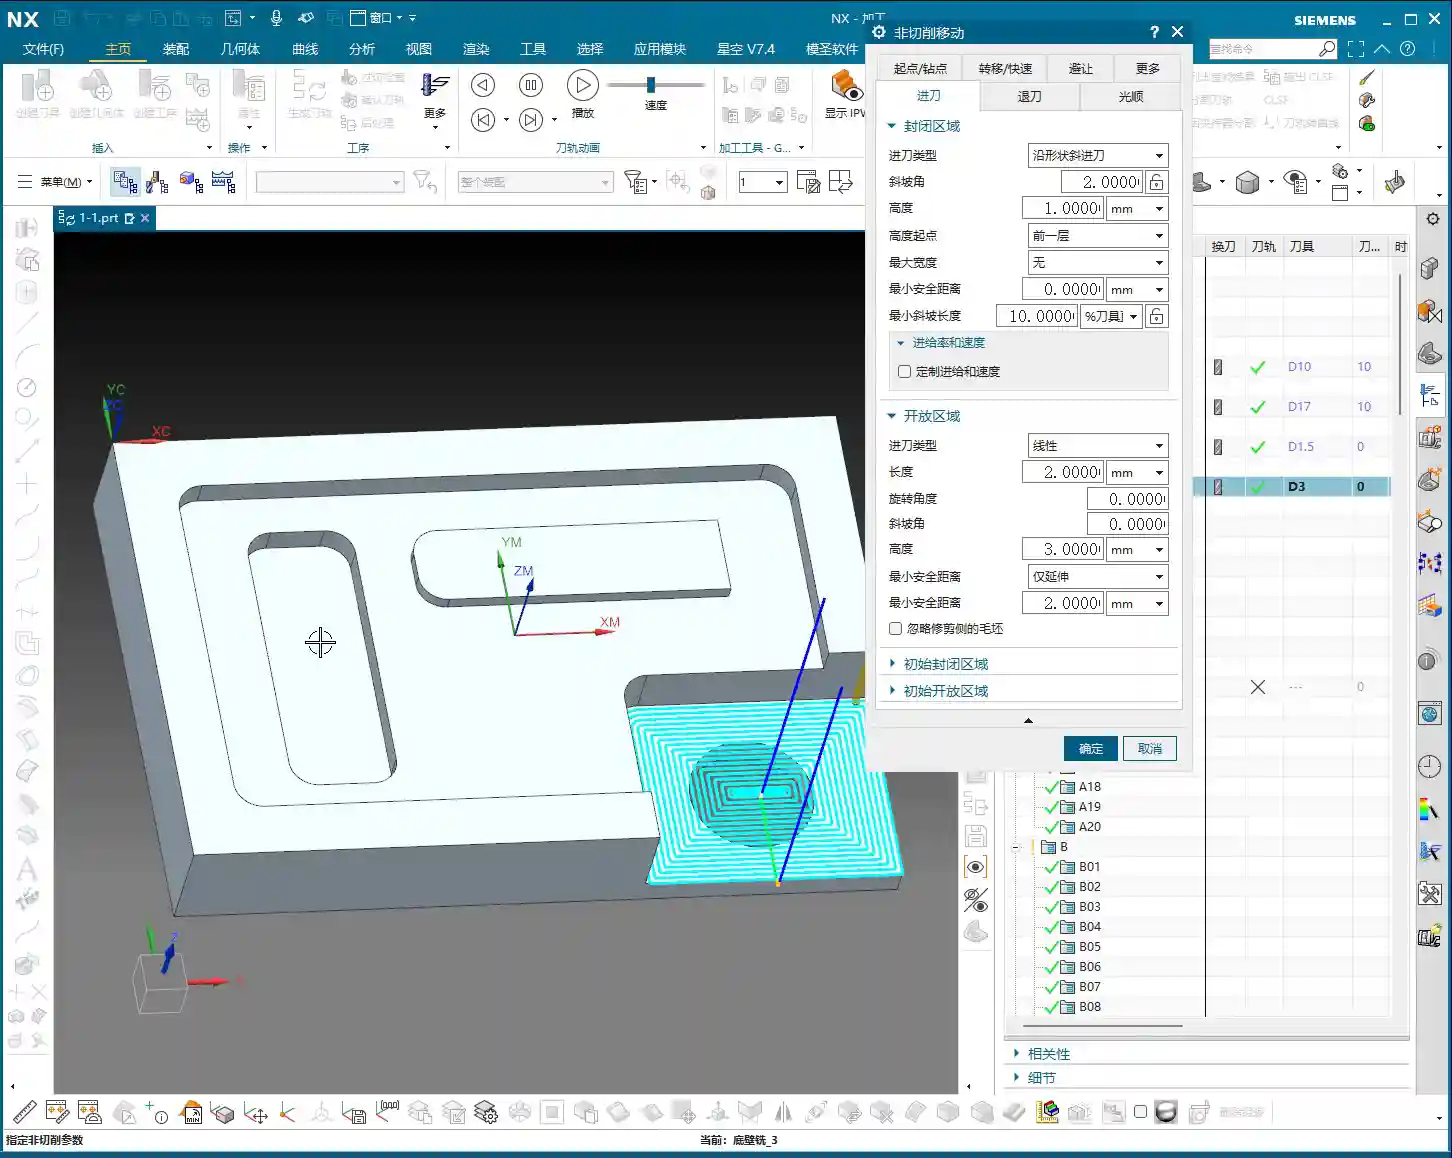
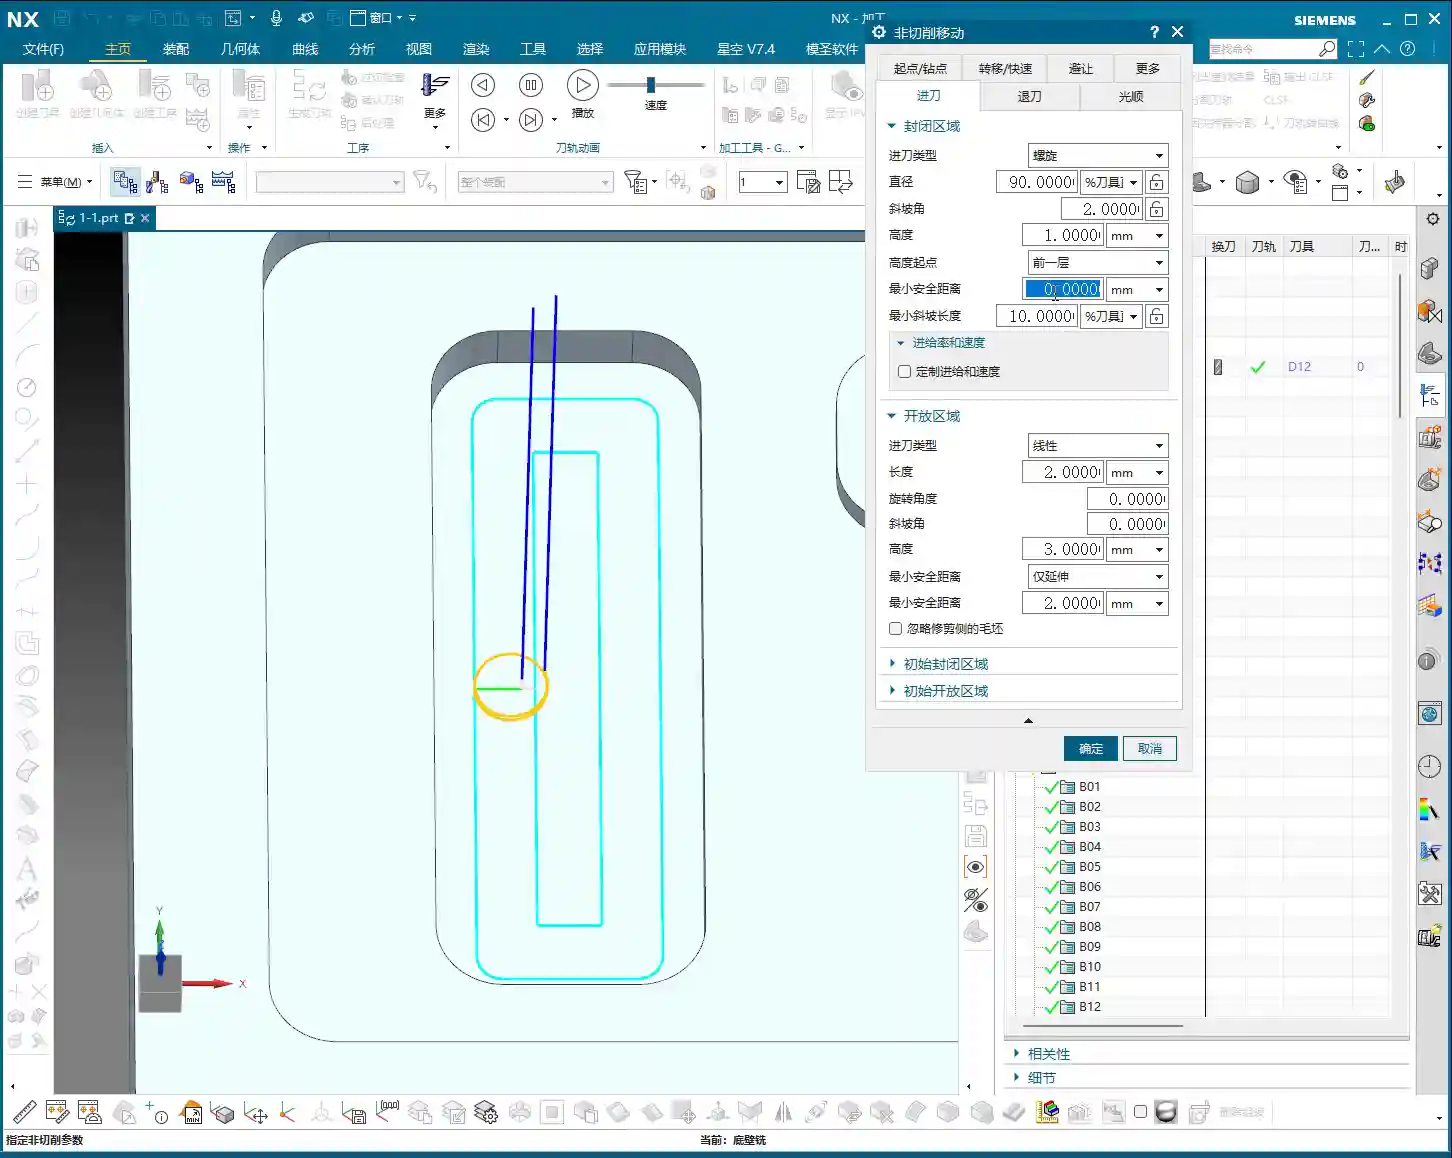
Entry Strategies for Enclosed Regions: Helical is King!
For enclosed regions, the most common and safest entry method is Helical Entry. The tool slowly descends in a helical path, gradually engaging the material, which avoids the massive impact of vertical plunging and significantly extends tool life.
Helical Entry Core Parameters

In Siemens NX’s “Non-Cutting Moves” settings, find “Enclosed Region Entry Motion,” and pay close attention to these parameters:
- Diameter: This parameter controls the diameter of the helical entry. It’s usually defaulted to 90% of the tool diameter.
Master Wang’s Insight: Don’t arbitrarily reduce this value! If the diameter is too small, the tool’s center load becomes excessive, leading to wear and even tool breakage. Especially when machining hard materials like titanium alloys or high-temperature nickel-based alloys, ensuring sufficient diameter is crucial for tool survival.
- Ramp Angle: This is the angle at which the tool descends helically. It’s usually defaulted to 2 degrees.
Master Wang’s Insight: This angle is the balance point between efficiency and safety. A smaller angle means smoother entry, less force on the tool, but a longer entry time. A larger angle means faster entry, but also greater impact and load on the tool.
- Soft materials (e.g., aluminum): The angle can be appropriately increased, for example, to 3-5 degrees, to improve efficiency.
- Hard materials (e.g., mold steel, titanium alloys): Be conservative, maintain 1-2 degrees, or even smaller, to ensure tool safety.
- Tool characteristics: Two-flute tools can tolerate larger entry angles than multi-flute tools because the cutting force is distributed among fewer flutes.
- Start Height for Ramp: This parameter determines the Z-axis height from which the helical entry begins. In Siemens NX, options like “Incremental Depth,” “Current Length,” or “Top Surface” are common.
Master Wang’s Insight: Generally, choosing “Incremental Depth” (or a similar setting relative to the previous cut) is safer, meaning the tool starts its helical path from the bottom of the previous toolpath or a safe height above it. You can also specify an absolute value, such as 1mm or 2mm (approx. 0.04-0.08 inch), allowing the tool to begin helical entry 1-2mm above the current cutting plane.
Practical Point: This height should not be set too high, as it will result in too many rapid moves and waste time. Nor should it be set too low, as the tool might crash into the material before even starting the helical path.
Minimum Safe Distance
This parameter, during helical entry, controls the minimum distance between the helical path and the workpiece wall. When you set this value, for instance, 0.1mm (approx. 0.004 inch), the tool’s outermost edge will maintain at least 0.1mm clearance from the workpiece wall during helical descent.
Master Wang’s Insight: This is about giving the tool “breathing room”! Especially with new tools, high-precision machining, or when slight machine wear causes accuracy deviations, setting a small safe distance can effectively prevent the tool from scraping the sidewall during helical entry, protecting the tool and ensuring the side wall’s surface finish. However, this value shouldn’t be too large, or it will leave stepped unmachined material, requiring subsequent cleanup, which creates more hassle. Typically, 0.05-0.1mm (approx. 0.002-0.004 inch) is sufficient.
Minimum Ramp Length
This is an easily overlooked, yet critically important parameter for certain tools! It refers to the minimum cutting width that needs to be maintained during helical entry to ensure that the tool’s effective cutting edges are fully engaged.
Master Wang’s Secret: Tool Type and Ramp Length Percentage
-
Solid Carbide End Mill: These tools typically offer full-flute cutting, with no “blind spot” at the tool tip. Therefore, their helical entry diameter can be relatively small, such as 10% to 20% of the tool diameter, or even smaller.
-
Indexable Insert Tool: Pay attention! Tools like face mills and shell mills are assembled with inserts, and their centers often have a “blind spot” – an area without cutting edges. If your helical entry path diameter is too small, causing the tool’s central blind spot to contact the workpiece, you’re asking for trouble – increased tool wear, unstable cutting, poor surface finish, or even immediate tool breakage!
For indexable insert tools, the helical diameter corresponding to this “Minimum Ramp Length” parameter typically needs to be set larger. Generally, it’s recommended to set it to 50% to 70% of the tool diameter to ensure all inserts effectively engage in cutting and avoid the blind spot. Remember, don’t just rely on software simulation; consider the actual tool geometry and cutting principles!
Summary: Pitfall Avoidance Guide
- Clarify Region Type: Before machining, always clearly determine whether it’s an enclosed or open region to avoid setting ineffective parameters. Siemens NX will make its own judgment, but you should have a clear understanding as well.
- Fine-Tune Helical Entry Parameters:
- Diameter: Generally keep the default 90%, unless you have special considerations, such as a small diameter tool machining a deep hole.
- Ramp Angle: Adjust according to material hardness and tool type. Use a small angle for hard materials, and a slightly larger angle for soft materials. But always remember: safety first!
- Start Height for Ramp: Select an appropriate Z-value to avoid excessive rapid moves and prevent collisions.
- Balancing “Minimum Safe Distance”: Don’t set it too large, or it will leave unmachined material; don’t set it too small, or there’s a risk of scraping. 0.05-0.1mm (approx. 0.002-0.004 inch) is the common range.
- “Minimum Ramp Length” is Key: For indexable insert tools, this is paramount! Ensure the helical diameter is large enough to prevent the tool’s blind spot from cutting into the workpiece. This is based on experience, not something the software can fully account for on its own.
- Optimization Means Savings: Every parameter adjustment directly impacts your machining time, tool consumption, and product quality. Don’t be afraid to experiment; adjust, simulate multiple times, and find the optimal process parameters for your needs.
Alright, that’s all for today. Remember, software is just a tool. A true expert understands these parameters, making the machine work for them, instead of being led by the software!
👤 About the Author:
The author is a veteran CNC machining professional with 15 years of industry experience, specializing in UG NX programming. This article is an original work representing personal practical insights.
⚠️ Copyright Notice: Unauthorized reproduction or distribution without prior communication is strictly prohibited.
Leave a Reply