📝 Key Takeaways: ** NX Master Wang’s practical tutorial: Detailed explanation of rib roughing, focusing on conquering stock allowance control and tool selection challenges. Unveiling the ingenious use of auxiliary bodies, optimizing toolpaths to avoid pitfalls, and enhancing machining efficiency and precision. Learn the real skills! **
Listen up, folks, it’s Master Wang here. Last time, we discussed the blank dimensions and general strategy for the outer frame. This time, we’re getting down to serious business—we’re going to start programming this part, especially the roughing of these ribs and stock allowance control. This is where the real skill shines in practical machining! Don’t think it’s just about clicking a few buttons in NX; there are no do-overs on the actual machine.

Step One: Part Analysis and Initial Tool Selection

When you get a part, the first thing isn’t to rush into NX. Instead, use your keen eye and calipers to check all the dimensions. Especially those arcs and radii; their sizes directly determine the diameter of your first tool and its Depth of Cut.
Getting Down to Basics: Radii are Key
- For this part’s radii, we measured the outside to be R2, and some internal ones are R5. An R5 means we’ll need at least an R2.5 tool to clean it out properly. But for roughing, considering efficiency and tool strength, we can start with a larger one.
- As we discussed, for roughing, a Ø12R2 or Ø16R2 tool would work. After checking inventory, I found a Ø16R1.5 tool to be more suitable. It meets most roughing demands and offers good tool commonality. There’s no perfect tool, only the one best suited for the current operation.
- For side walls and flat surfaces, we’ll pick a Ø6 ball end mill later for Contour Milling; nothing much to say there.
Parting Off Operation: To Be Discussed Later
Oh, and for the final parting off operation, use a Ø10 flat end mill. We’ll cover that separately later. Today, let’s focus on Roughing; don’t try to take on too much at once.


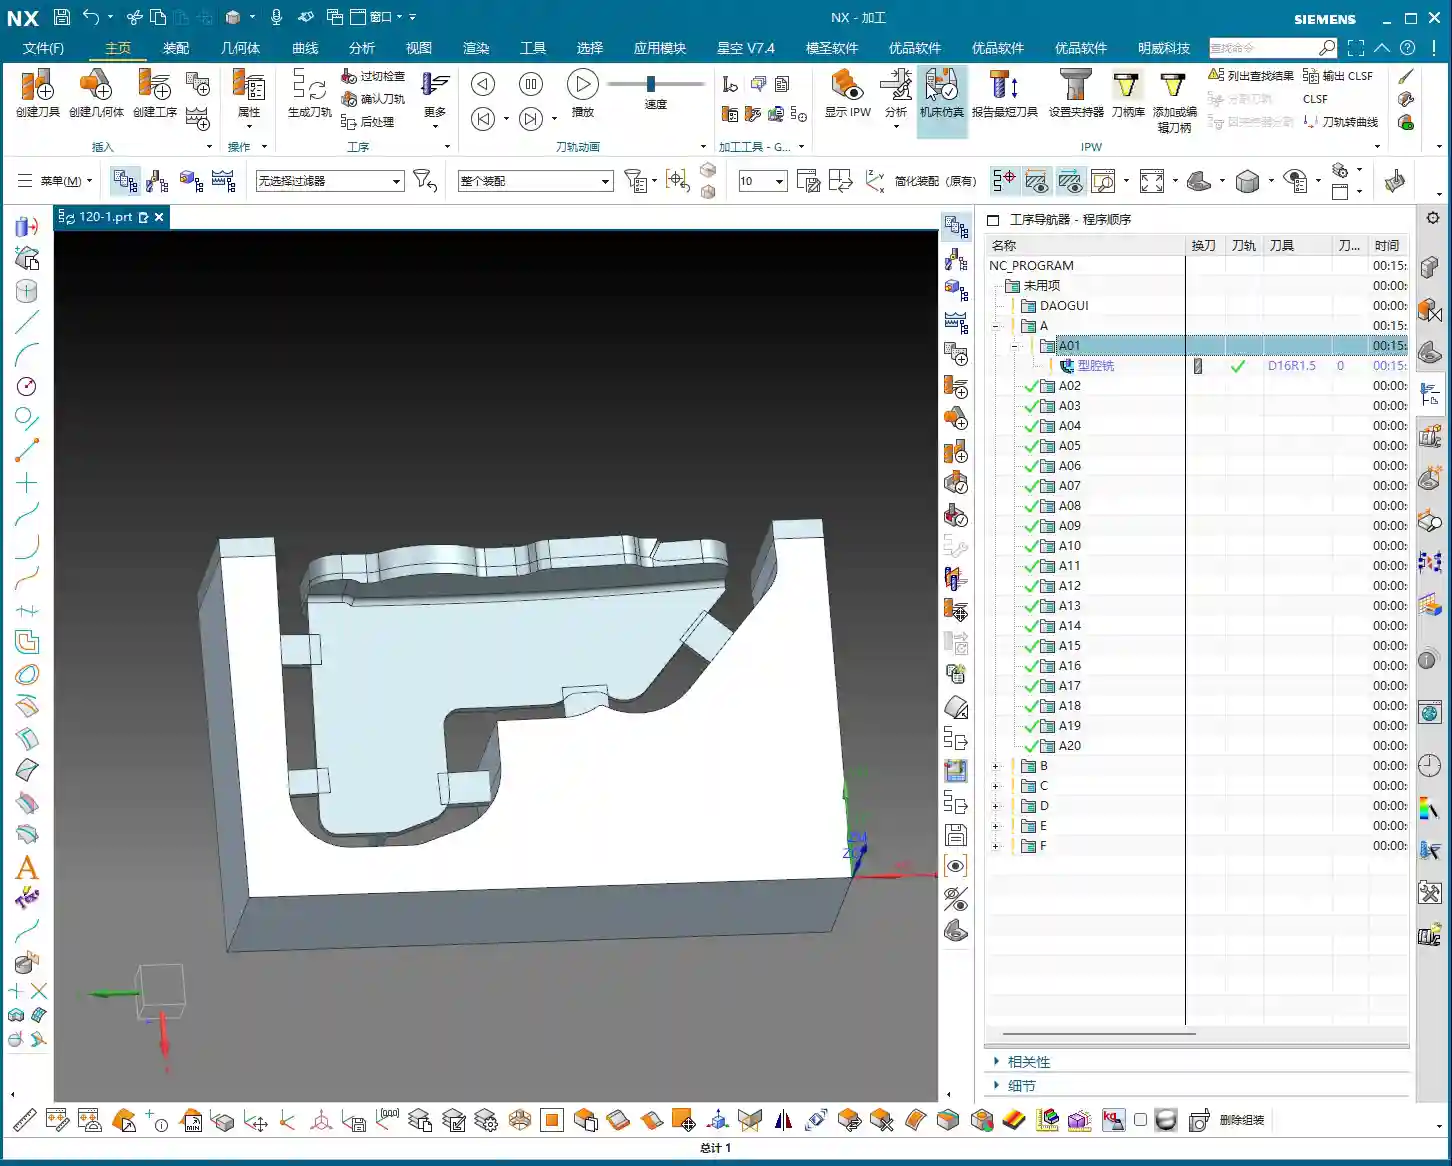
NX Environment Setup: Blank and Part Definition

In NX, coordinate systems, blanks, and parts are always discussed, but the more fundamental something is, the less you can afford to be careless. Get your Work Coordinate System wrong, and everything after it is useless. The blank dimensions are 100x100x200mm; we covered this last time. Just set it up, no need for more talk.

Clever Use of Main Part and Auxiliary Bodies
When defining the “part,” we need to select all solid faces as the machining object. However, there are some areas we might not want to machine in the current operation, or we want to save them for a later setup. This is where we bring in the good old “auxiliary body”.
- For instance, the top plane of this part: to prevent the toolpath from wandering or having excessive retracts during roughing, we can temporarily exclude it from machining.
- I usually create an extruded body, extending it beyond the blank dimensions, to serve as our “auxiliary body”. In programming, set it as a “check geometry” or “trim boundary”. This way, the tool will either avoid it or only cut within its defined limits. This is a practical skill you won’t learn from textbooks; it’ll save you a lot of headaches and reduce air cutting.
- Don’t forget, the sides of the part should be handled similarly, as we plan to flip them over for machining later. So, we’ll leave them untouched on this setup.

Roughing in Practice: Ribs and Outer Frame
Now, let’s get to the actual material removal. Roughing these ribs requires a “steady” approach: first, aggressive cutting, then fine-tuning.

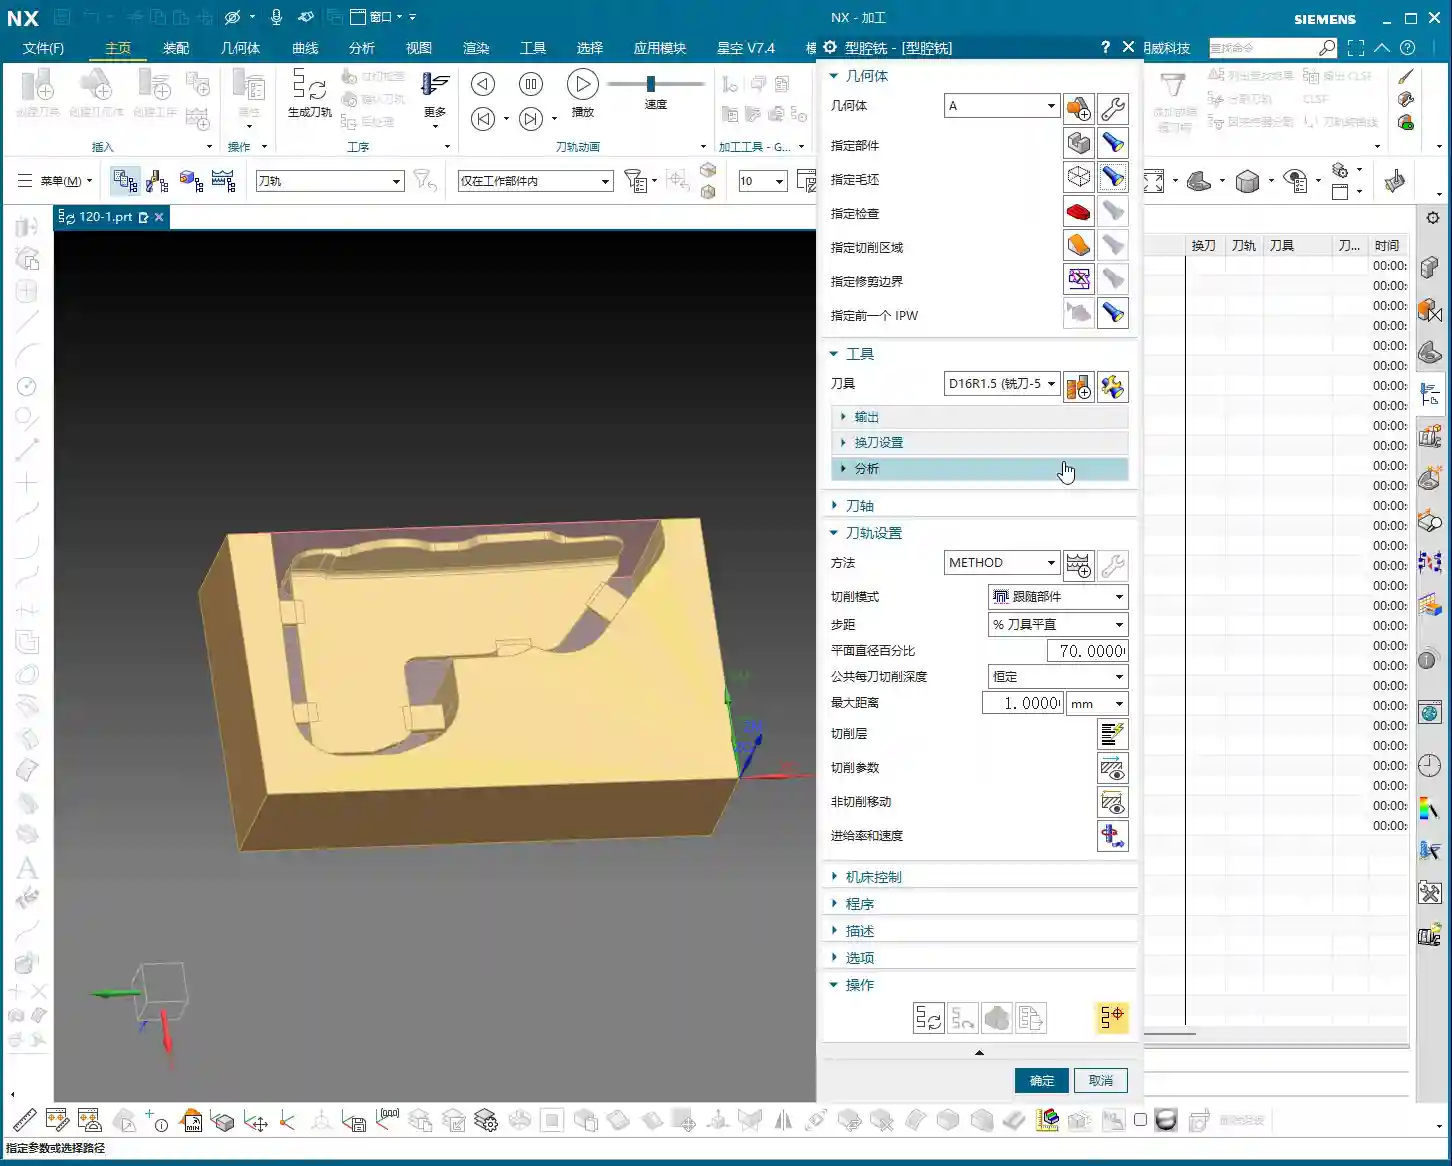
First Pass Roughing: Ø16R1.5 and Stock Allowance Control
- We’ll use a Ø16R1.5 tool with a “Follow Periphery” toolpath. This is the most common roughing strategy, offering high efficiency.
- Here’s the critical part! For the outer frame, we’re leaving no stock allowance during roughing; we’ll machine it directly to size. Why? Because the outer frame is typically quite regular, allowing for direct finishing, which saves an operation and money! However, for internal ribs and other part features, you must leave a 0.3-0.5mm stock allowance. This provides sufficient material for subsequent semi-finishing and finishing passes, ensuring final accuracy and surface quality. Don’t underestimate a few tenths of a millimeter; it can save your hide!
- In NX, remember to set the stock allowance for the outer frame to 0, and for internal features, set it to 0.3mm.
- When simulating the toolpath, observe carefully. You might find some areas where the toolpath isn’t ideal, perhaps only two passes, or unnecessary retracts. Don’t panic! This isn’t the software’s fault; it’s an issue with our strategy. For these less-than-ideal areas, if they’re not critical dimensions or can be resolved in subsequent operations, leave them for now. Or, as I mentioned, use an auxiliary body to isolate them and deal with them later.
Secondary Roughing: Precision Corner Cleanup for Ribs
After the initial Roughing, those tight corners and areas the previous tool couldn’t reach will need to be cleaned up with secondary roughing.
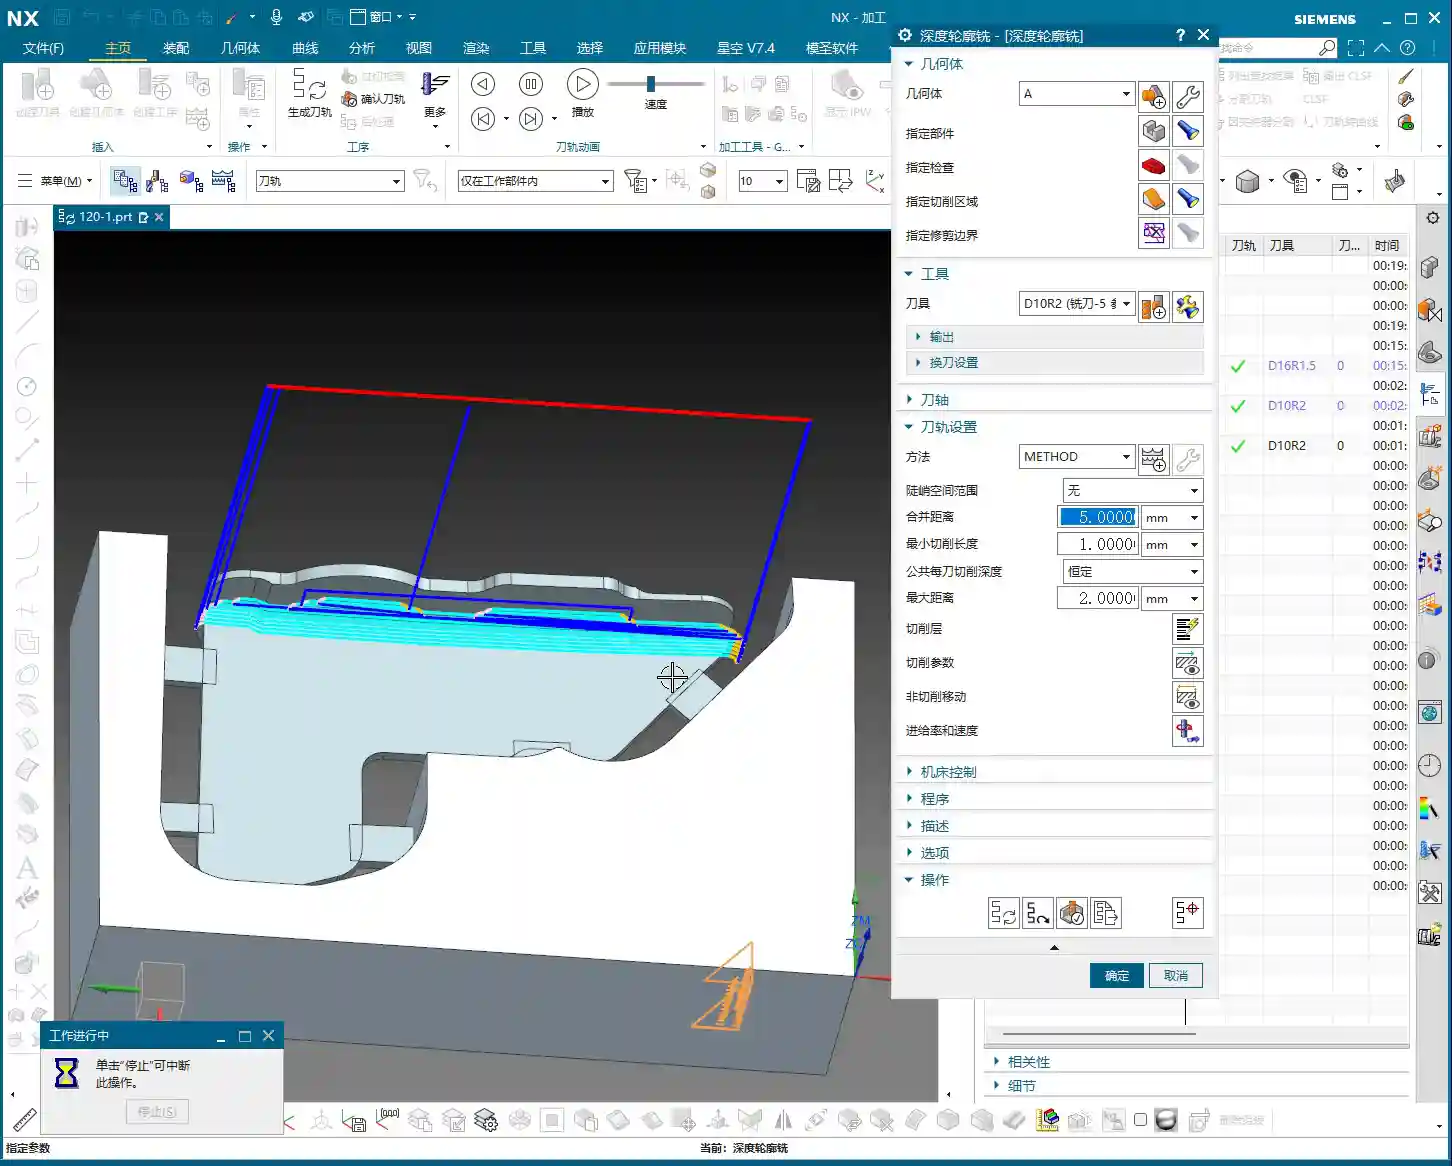
- Select a Ø10R2 tool. If it’s not in your tool library, create one. Name it clearly, something like “D10R2”, for easy management.
- Continue to leave about 0.35mm stock allowance, providing room for the Finishing pass.
- Controlling the Depth of Cut per pass (or layered cutting) is crucial. Don’t try to machine it all in one go; the tool won’t handle it, and you might even chip it. Based on the material and tool, set the axial Depth of Cut (AP) to 0.6mm or 0.7mm. This ensures both efficiency and tool protection.
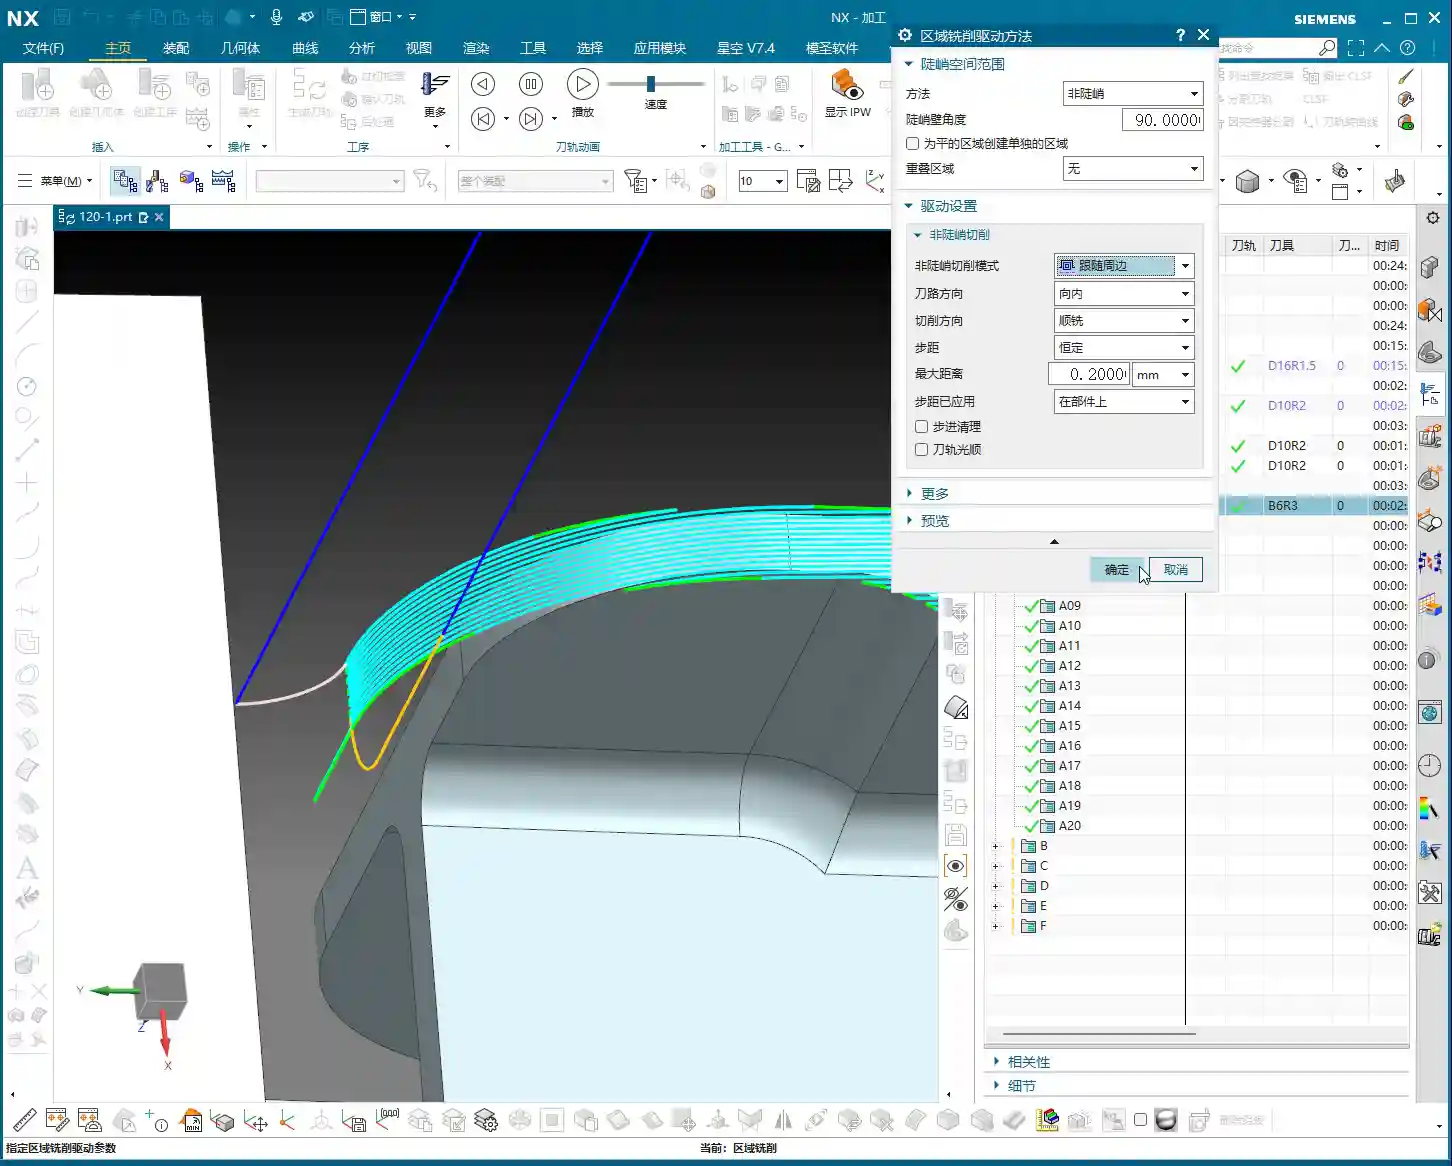
- When checking the toolpath, pay special attention to the roots of the ribs, ensuring the tool effectively removes the remaining material from the previous roughing pass. This is fundamental for a smooth finishing pass.
Summary: Pitfall Avoidance Guide
- Corner Radius Dictates Tool Selection: The smallest radius on the part is the deciding factor for selecting your tool radius. For Roughing, you can use a slightly larger radius, but not excessively so.
- Clear Stock Allowance Strategy: For non-critical mating surfaces like the outer frame, you can directly machine to size (0 stock allowance). But for internal mating surfaces, ribs, etc., you must leave sufficient stock allowance (e.g., 0.3mm); this is your “fallback” for Finishing passes.
- Auxiliary Bodies are Great Helpers: Make good use of auxiliary bodies as “check geometry” or “trim boundaries” to effectively control toolpath boundaries, avoid air cutting, optimize machining paths, and reduce unnecessary retracts.
- Layered Cutting for Tool Protection: During Roughing, don’t be greedy with your Depth of Cut. Set the DOC per pass reasonably to both improve efficiency and extend tool life, reducing costs.
- Don’t Blindly Trust Simulation: No matter how realistic software simulation is, it’s still just a simulation. Ultimately, you need to observe the cutting sparks on the machine and listen to the cutting sounds—those are the real feedback. If you find issues in simulation, think about them. If you encounter issues on the machine, you must stop and analyze.
- Multi-dimensional Consideration: Programming isn’t a one-off task; you must consider subsequent operations, and even the entire machining workflow. For example, if you don’t machine this face now, can it still be completed after flipping the part? All of this needs to be planned in advance.
That’s all for today. These are insights I’ve gathered from fifteen years of hard work on the shop floor, and I hope they help you. Don’t just listen; get hands-on, practice, and think critically to truly master these skills! Next time, we’ll talk about something else.
👤 About the Author:
The author is a veteran CNC machining professional with 15 years of industry experience, specializing in UG NX programming. This article is an original work representing personal practical insights.
⚠️ Copyright Notice: Unauthorized reproduction or distribution without prior communication is strictly prohibited.
Leave a Reply