📝 Key Takeaways: Practical application of Deep Contour Milling in Siemens NX. Master Wang explains finishing sidewalls, holes, and corner cleanup, utilizing tools like D20 and 4R1. He deeply analyzes the “single pass to full depth” pitfall for multi-hole features and offers a “Tool End Point Tracking Upwards” solution. The emphasis is on precise fixturing, rational tool selection, and area-specific programming as key to boosting efficiency and mitigating risks. [META] Title: Deep Contour Milling in Siemens NX: Master Wang Shows You Hand-on Finishing, Avoiding Common Pitfalls! Tags: Siemens NX, Deep Contour Milling, Finishing pass, Toolpath Optimization, Helical Milling, Practical Experience, Master Wang, CNC Programming, Machining, Pitfall Avoidance Guide, NX CAM
Hello everyone, I’m Master Wang! Today, no fluff, just straight to the practical stuff. Last time we talked about deep contour milling, helical milling, and corner cleanup—all tough nuts to crack in finishing. This time, I’m taking a real-world part and walking you through how to master these operations in Siemens NX, especially those ‘tricks’ and ‘major pitfalls’ you won’t find in textbooks. Listen up, this is 15 years of hard-earned experience!
Core Process Analysis: Deep Contour Milling Finishing
Workpiece Preparation and Initial Positioning
Newcomers to Siemens NX programming might think you can just drop a part anywhere and start creating toolpaths. In a teaching demonstration, to save time, I might indeed ‘place it casually’. However, in actual machine operation, precise workpiece positioning is the first and most critical step! If your blank isn’t aligned or clamped properly, no matter how perfect your program is, it’s all useless once the machine starts running. Don’t just rely on software simulation; look at the cutting sparks and the actual results.
Today, let’s start with one face, using deep contour milling for finishing the sidewalls.
Sidewall Finishing Toolpath Programming (First Face)
Select the ‘Deep Contour Milling’ operation, then define the machining regions. Here, we’ll finish several internal sidewalls of the part, including those with corner radii. In Siemens NX, after you select a face, it sometimes automatically recognizes related sidewalls. But remember, the machine is rigid, but the operator is not; the final outcome depends on our experienced judgment.
For the tool, I’ve directly chosen a D20 tool here. Let’s set the Depth of Cut (DOC) for each pass to 5 mm initially. Leave other parameters as default for now, and generate the toolpath to see the effect. Siemens NX’s simulation capabilities are powerful, but they won’t tell you if the tool will chatter or if you’re taking too deep a cut. You need to rely on your ‘feel’ and ‘eyesight’ to judge these things.

Key Optimization: Single Pass to Full Depth and Depth Compensation
After generating the program, you’ll notice that if the sidewalls are deep, the tool cuts in layers. For finishing passes, sometimes we want a single pass to full depth. This reduces blend lines and improves surface finish. The audio mentioning ‘5 mm is a bit excessive’ refers to this very point.
At this point, we can directly change the Depth of Cut for each pass to 0 to achieve a ‘single pass to full depth’. Of course, this depends on your tool’s rigidity and the workpiece material’s hardness. For instance, try this with titanium, and your tool will be ruined! With aluminum, it might not be an issue. So, parameters are not set in stone; you must adjust them flexibly based on the actual situation. Here, our goal is to finish the sidewalls, and a single pass to full depth will yield better results, provided tool rigidity is maintained.
Additionally, if you find the bottom surface isn’t fully machined, you can slightly extend the cut downwards by 2 mm to ensure thorough corner cleanup and no residual material. These are fine-tuning tips gained from practical experience, which textbooks might not detail this extensively.
Multi-Face Switching and Work Coordinate System (WCS) Setup
Switching Workpiece Orientation and Work Coordinate System (WCS)
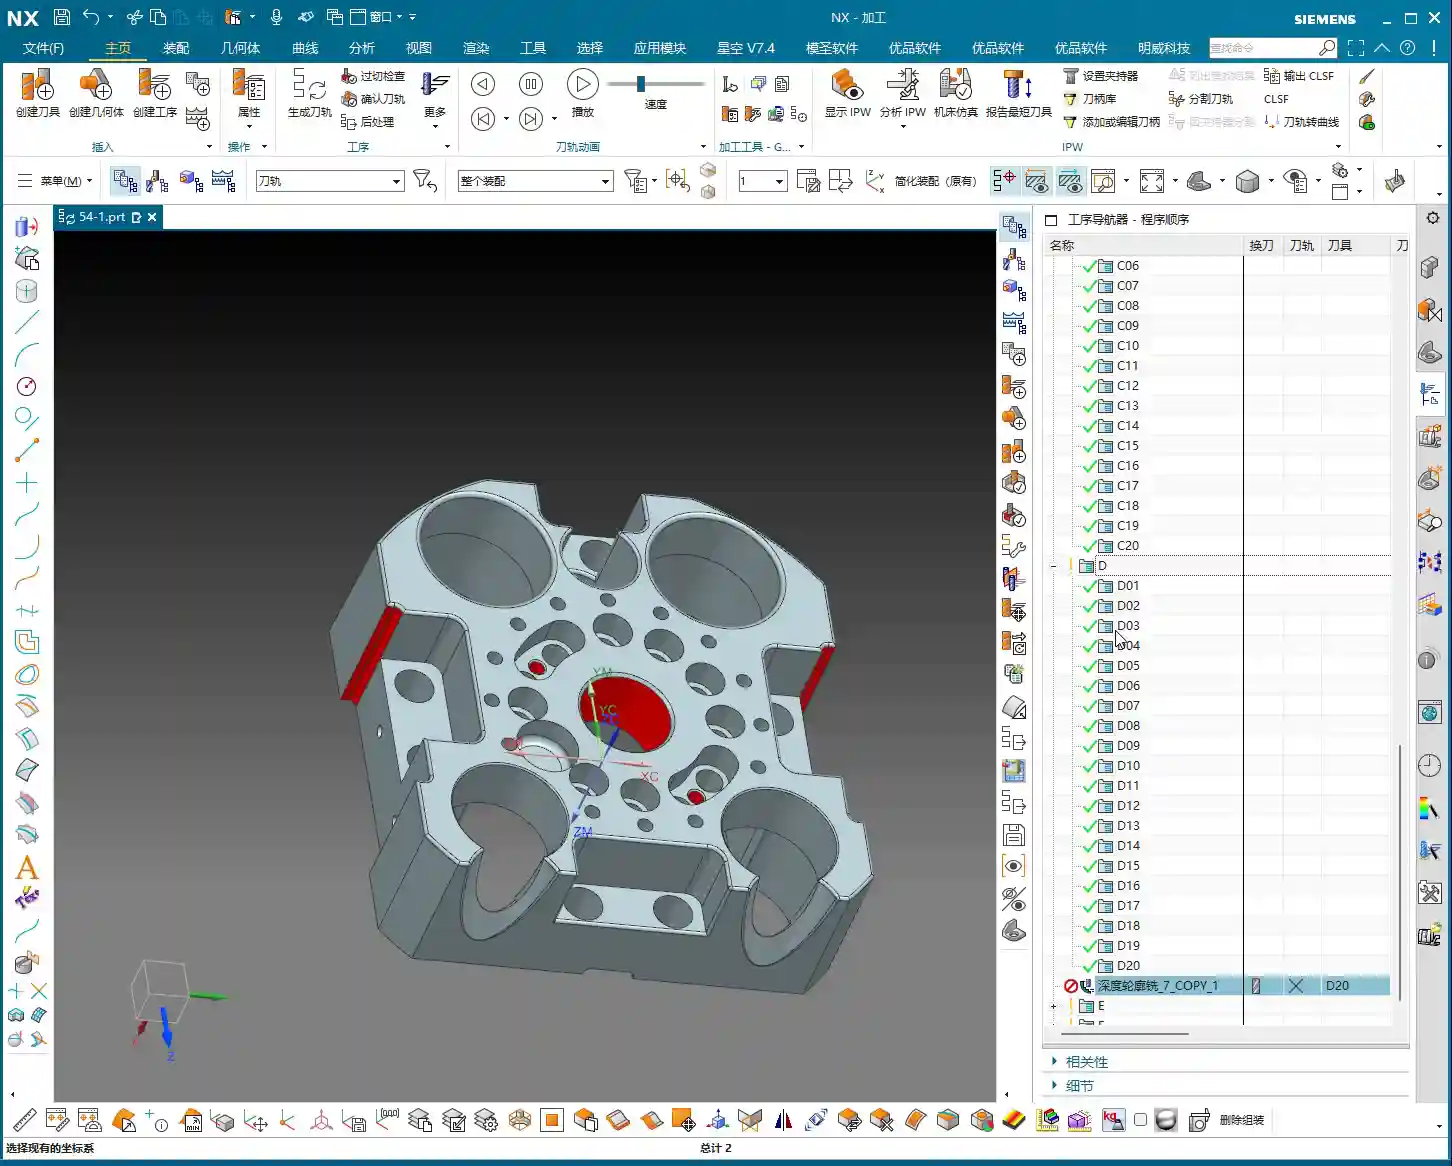
Once one face is machined, we need to switch to another. In Siemens NX, this involves changing the Work Coordinate System (WCS). Select a new datum plane, adjust the Z-axis direction, and then copy-paste your previously programmed operations to significantly boost efficiency. This copy-paste trick is favored by seasoned machinists; it’s a real time and effort saver.

Programming Reuse and Region Selection
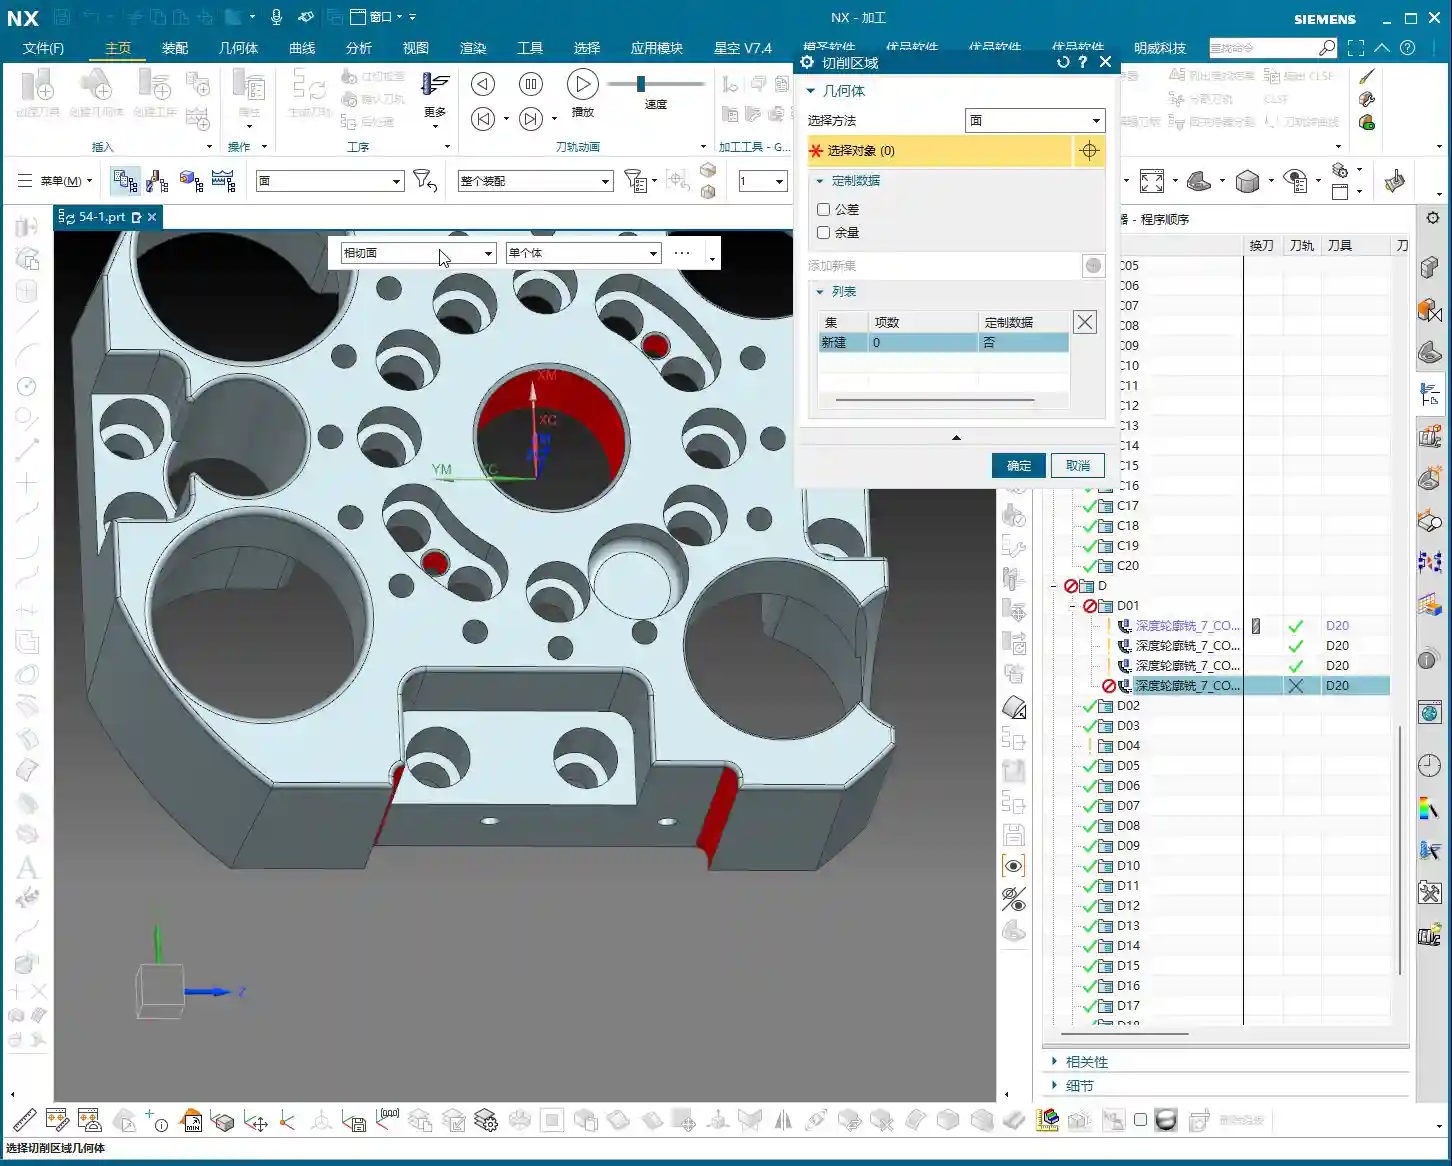
After switching faces and copying the program, you’ll need to re-specify the machining regions. Here, we’ve selected several holes and sidewalls for machining. Pay attention: Siemens NX can sometimes help you automatically identify regions, but you must carefully check to ensure you haven’t selected incorrectly or missed any. Complex transition surfaces, especially, are easy to overlook.
This time, we’ve chosen a 4R1 tool to machine these areas. We’ll set the Depth of Cut (DOC) for each pass to 0.1 mm; for a finishing pass, precision is key. Furthermore, to avoid excessive back-and-forth cutting, we’re using a helical milling strategy, which results in smoother toolpaths and a better surface finish.
Handling Complex Features: Hole Machining and Extension Strategies
Large Hole Finishing and the ‘Single Pass to Full Depth’ Pitfall
Now let’s tackle a few large holes. I’ve selected all of them, ready to machine them together. However, in practice, newcomers often fall into a major pitfall: if these holes have varying depths, and you use a ‘single pass to full depth’ strategy, Siemens NX will, by default, machine all holes to the bottom of the deepest one! The result is shallow holes being cut through, or simply wasted machining time.
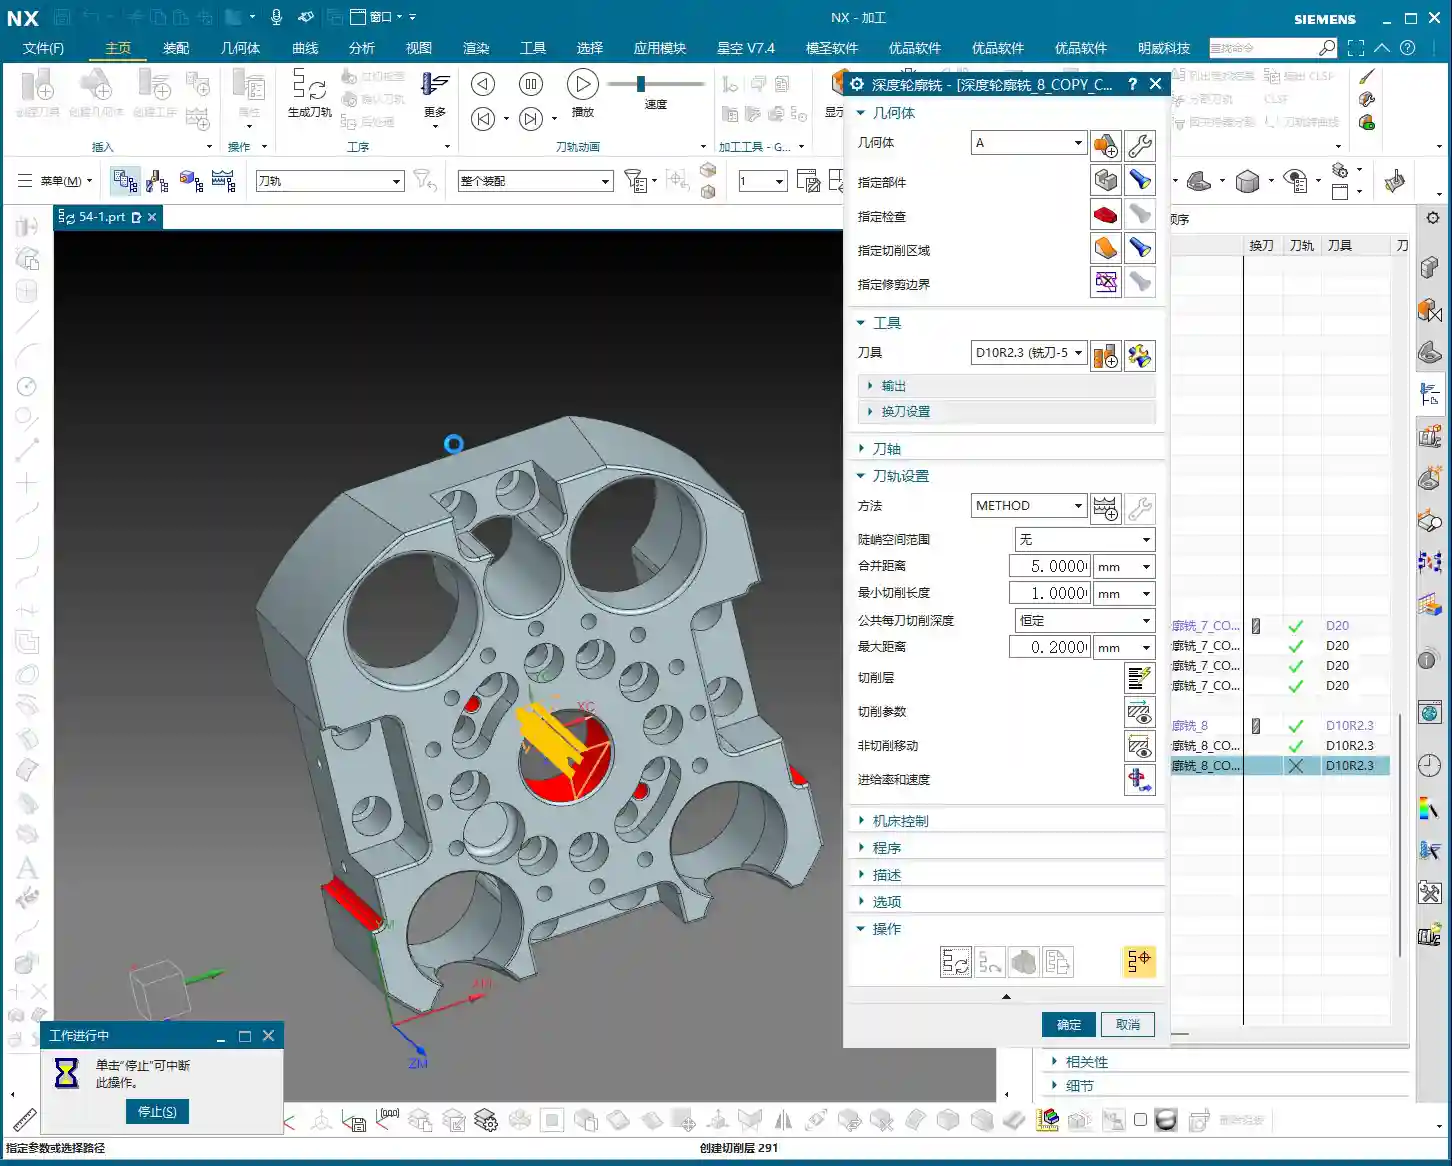
Pitfall Avoidance Key: When facing this situation, don’t force it. You need to adjust the tool end point settings, choosing “Tool End Point Tracking Upwards”. This way, the tool will stop when it reaches the actual bottom of each respective hole, preventing over-machining. This is a critical lesson from my years of experience, saving countless scrapped parts and wasted time!

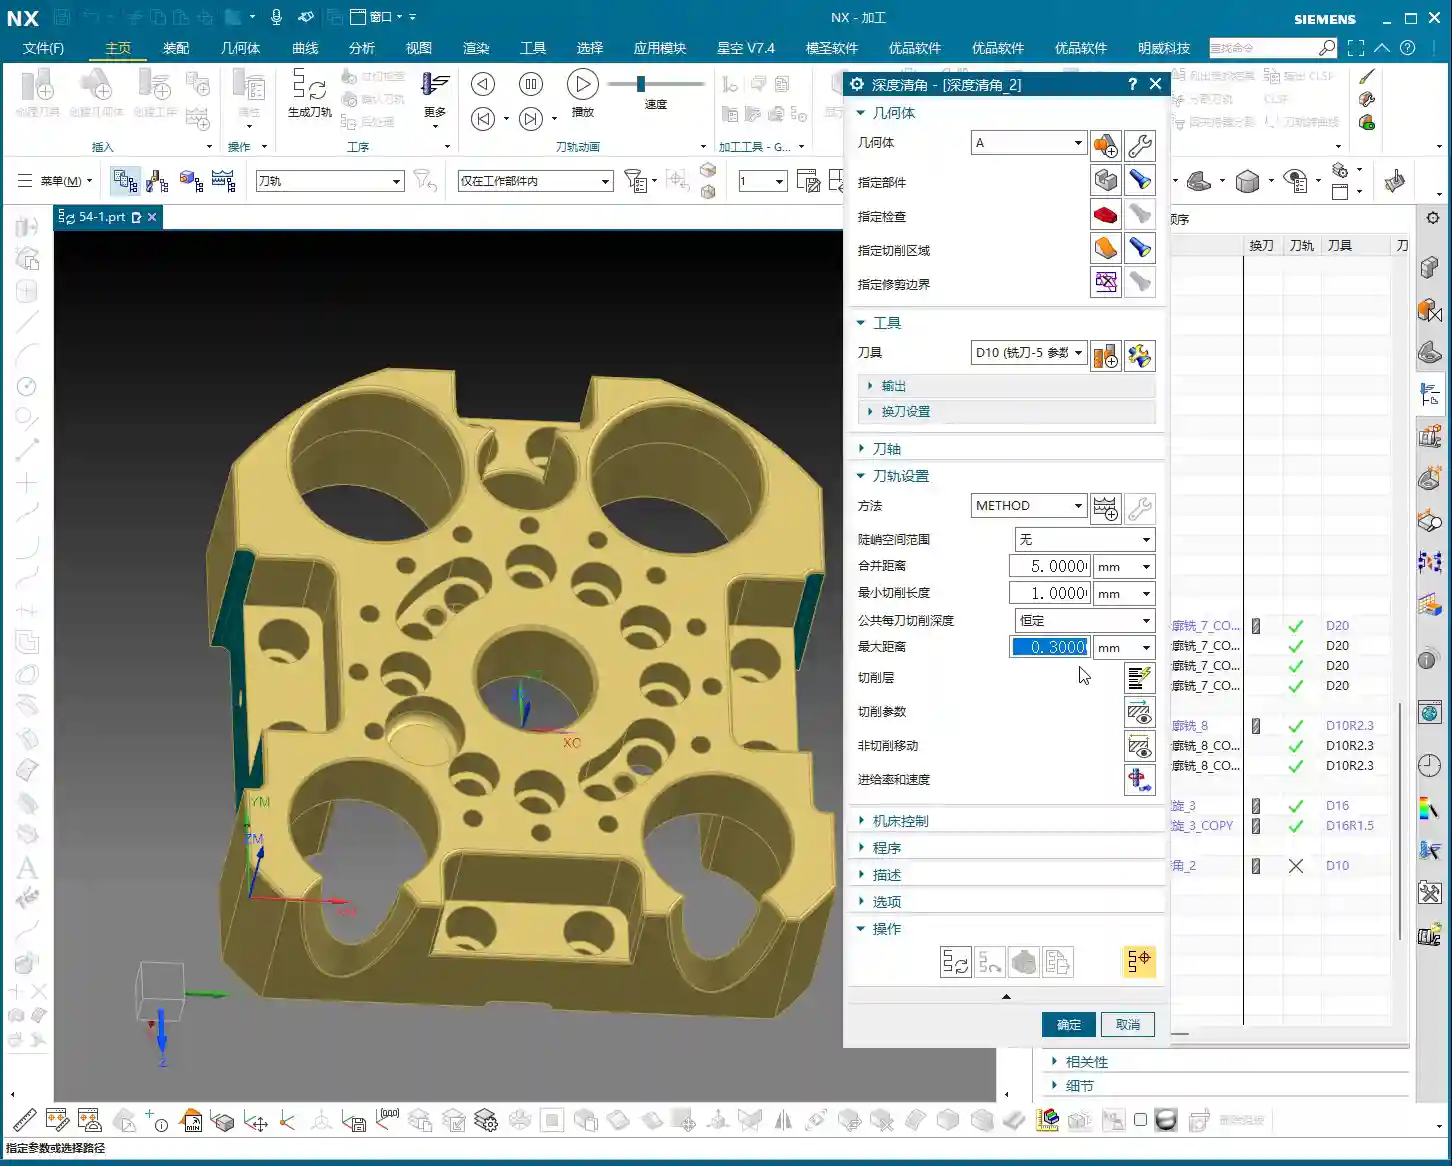
Unfinished Bottom Surfaces and Extension Compensation
Sometimes, even with a finishing pass, when the tool reaches the bottom of a hole or slot, due to tool geometry and residual material, a thin layer might remain, leaving the bottom surface not fully machined. In such cases, you need to compensate by using a ‘Downward Extension’ strategy. For example, extend the cut another 2 mm beyond the original depth to ensure the bottom surface is clean and flat. But extend moderately; don’t mill through the bottom.
Best Practice: Area-Specific Machining and Time Considerations
In teaching, for convenience and to save time, I might select holes of different depths or features to machine together. But listen up, Detail Refinement and Tool Selection
Internal corners on a part, especially radii, are challenging for finishing. If you use a D10 tool to clean an R5 internal corner, it will leave a small radius. If you want a sharper corner, you’ll need a smaller tool or a specialized corner cleanup tool. Here, using a D10 tool for an R5 corner cleanup is a common practice that ensures a good surface finish on the radius without breaking the tool. In Siemens NX, select the corners to clean, then choose the appropriate tool. Always measure the radius size first so you know what you’re dealing with. This is fundamental; don’t get lazy! Once all programs are compiled, always perform a simulation check. Look for any toolpath collisions, missed areas, or unnecessary cuts. If there’s slight under-machining, for instance, needing ‘just a bit more cut,’ then make a small adjustment in the parameters. Sometimes, these ‘tiny’ fine-tunes determine the final quality of the part. All programs should use climb milling for a better surface finish. Listen up, youngsters! Beyond the Siemens NX operations in today’s tutorial, I hope you remember these practical experiences and pitfall avoidance keys:
Corner Cleanup Operations and Tool Matching
Final Inspection and Fine-Tuning
Summary: Pitfall Avoidance Guide
👤 About the Author:
The author is a veteran CNC machining professional with 15 years of industry experience, specializing in UG NX programming. This article is an original work representing personal practical insights.
⚠️ Copyright Notice: Unauthorized reproduction or distribution without prior communication is strictly prohibited.
Leave a Reply