Blog

  • Siemens NX Roughing: Master Wang’s Guide to Conquering Multi-Part Machining and Stock Allowance Chal

    📝 Key Takeaways: Master Wang provides hands-on instruction for practical multi-part roughing in Siemens NX. He covers fixturing strategies, drilling side holes on Face A, and roughing slot features on Face B, explaining in detail how to select tools and set up coordinate systems. Special emphasis is placed on the critical role of machining allowance in real-world programming. Through a case study, common disconnects between design and manufacturing are revealed, along with practical guidelines to avoid pitfalls, ensuring smooth and efficient toolpaths.

    [VIDEO_HERE]

    Introduction: Background and Challenges of Multi-Part Machining on a Single Fixture Plate

    Hello everyone, this is Master Wang. Today, let’s cut the fluff and get straight to the practical stuff: how to approach roughing for these “ten parts on a single fixture plate.” We covered the modeling in a previous process planning lesson, so today we’ll skip the drawing and focus directly on programming and machining aspects.

    Process Review and Today’s Focus

    Listen up. The key characteristic of this job is “ten parts on a single fixture plate.” This means we’ll be producing ten identical parts from one plate. In this type of batch production, we need to consider fixturing efficiency, toolpath optimization, and how to effectively machine both the front and back sides of the plate by flipping it.

    As for how this part was drawn, we won’t dwell on that today; that’s a modeling task. Let’s dive directly into the main topic—Siemens NX programming—and how to “carve out” these ten parts from the raw stock.

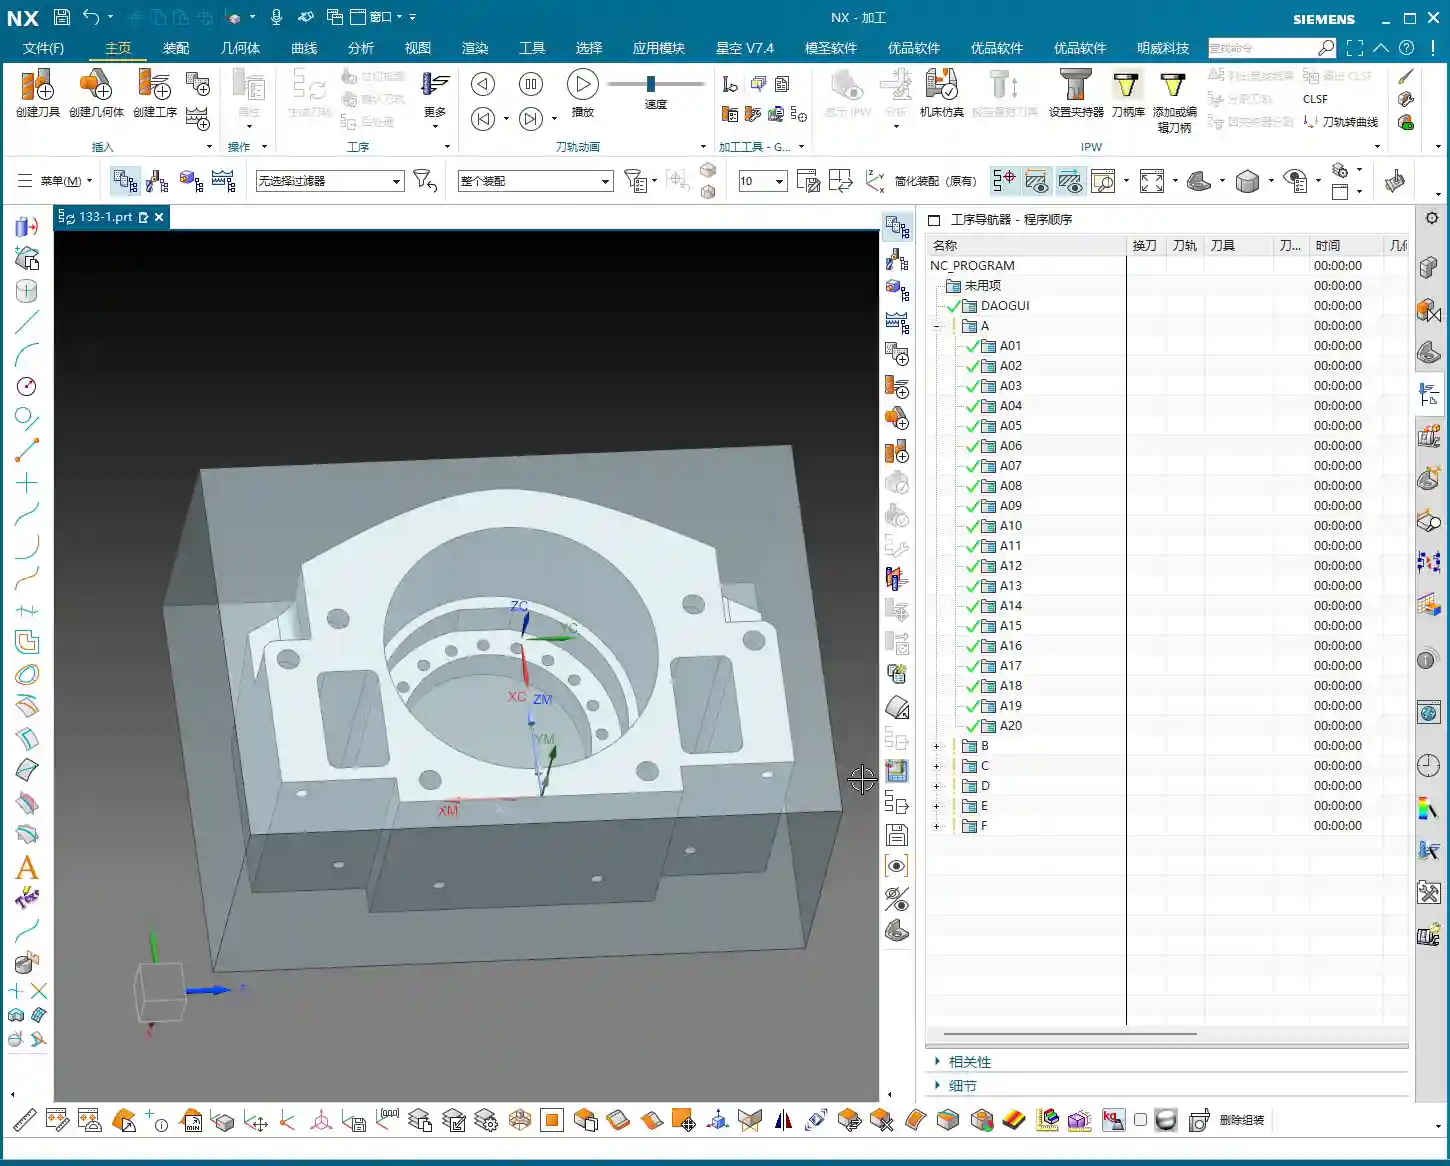
    Part Overview and Quick Dimension Check

    Let’s quickly take a look at the part’s dimensions. Overall, it’s not large; the length is approximately over 200 mm (approx. 8 inches), and the width and height are also within normal ranges. It’s considered a relatively small part. A quick analysis reveals no particularly complex surfaces or tricky deep pockets; it mainly consists of conventional features like planes, holes, and slots. Preliminary assessment indicates moderate machining difficulty, with the key factors being process planning and toolpath optimization.

    Fixturing and Machining Strategies: The Art of Flipping for Front and Back Faces

    In machining, it’s often said that equipment is thirty percent, and process planning is seventy percent. Especially for double-sided machining jobs like this, the fixturing solution directly determines your machining efficiency and accuracy.

    Double-Sided Machining: Efficiency First

    We are adopting a typical sequential front-and-back machining strategy. First, we fixture the plate vertically to machine the features on Face A, especially the side holes. Once Face A is machined, we flip it over, clamp onto the already machined Face A, and process the features on Face B. The advantage of this method is that it ensures positioning accuracy and reduces errors caused by repeated clamping.

    First Step for Face A Machining: Prioritize Side Holes

    With Face A in hand, the first step is to machine the side holes. Why tackle the side holes first? Because these holes often serve as datum features or provide auxiliary features for subsequent fixturing. Moreover, machining side holes is relatively independent; completing them before working on the main surfaces reduces the risk of interference. Of course, this depends on the specific part geometry and fixturing, but generally, drilling holes first is a safer approach.

    Practical Programming: Face A Side Hole Machining

    Let’s jump straight into Siemens NX and get to work!

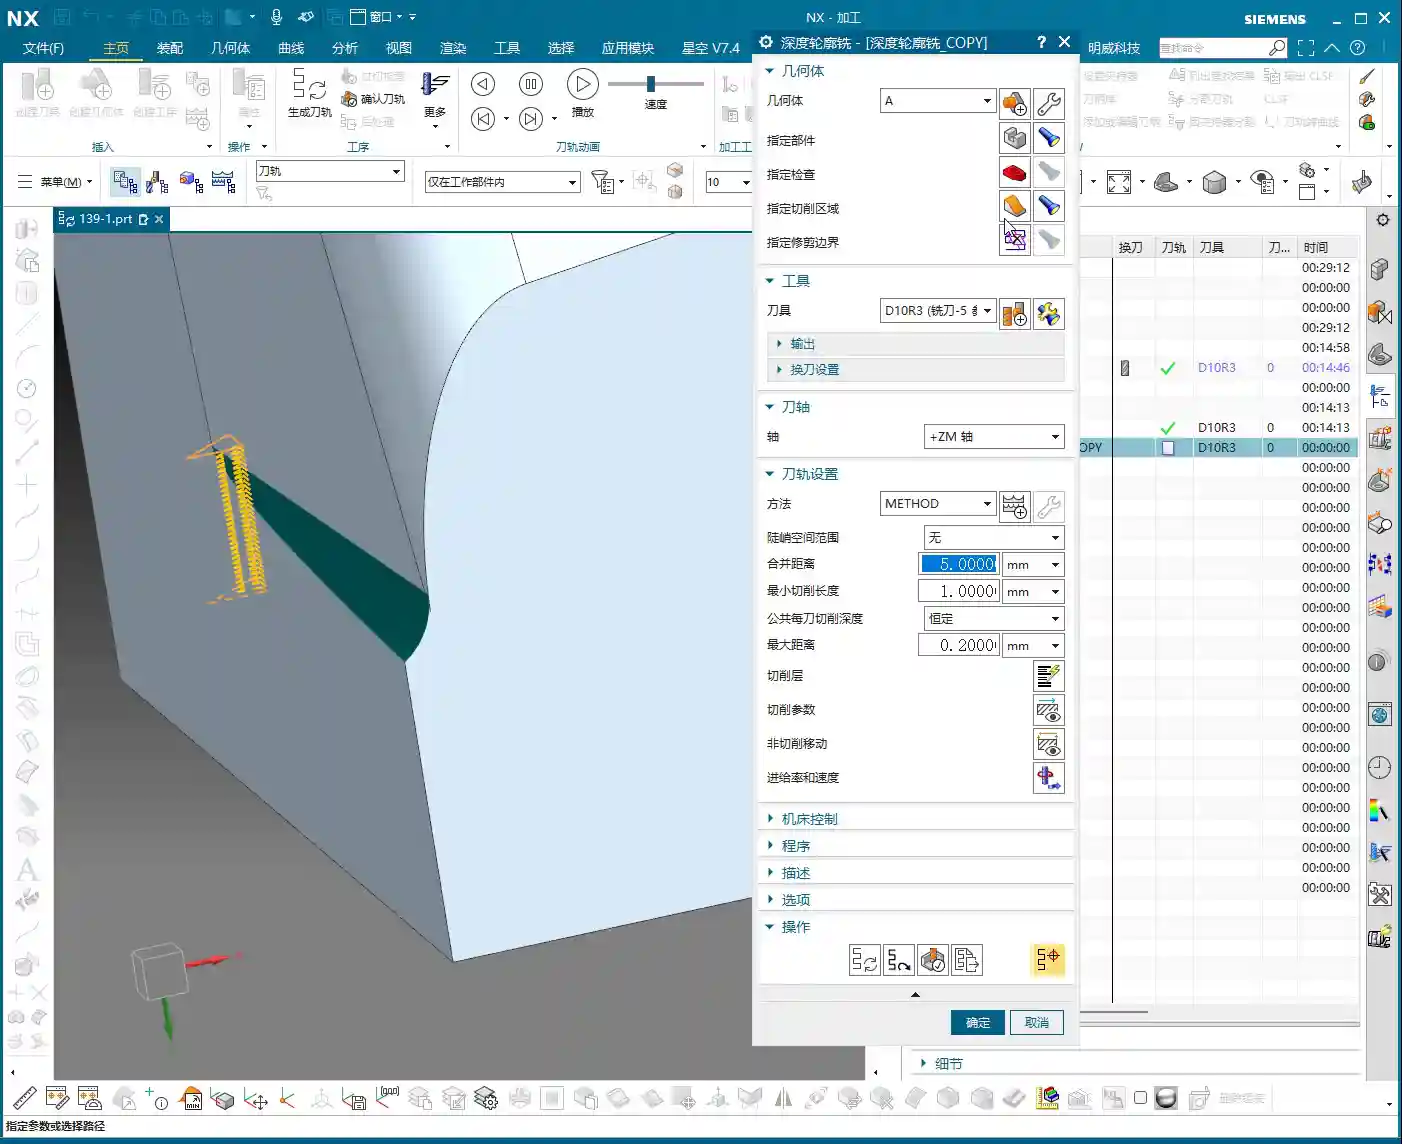
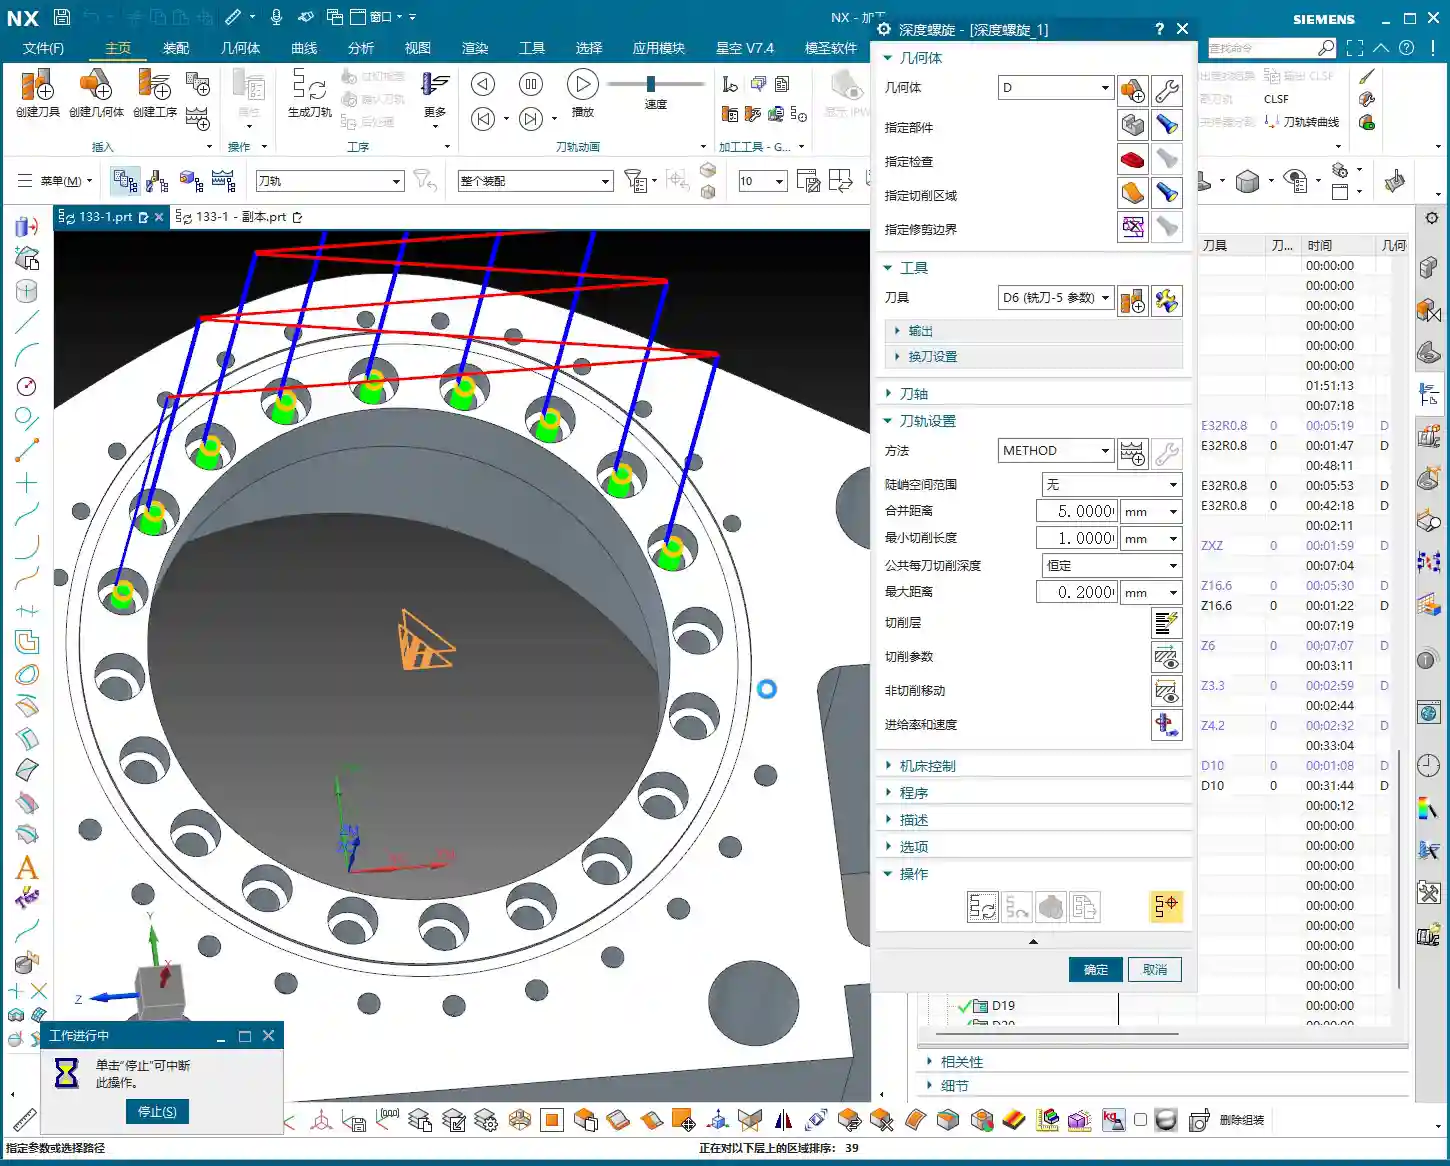
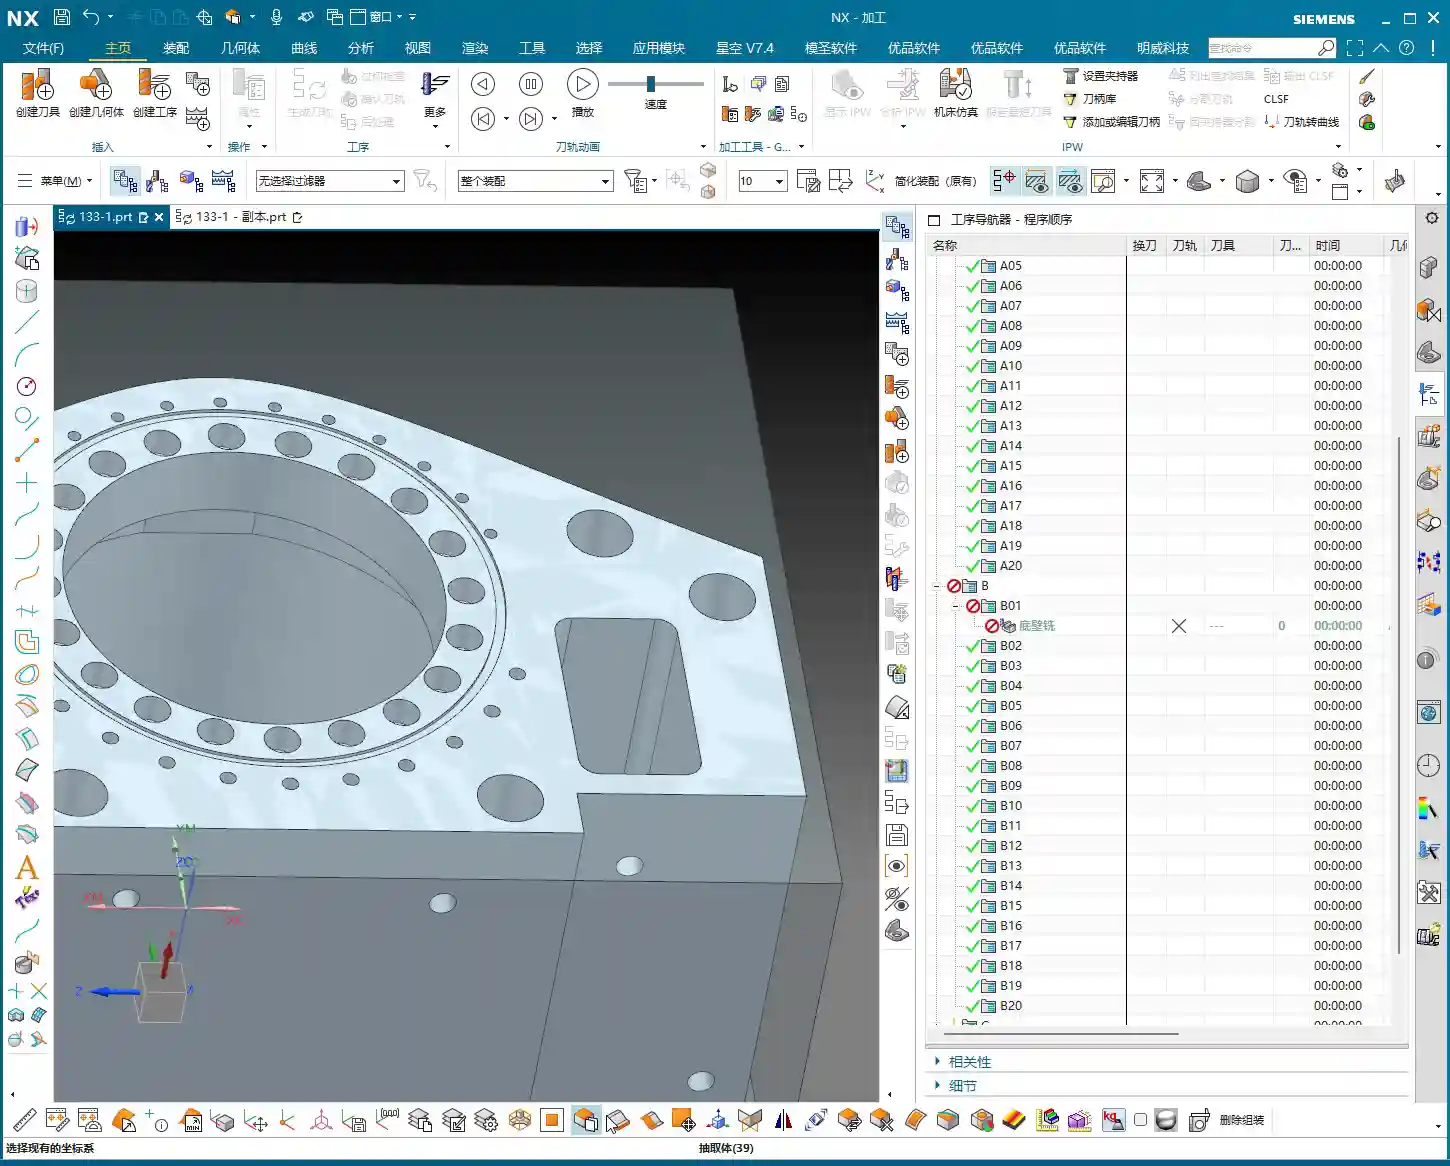
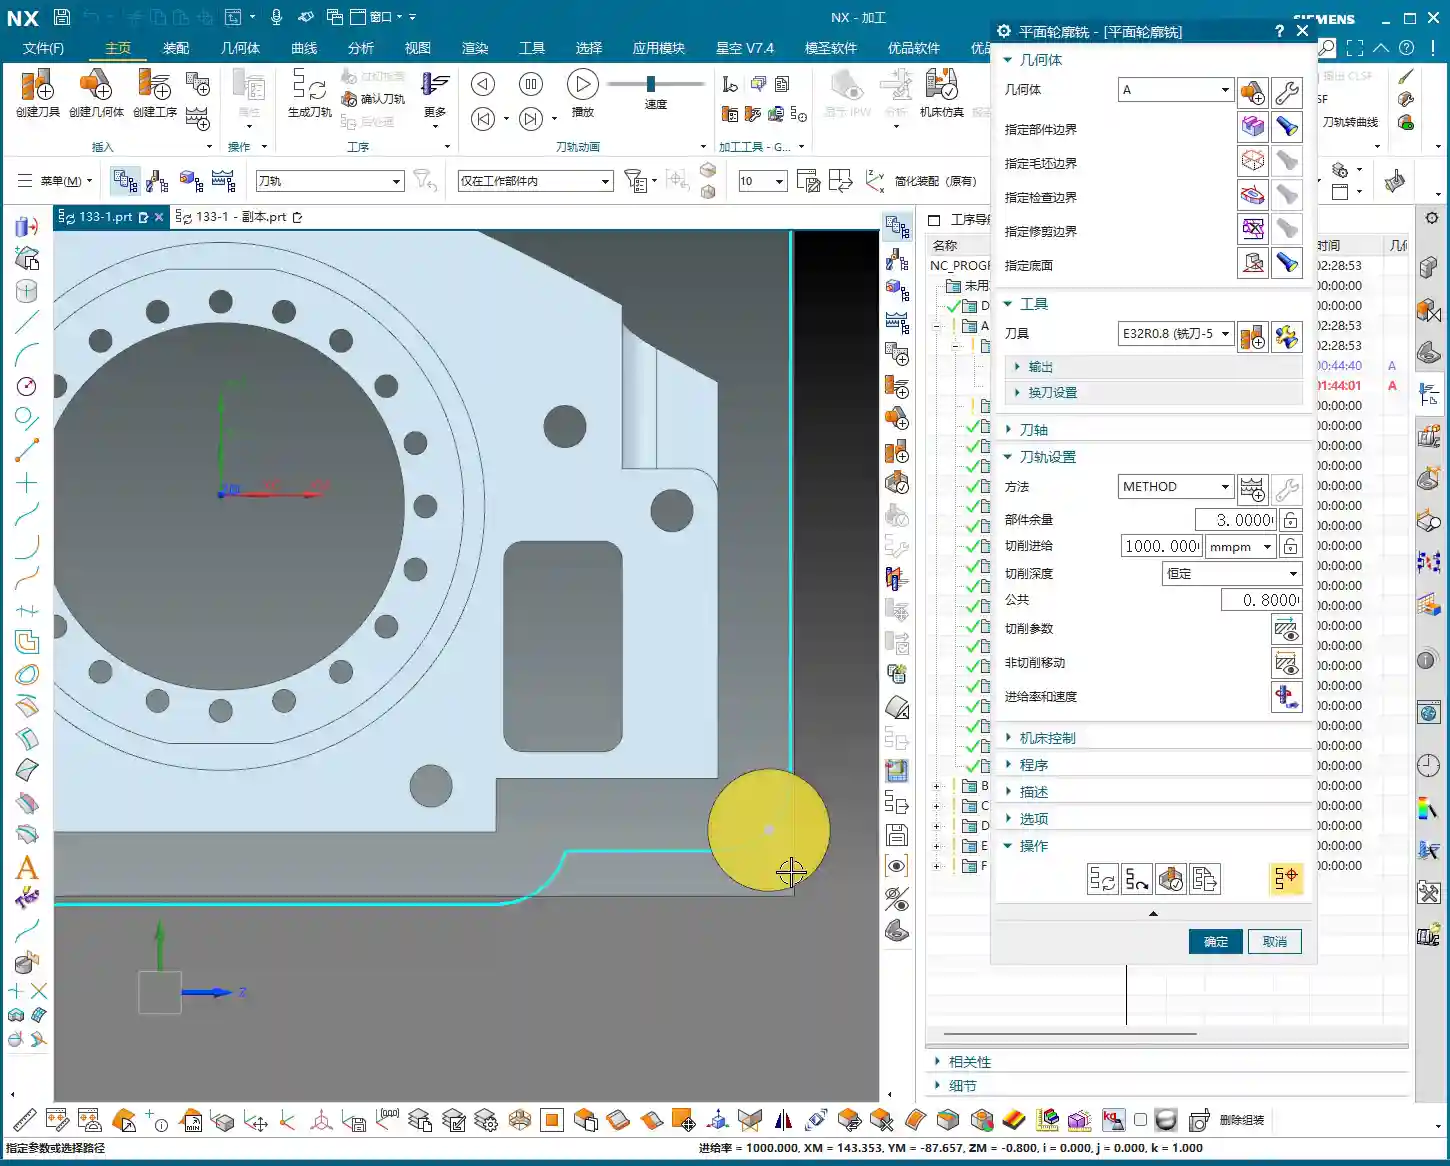
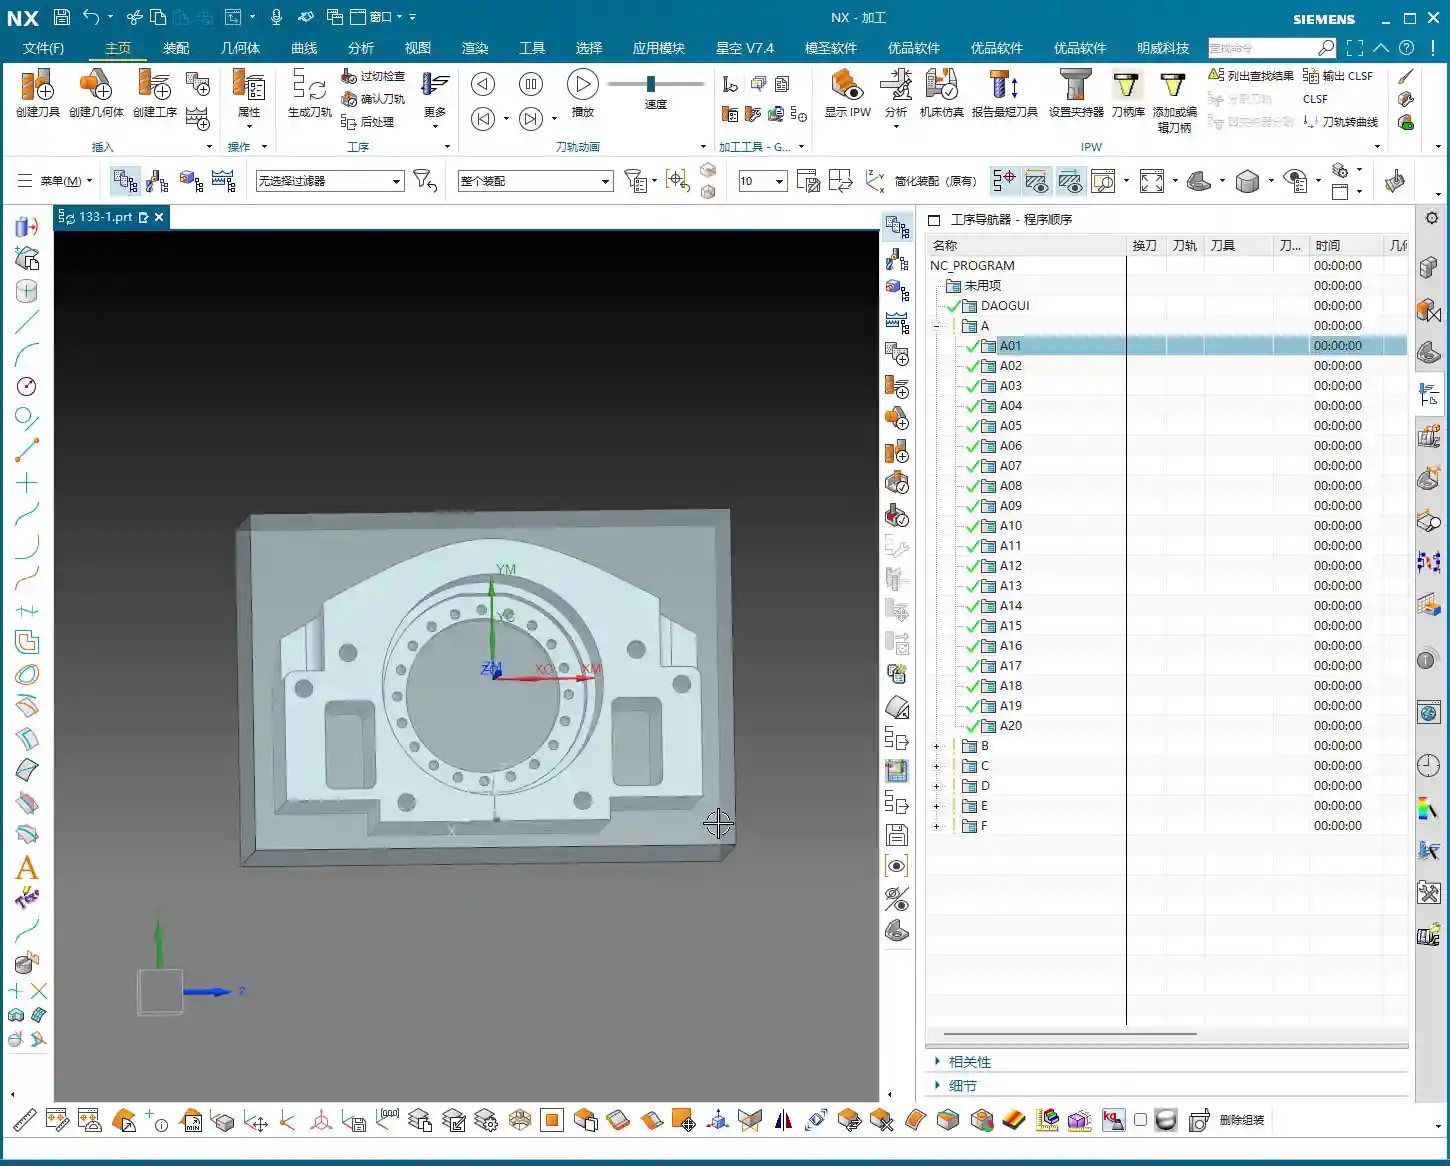
    Siemens NX Coordinate System Setup: Vertical Machining

    First, in Siemens NX, create the geometry and define the part and raw stock. We need to machine the part in a “vertical” orientation, so the Machine Coordinate System (MCS) must be set accordingly. Taking this plate as an example, we’ll set the Z-axis pointing upwards, the Y-axis as the feed direction, and the X-axis as the transverse direction. The same principle applies to the other side (Face B), though the coordinate system might require mirroring or rotation adjustments. However, let’s get Face A sorted out first.

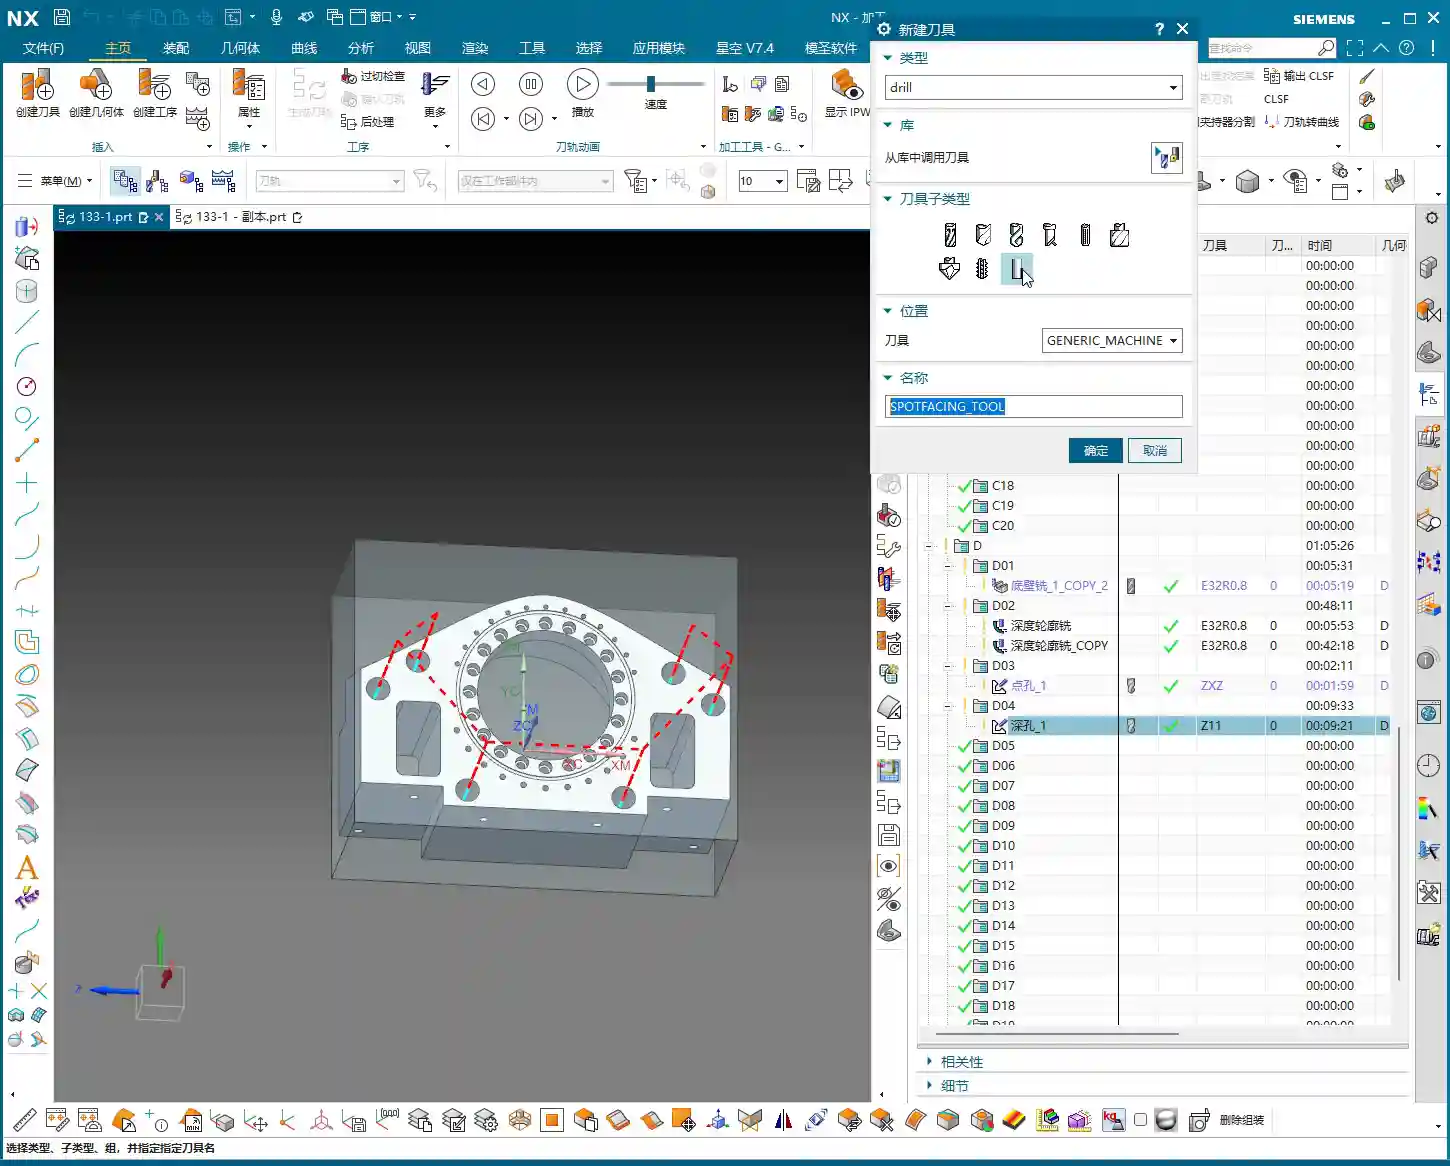
    Side Hole Tool Selection and Drilling Path

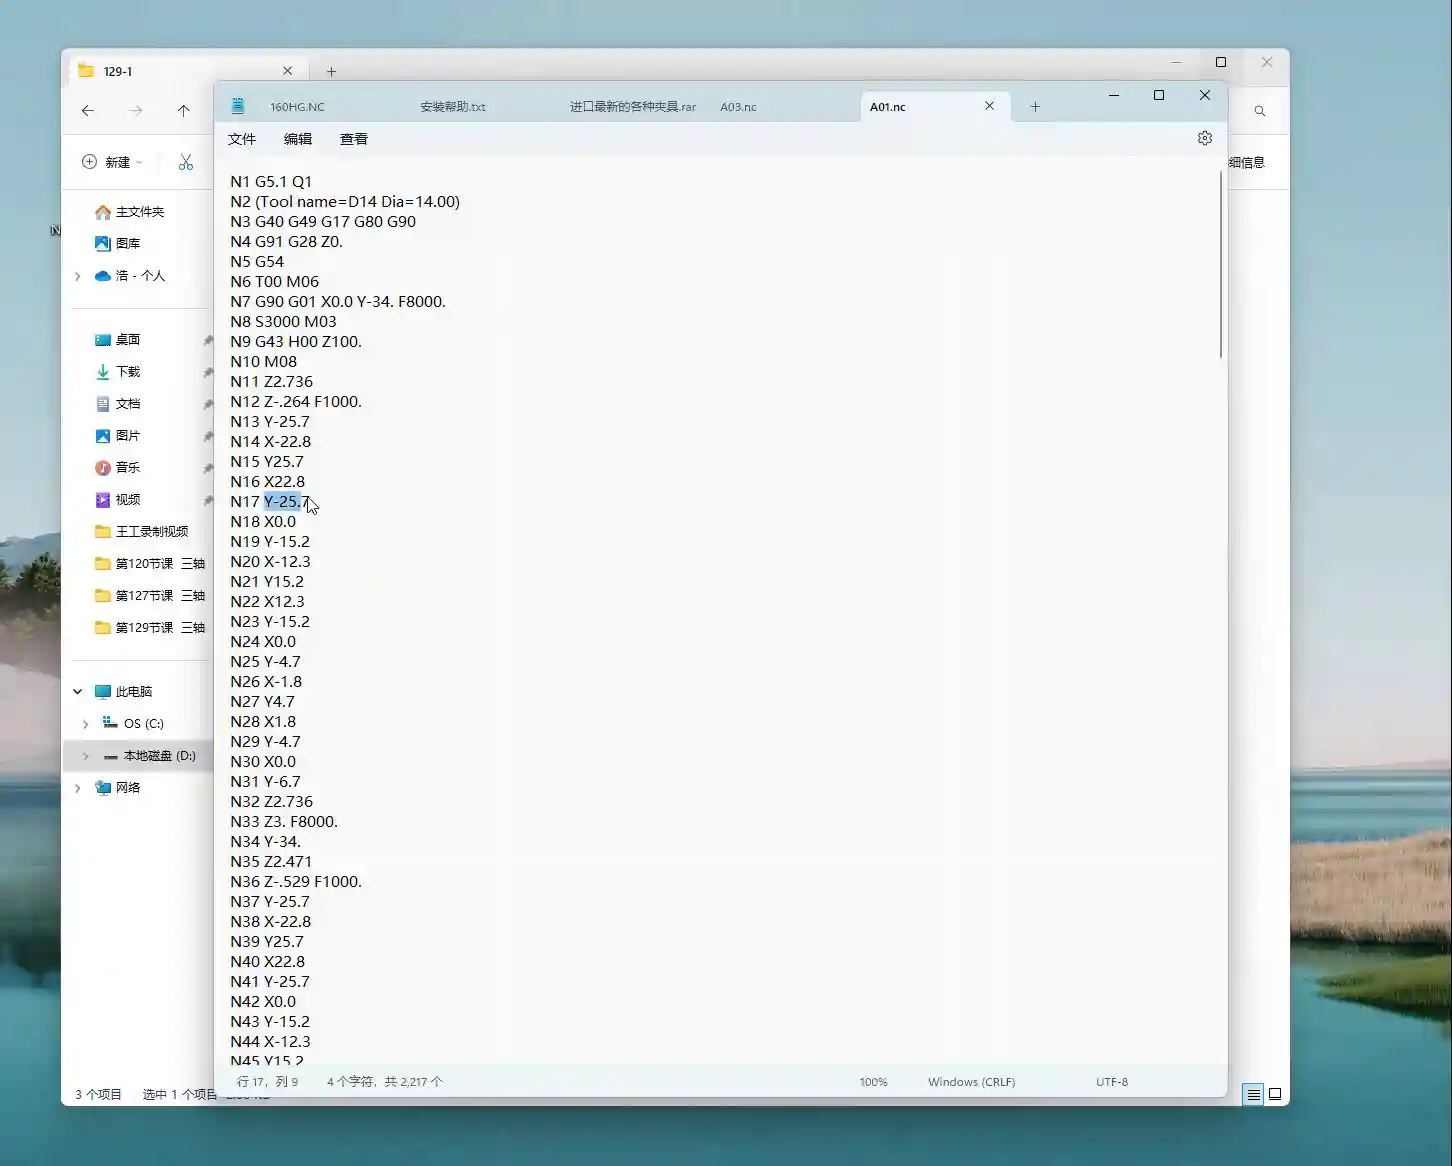
    Alright, let’s measure the hole diameter. This hole, you see, has a radius of roughly 2.34 mm to 2.38 mm. What kind of hole is this? Who cares, we’ll make a decision when machining it. In this situation, we’ll just pick a 2.4 mm diameter drill bit and go for it. Textbooks will talk your ear off about tolerances and fits, but in the real shop, for non-standard or loose-tolerance holes, if it meets functional requirements, just grab a common tool close to the size and get it done. Don’t nitpick over a few hundredths; just get the job done first! As for depth, it’s a through-hole, so that’s straightforward.

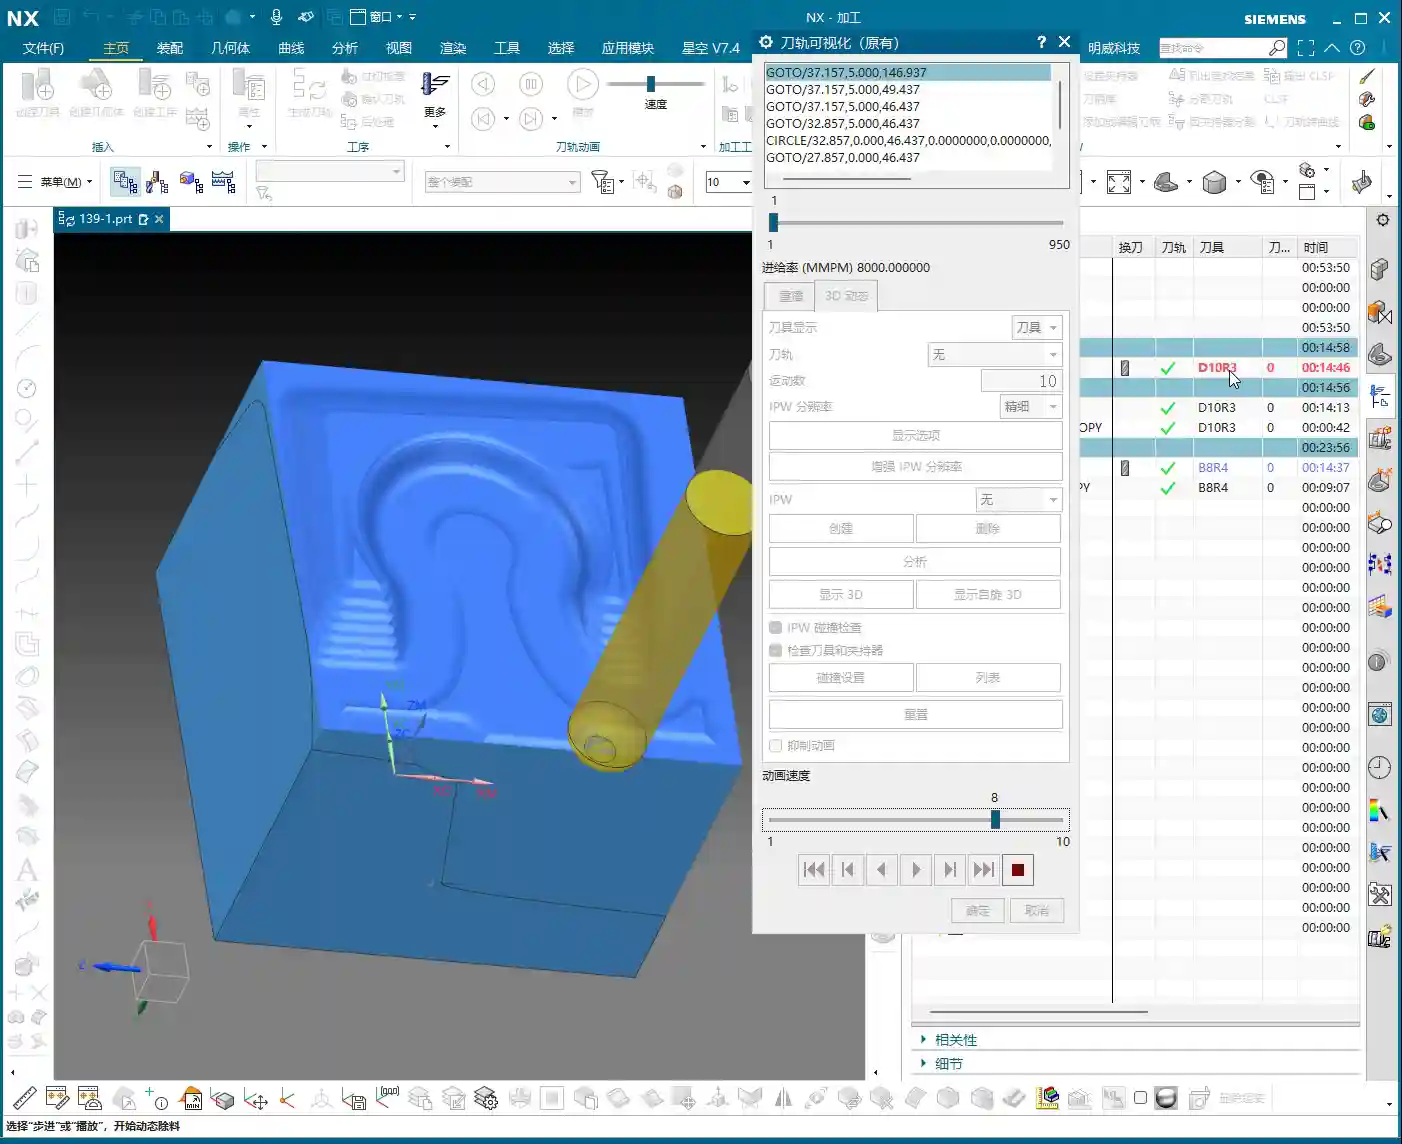
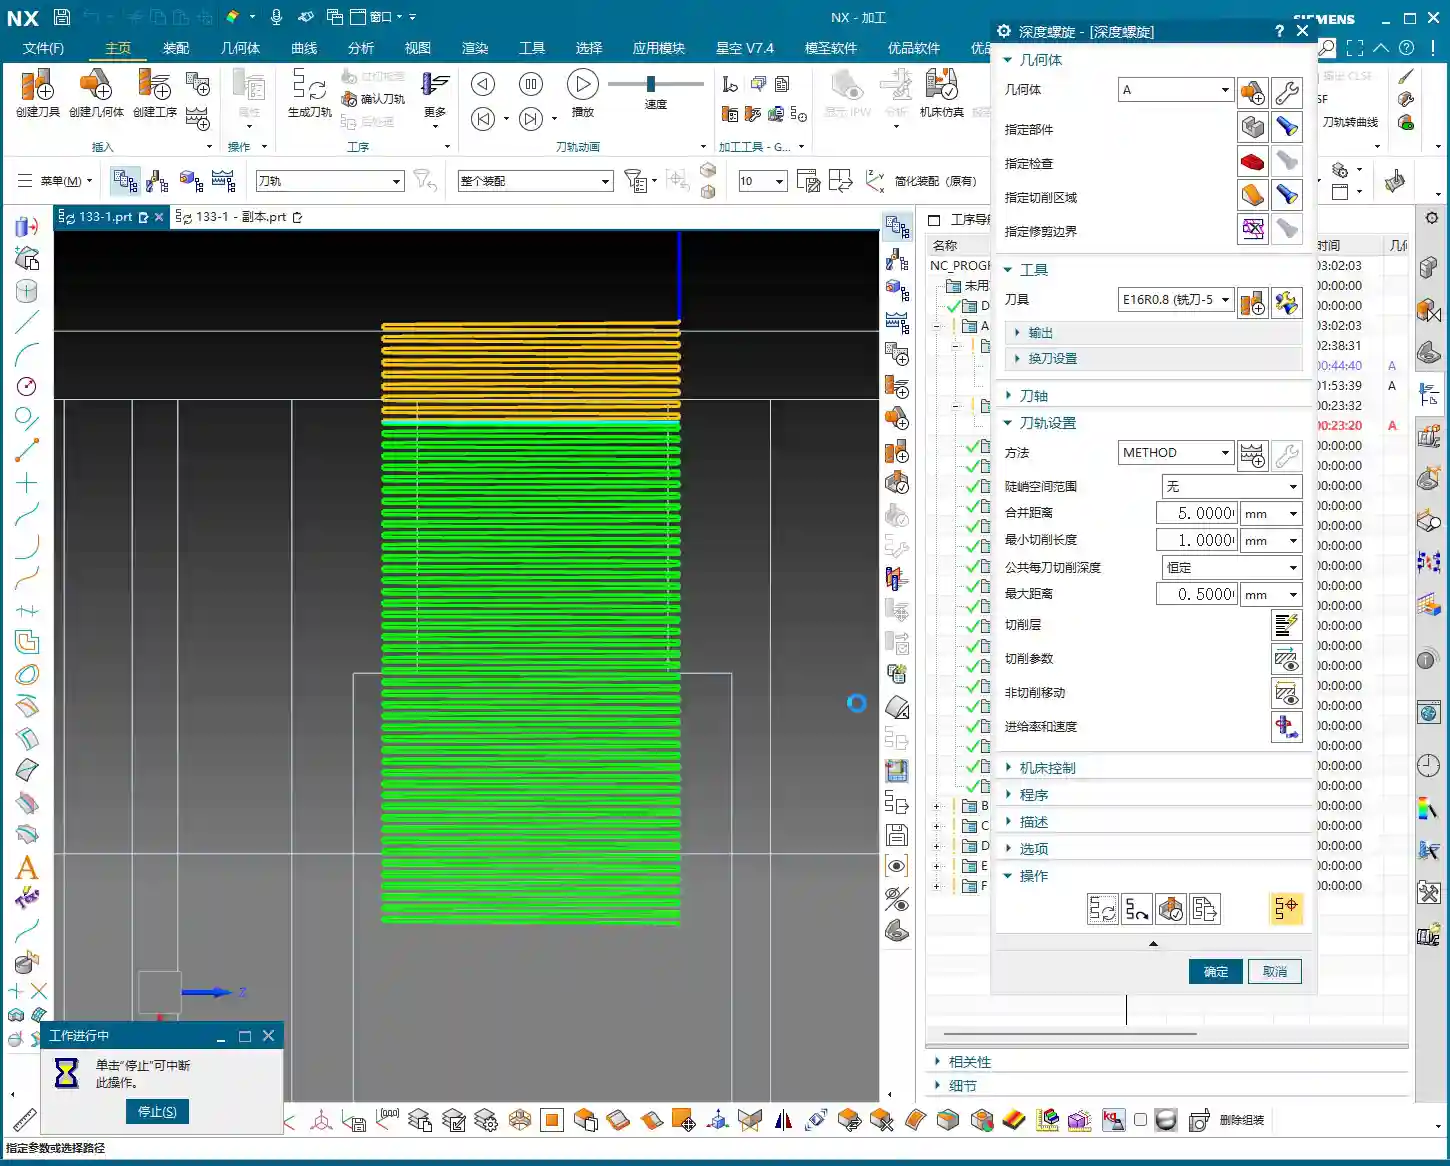
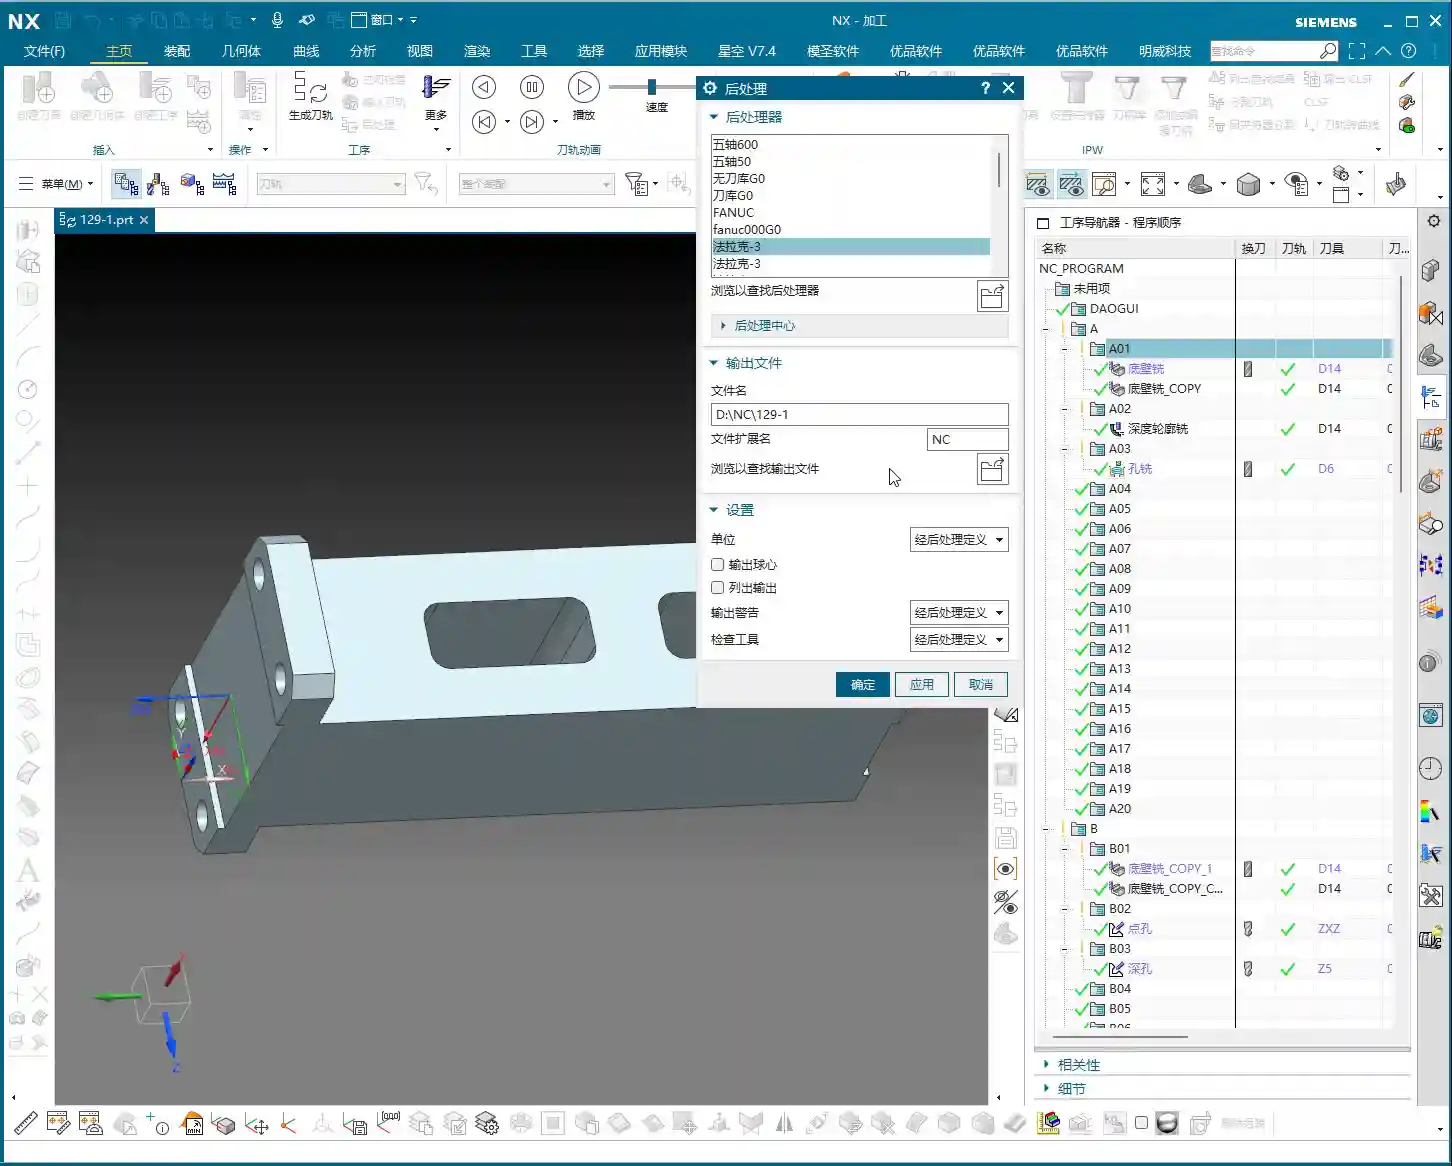
    Once the program is ready, we generate the toolpath, simulate it to confirm everything’s good, and then the side holes on Face A are taken care of.

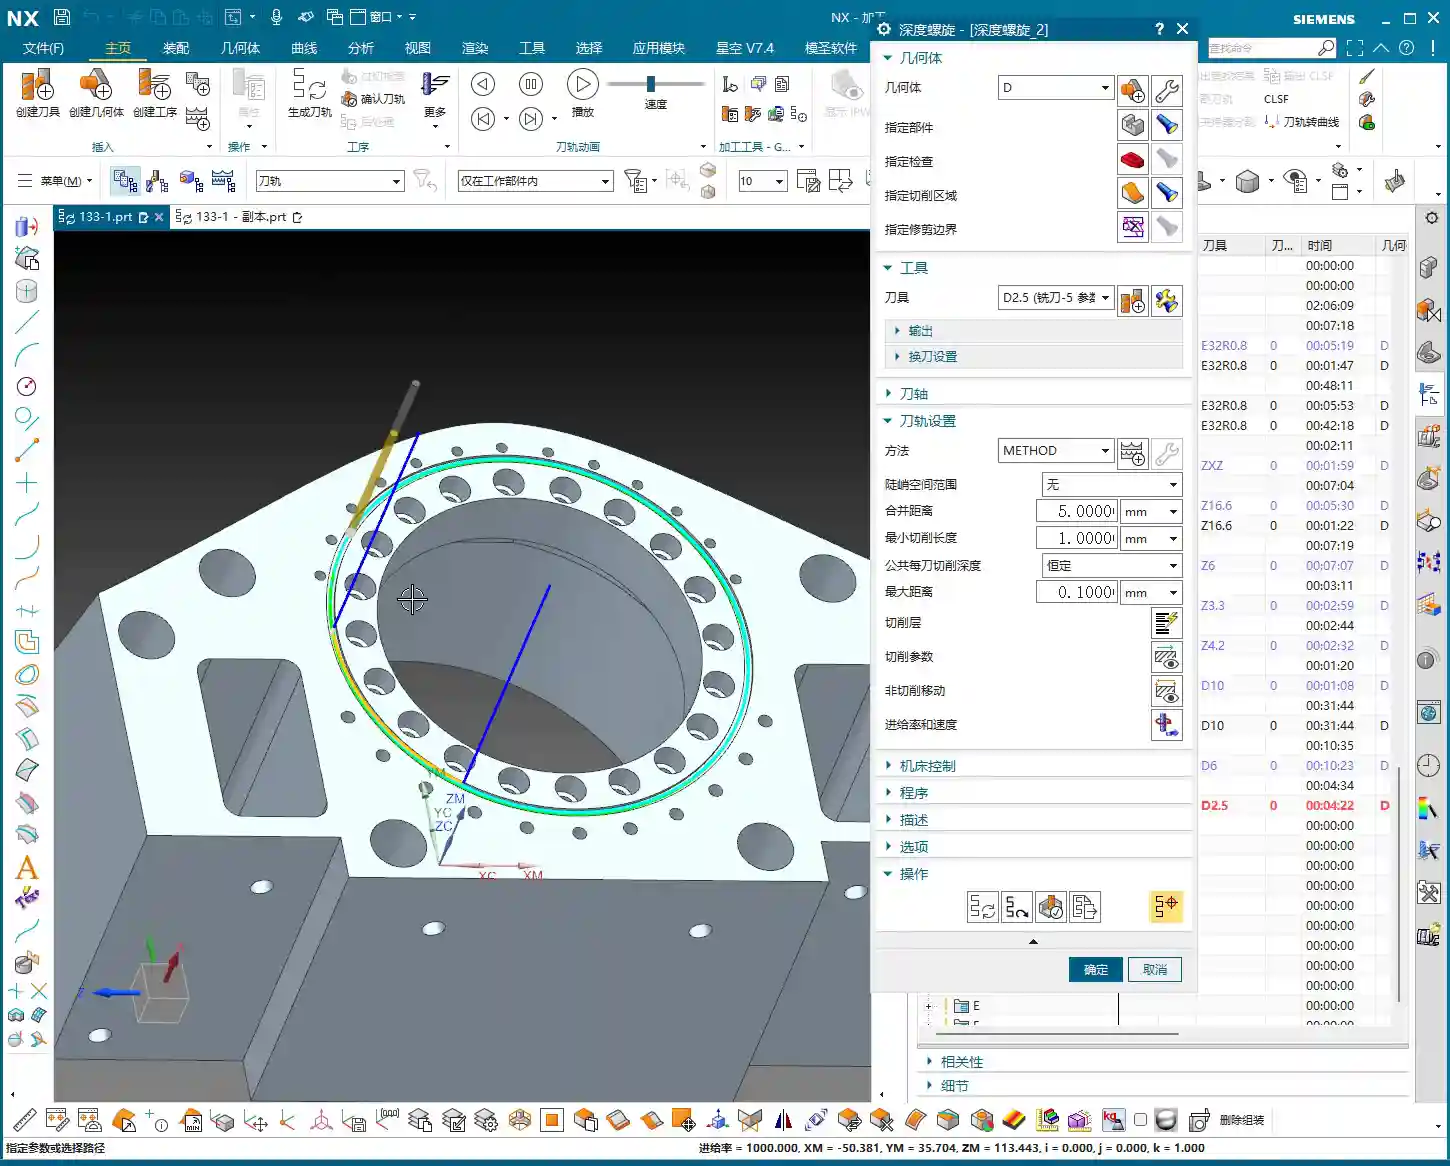
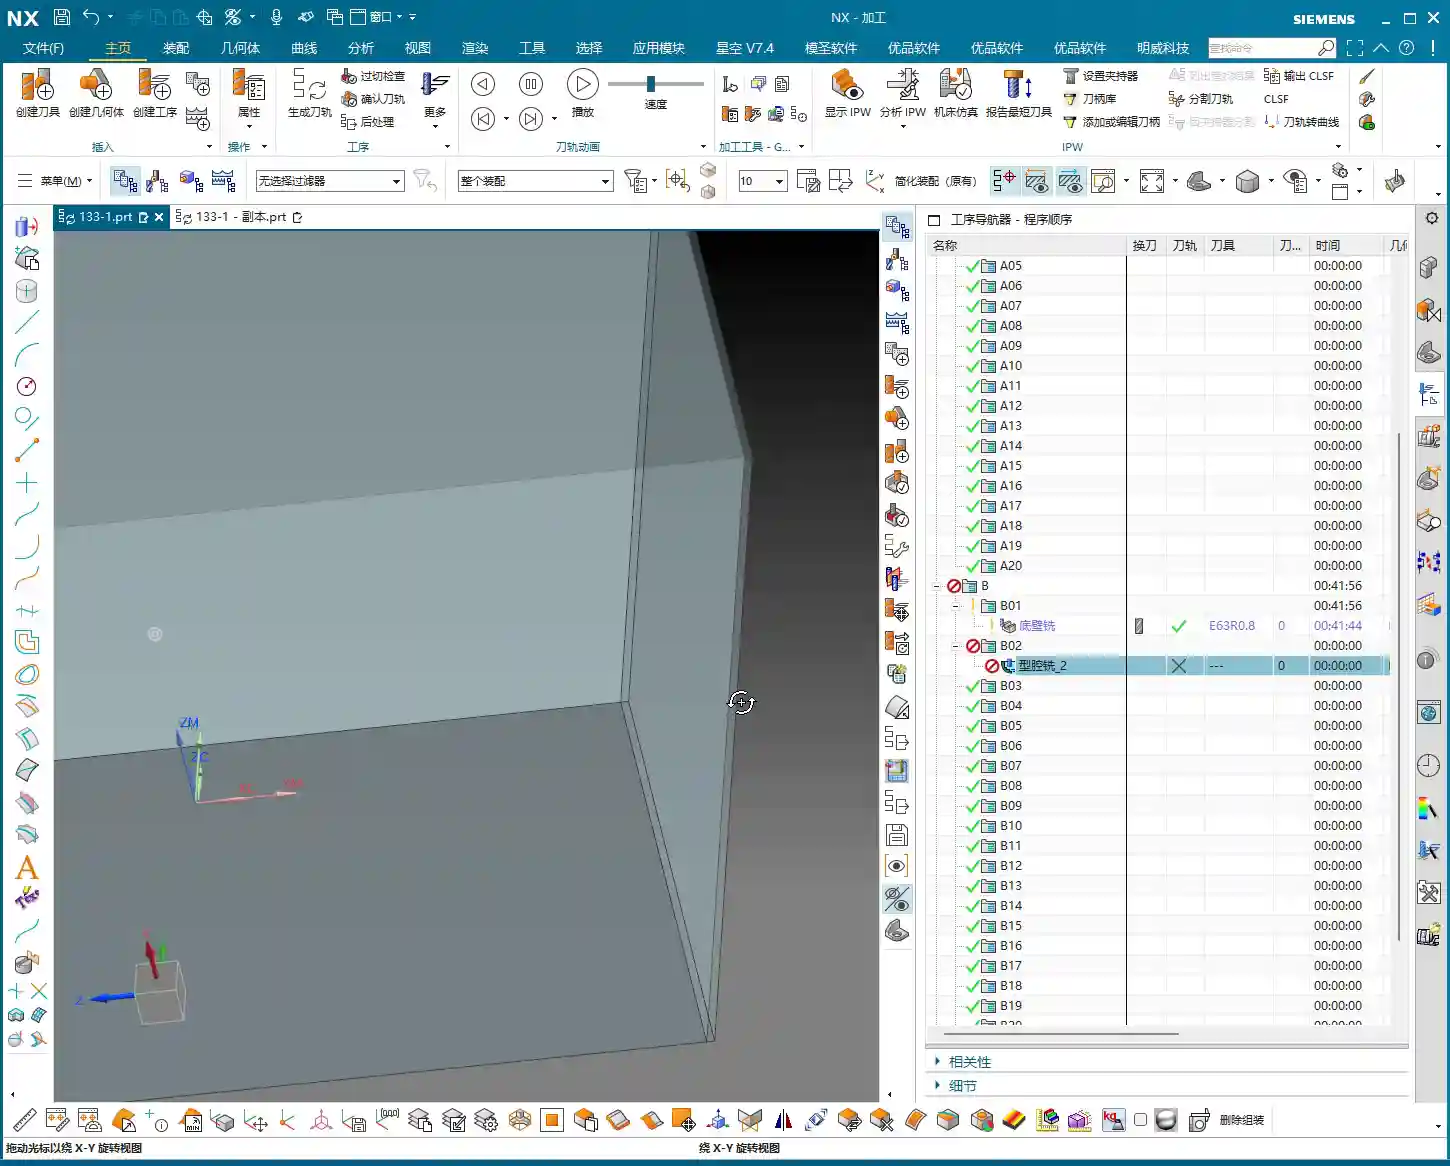
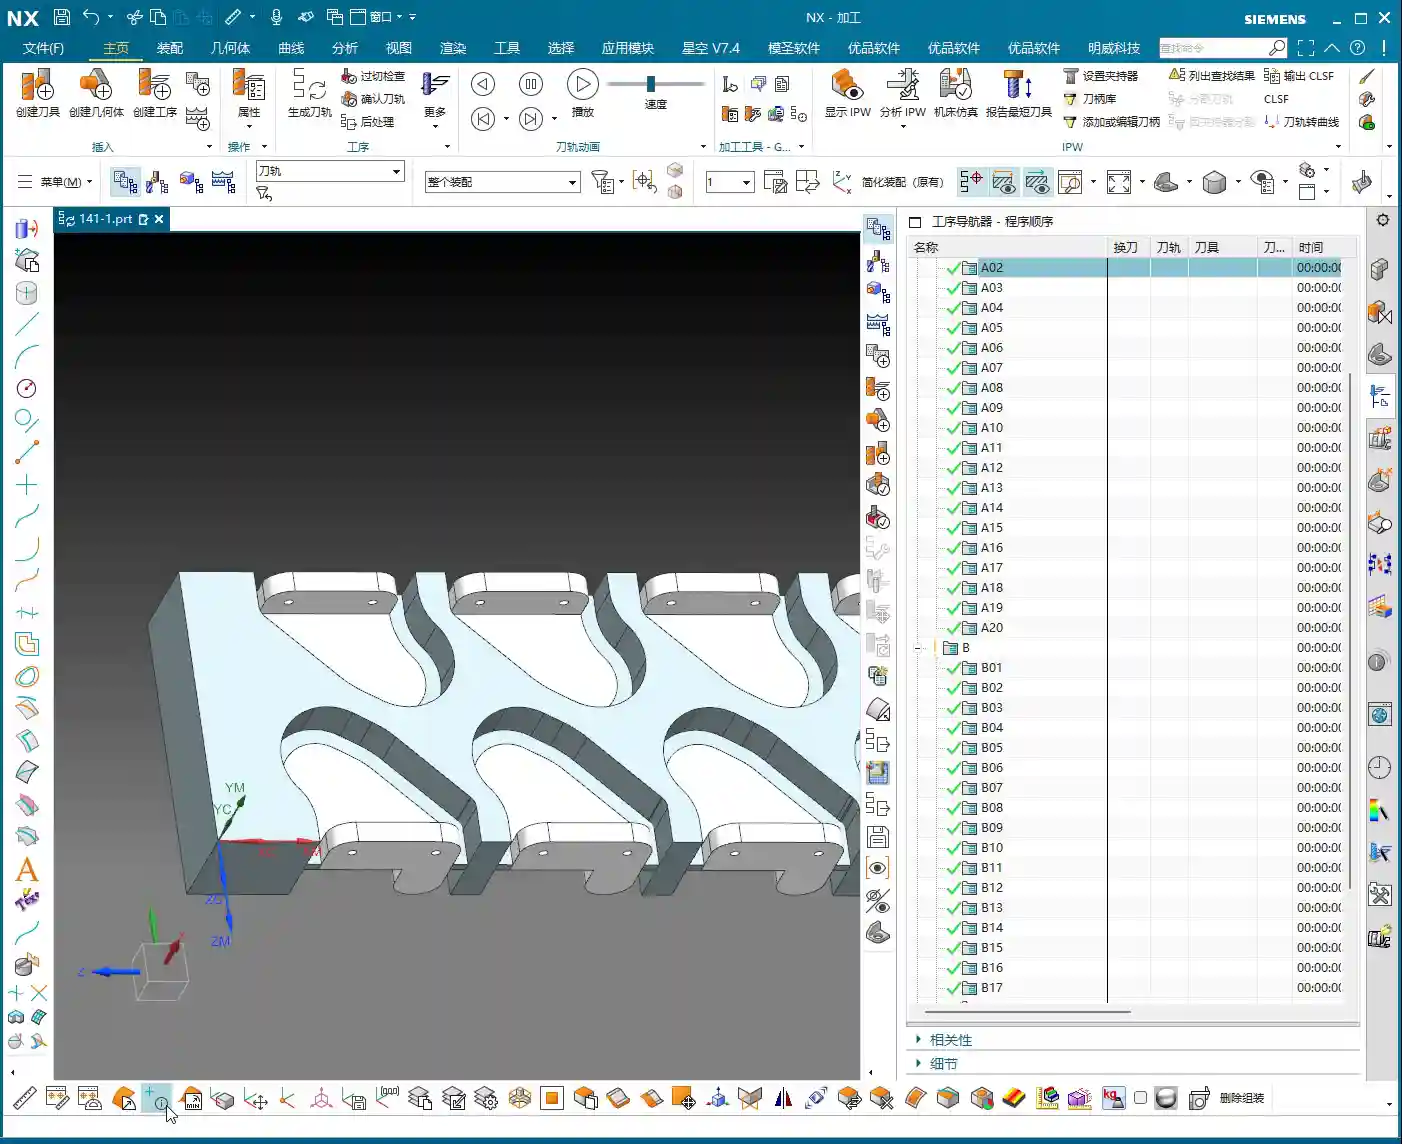
    Face B Roughing: The Challenge of Slot Features

    Face A is done, so let’s flip the plate over and prepare to machine Face B. Remember, once flipped, the coordinate system must be redefined or recalibrated, otherwise the tool won’t know where it’s going.

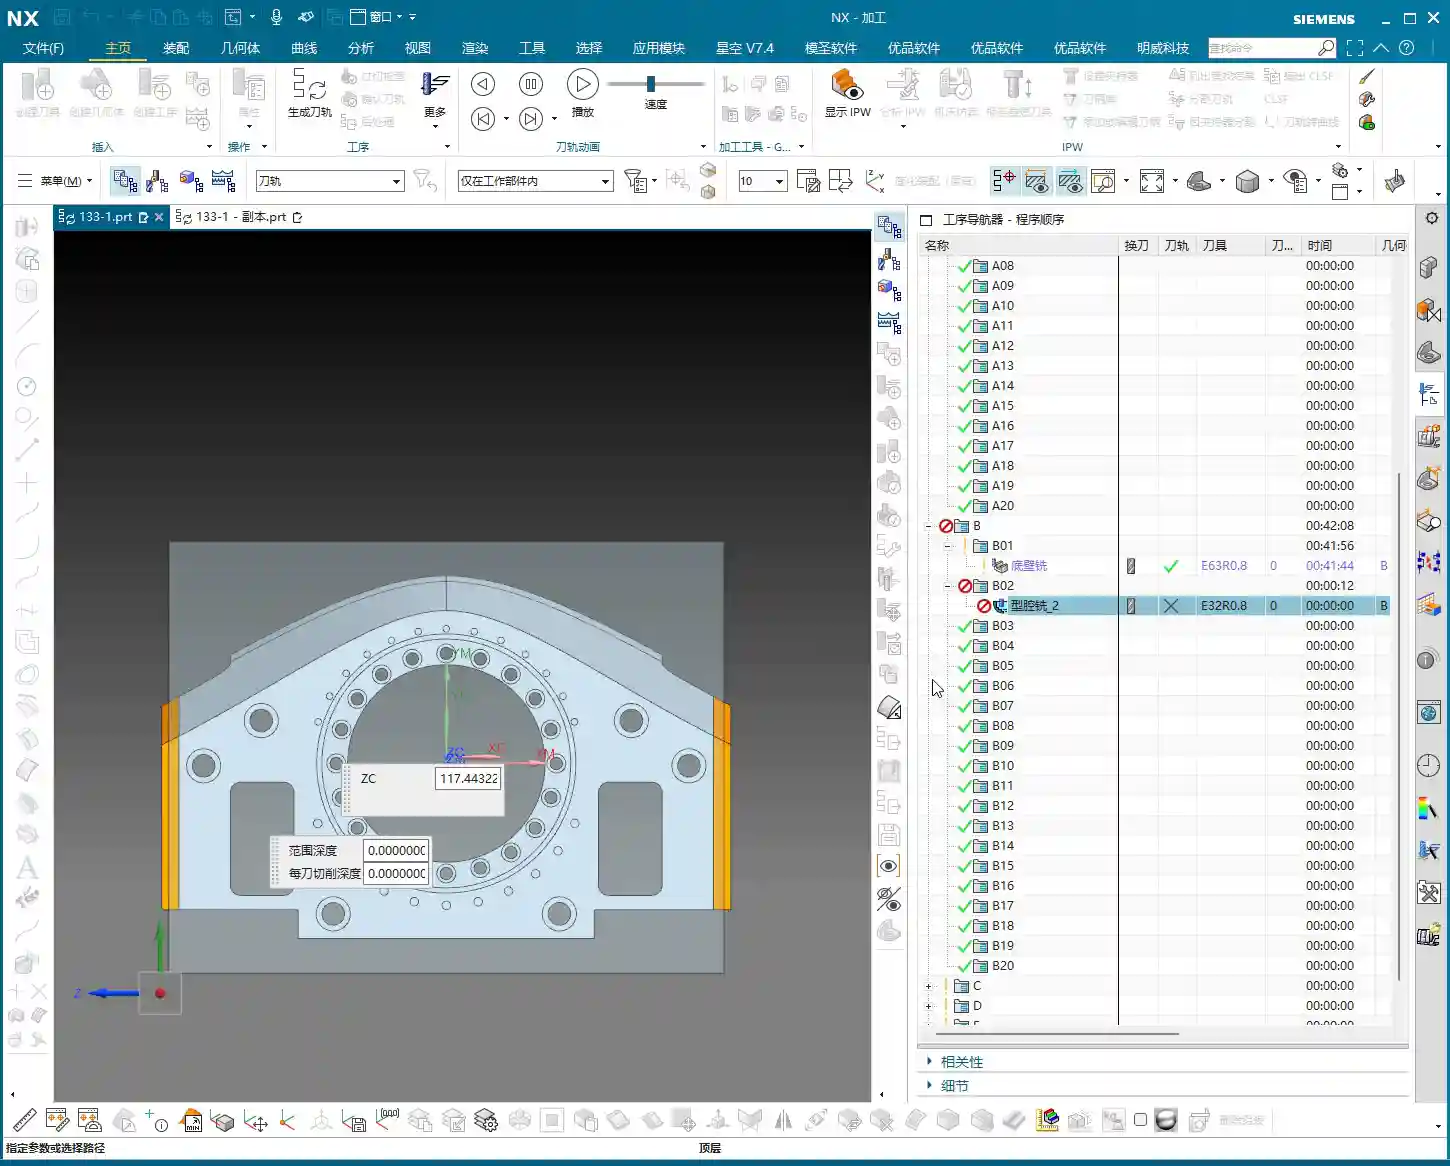
    Coordinate System After Flipping and Slot Width Measurement

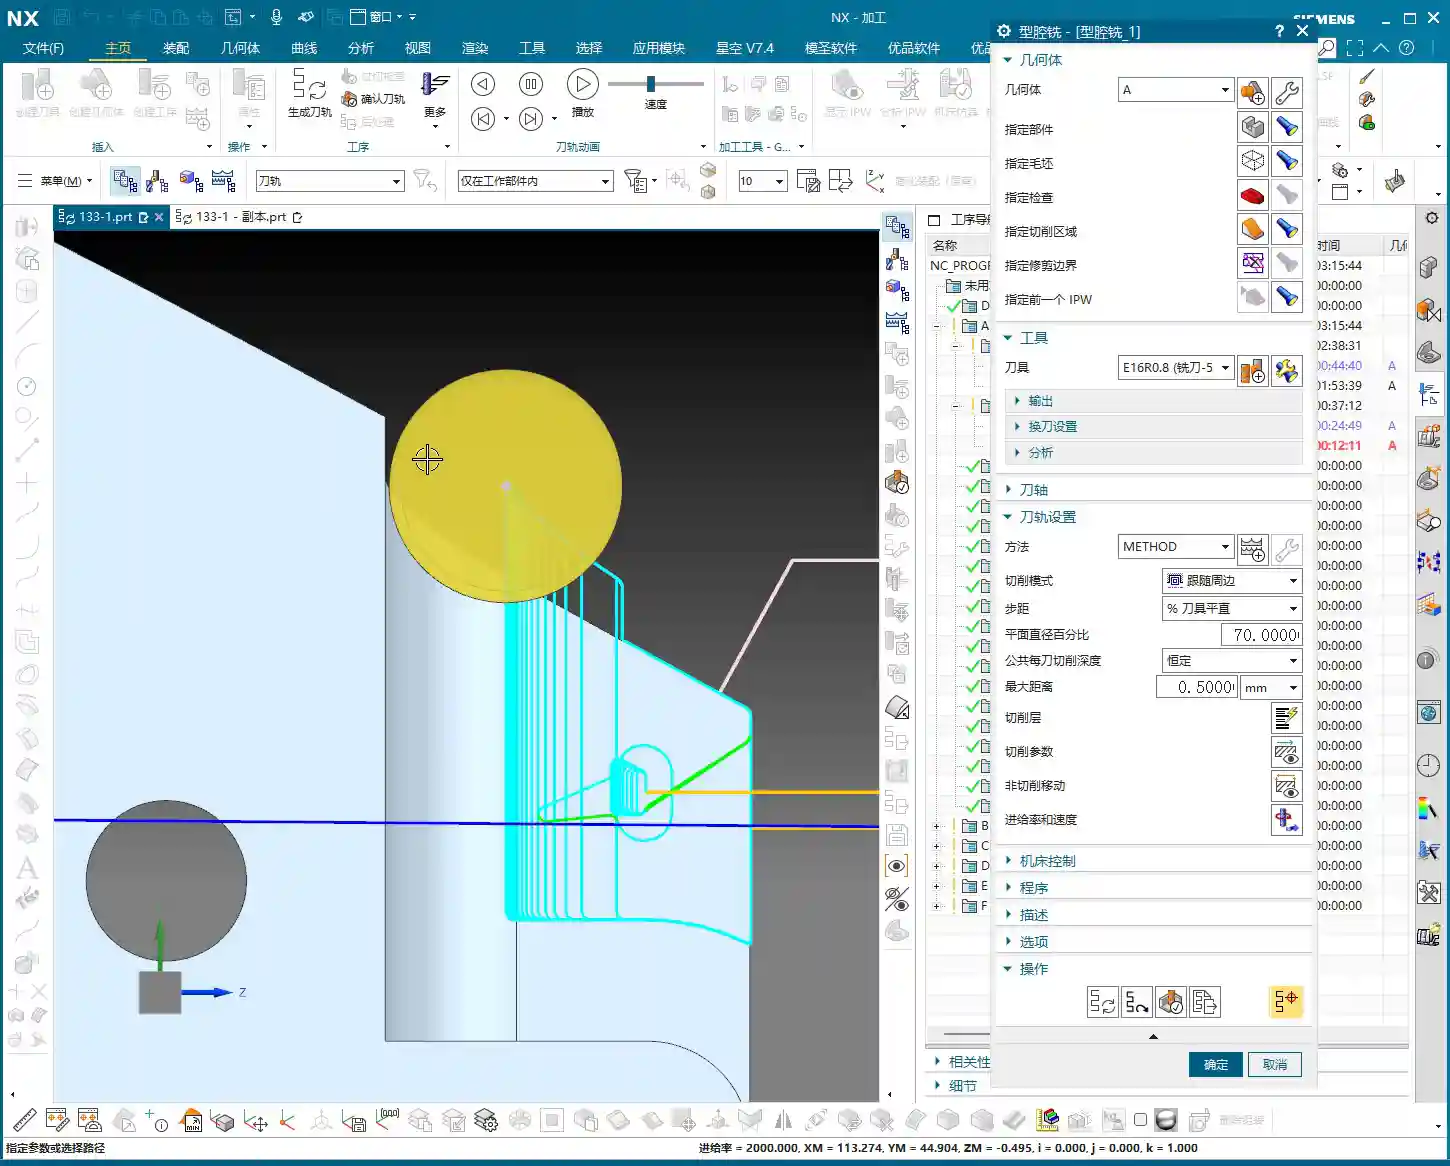
    For Face B machining, we’ll focus on the slot features. Pay close attention to this slot. Let’s measure it first; the slot width is exactly 4 mm. Hmm, no more, no less, precisely 4 millimeters.

    Initial Roughing Tool Selection: A Hard Lesson

    Seeing this 4 mm slot width, many beginners instinctively reach for a 4 mm diameter end mill, thinking a snug fit is ideal. Big mistake! Listen up, this is a lesson you won’t find in textbooks: when you use a 4 mm diameter tool to cut a slot with a design dimension of exactly 4 mm, it simply won’t fit! Even if theoretically the dimensions match, in actual machining, the tool will interfere with the slot walls, making it impossible to plunge, let alone leave any stock allowance. This is where you’ll get chatter, damage the workpiece, or even break the tool. This is a classic case of design failing to adequately consider machining allowance.

    Master Wang’s Hands-on Guide: Toolpath Boundary Trimming and Stock Allowance Adjustment

    In actual production, you’ll always encounter various “pitfalls,” and we have to find ways to navigate them.

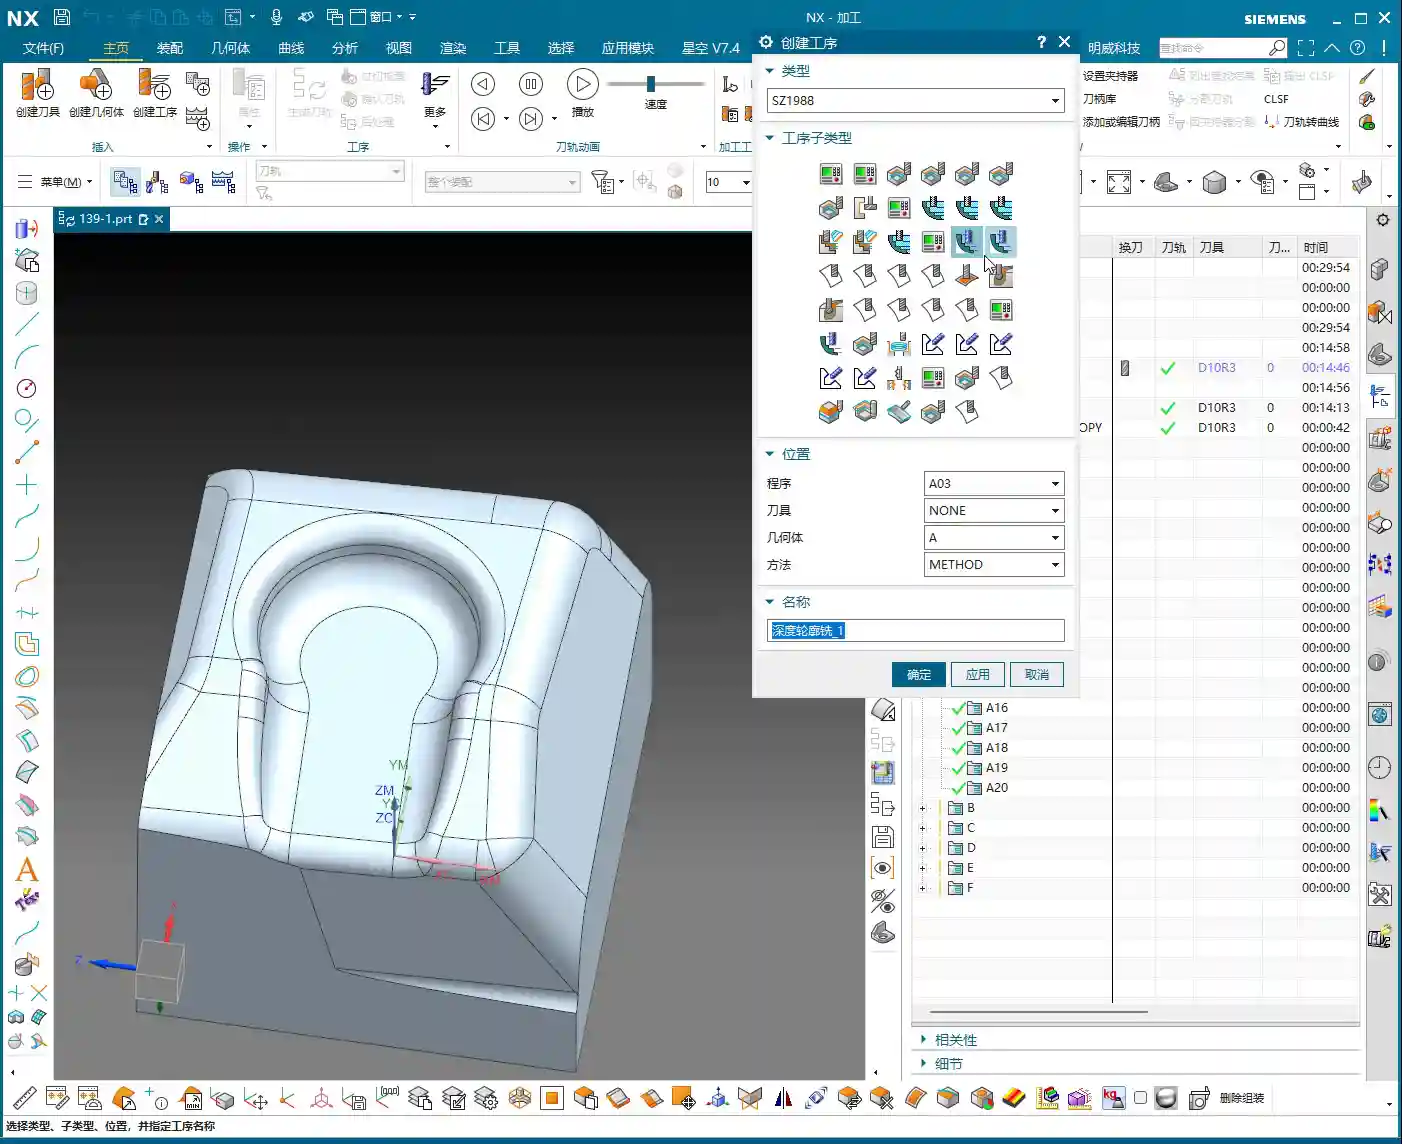
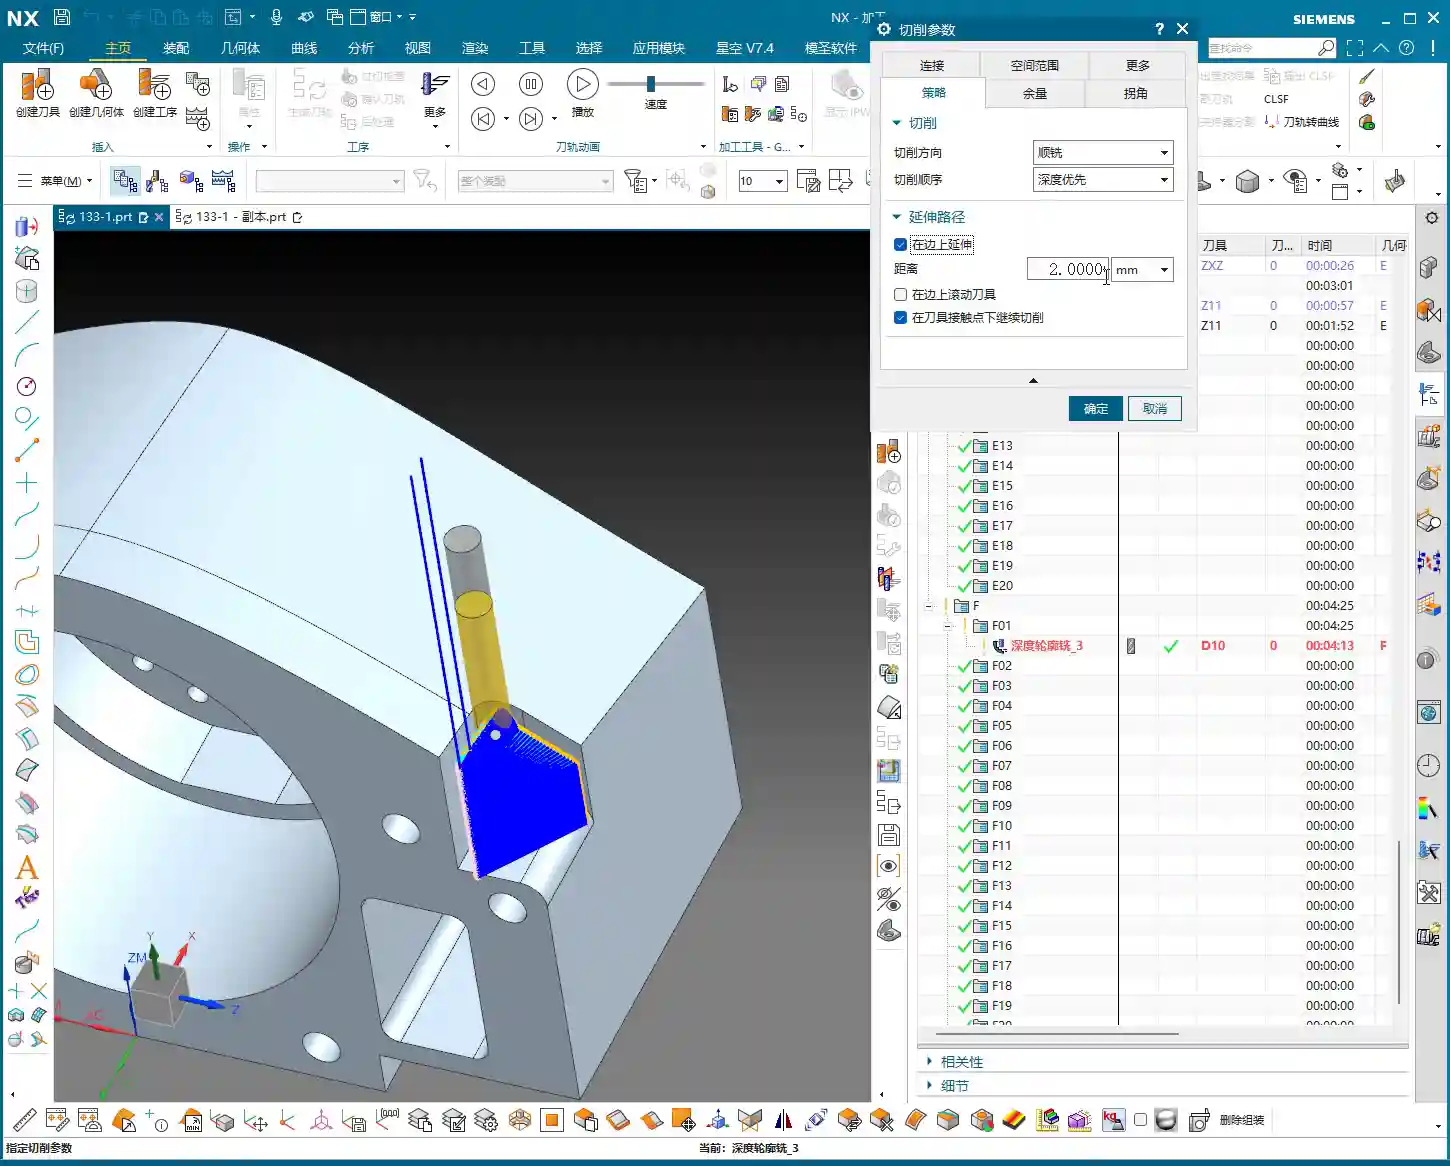
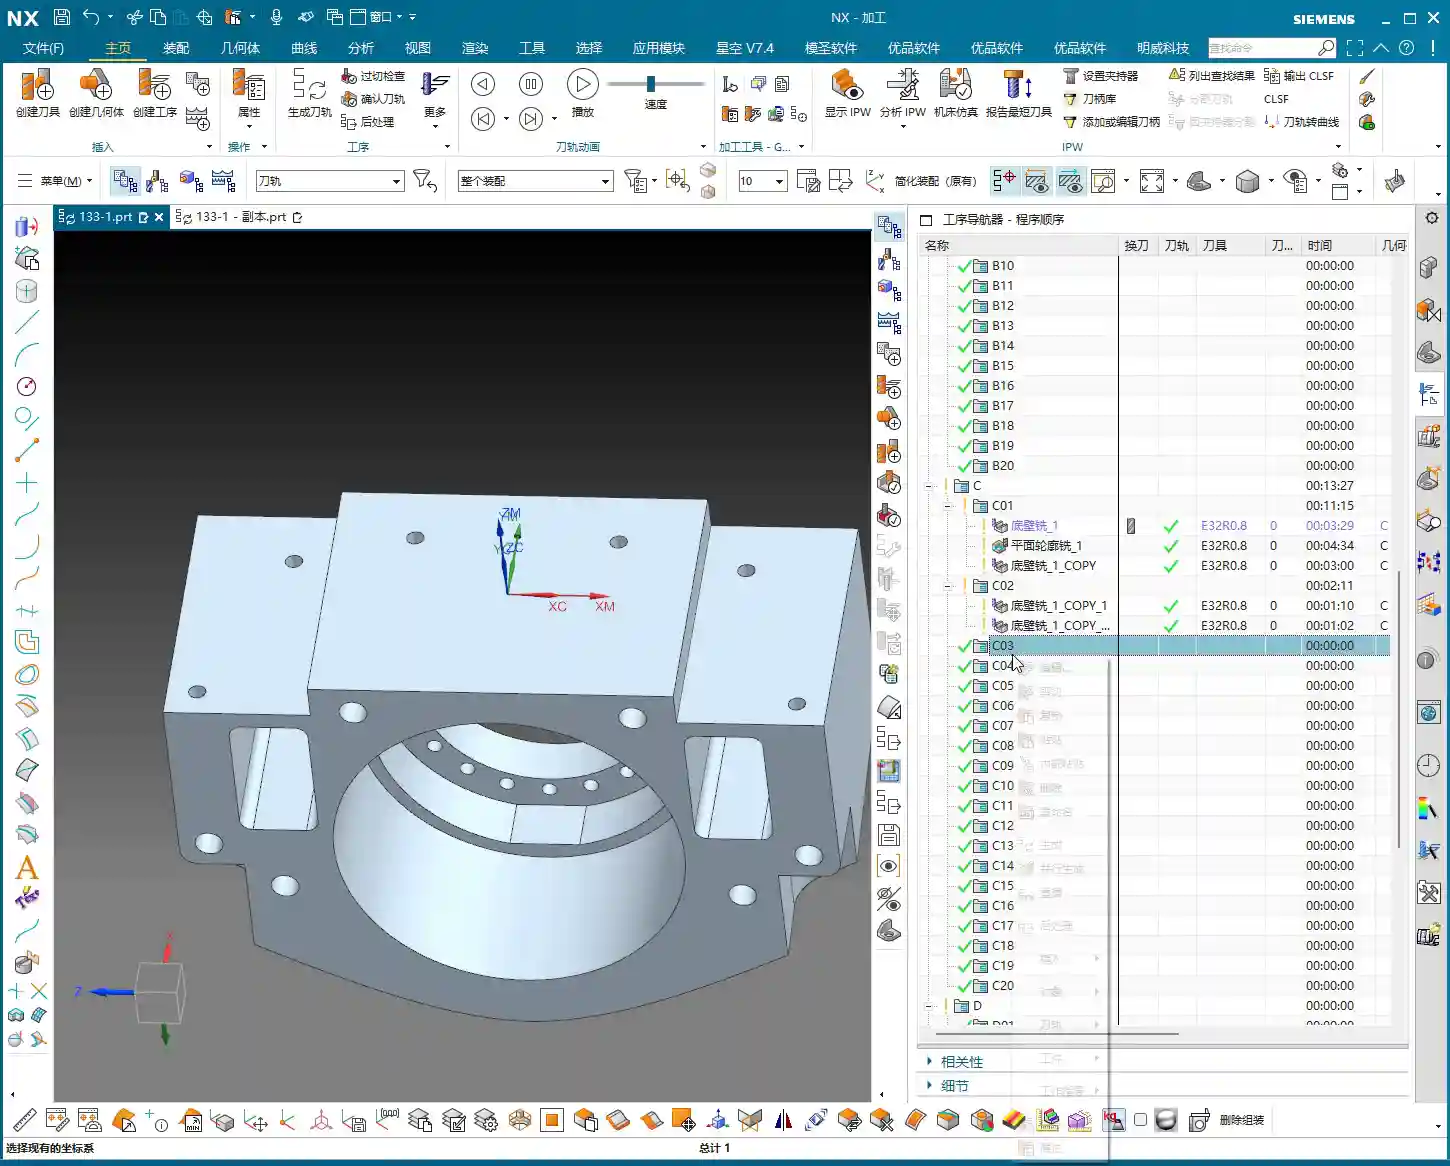
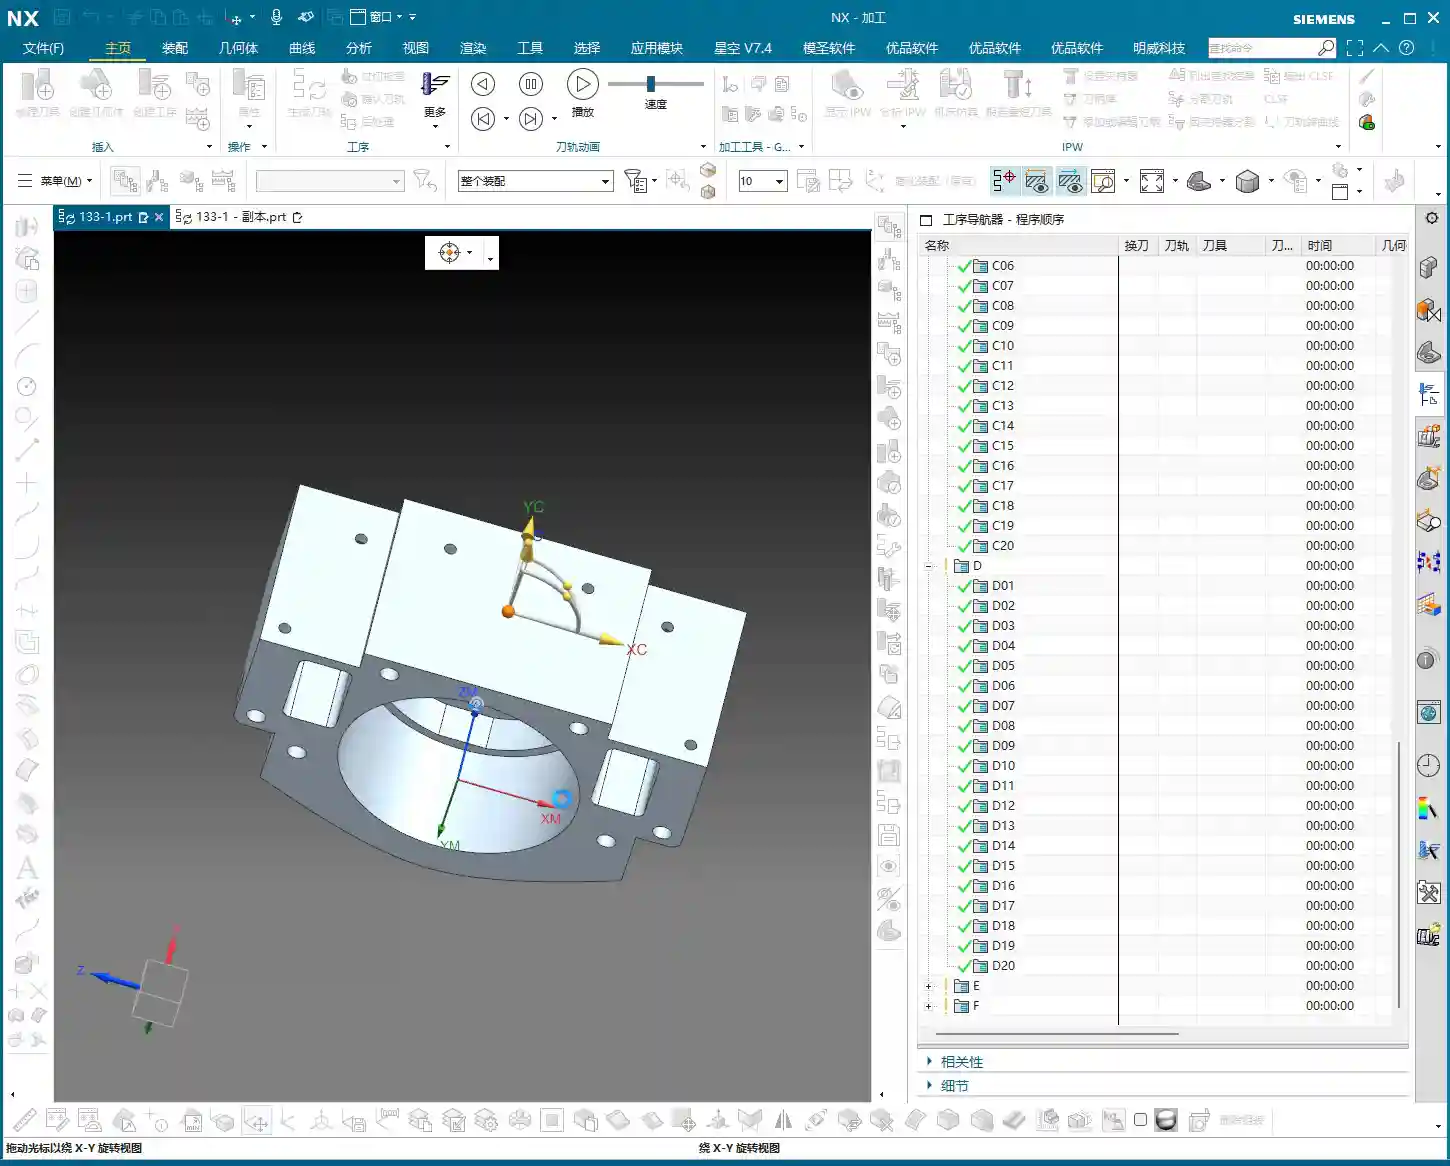
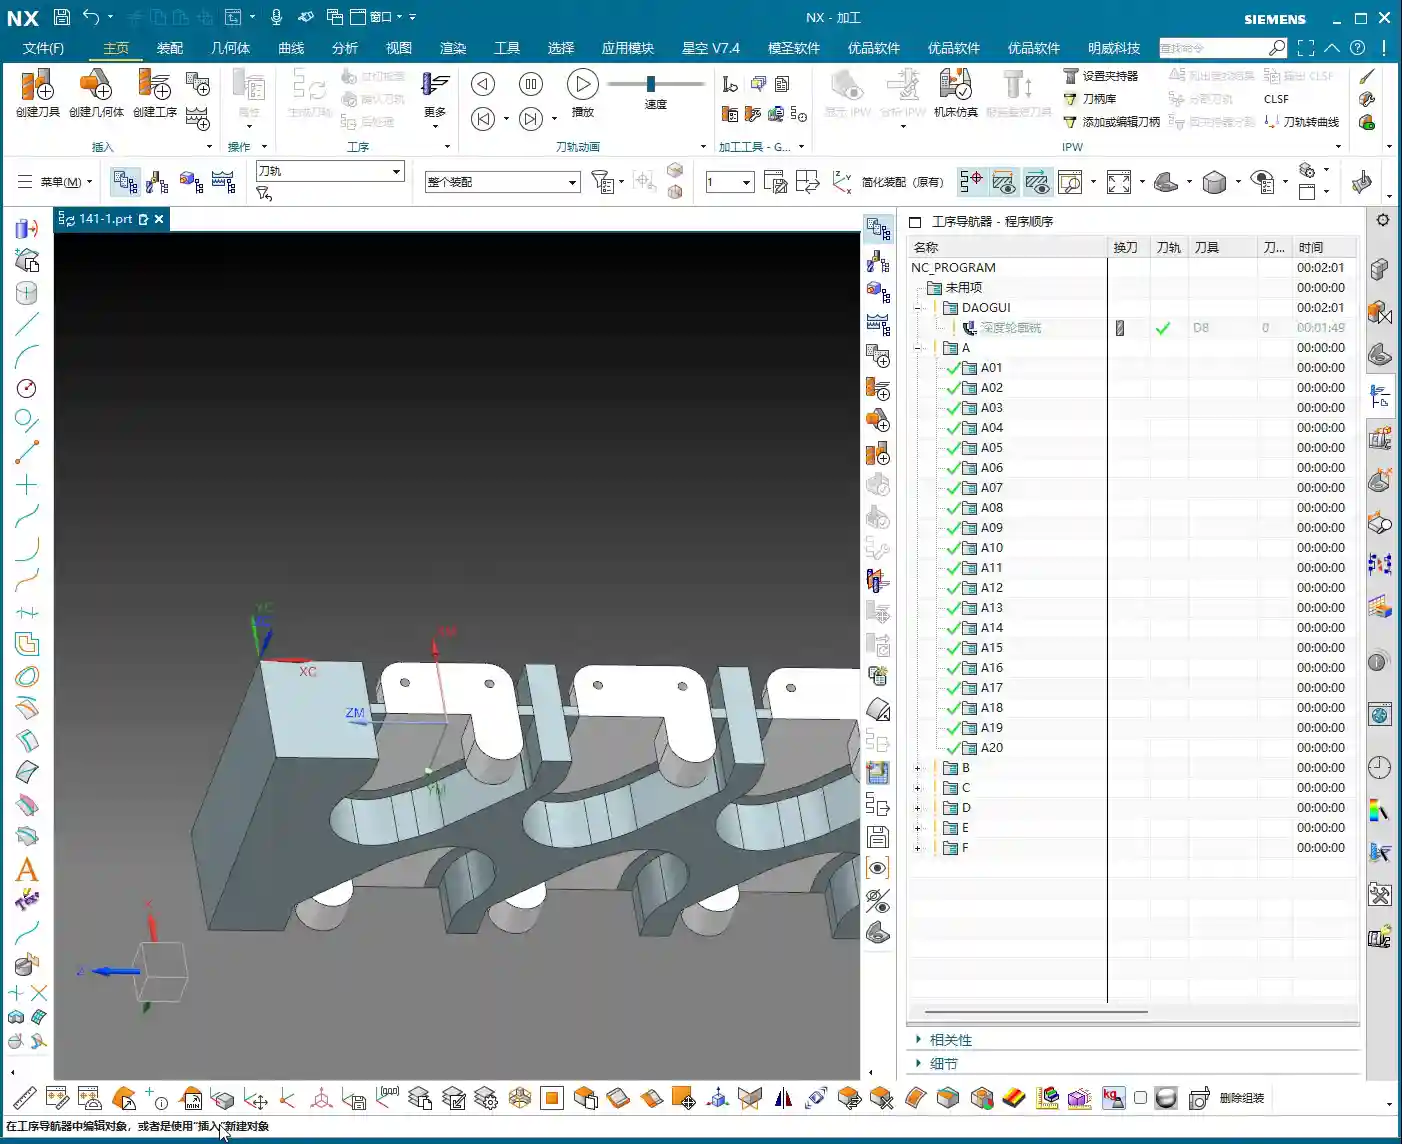
    Stock Definition and Layer Management

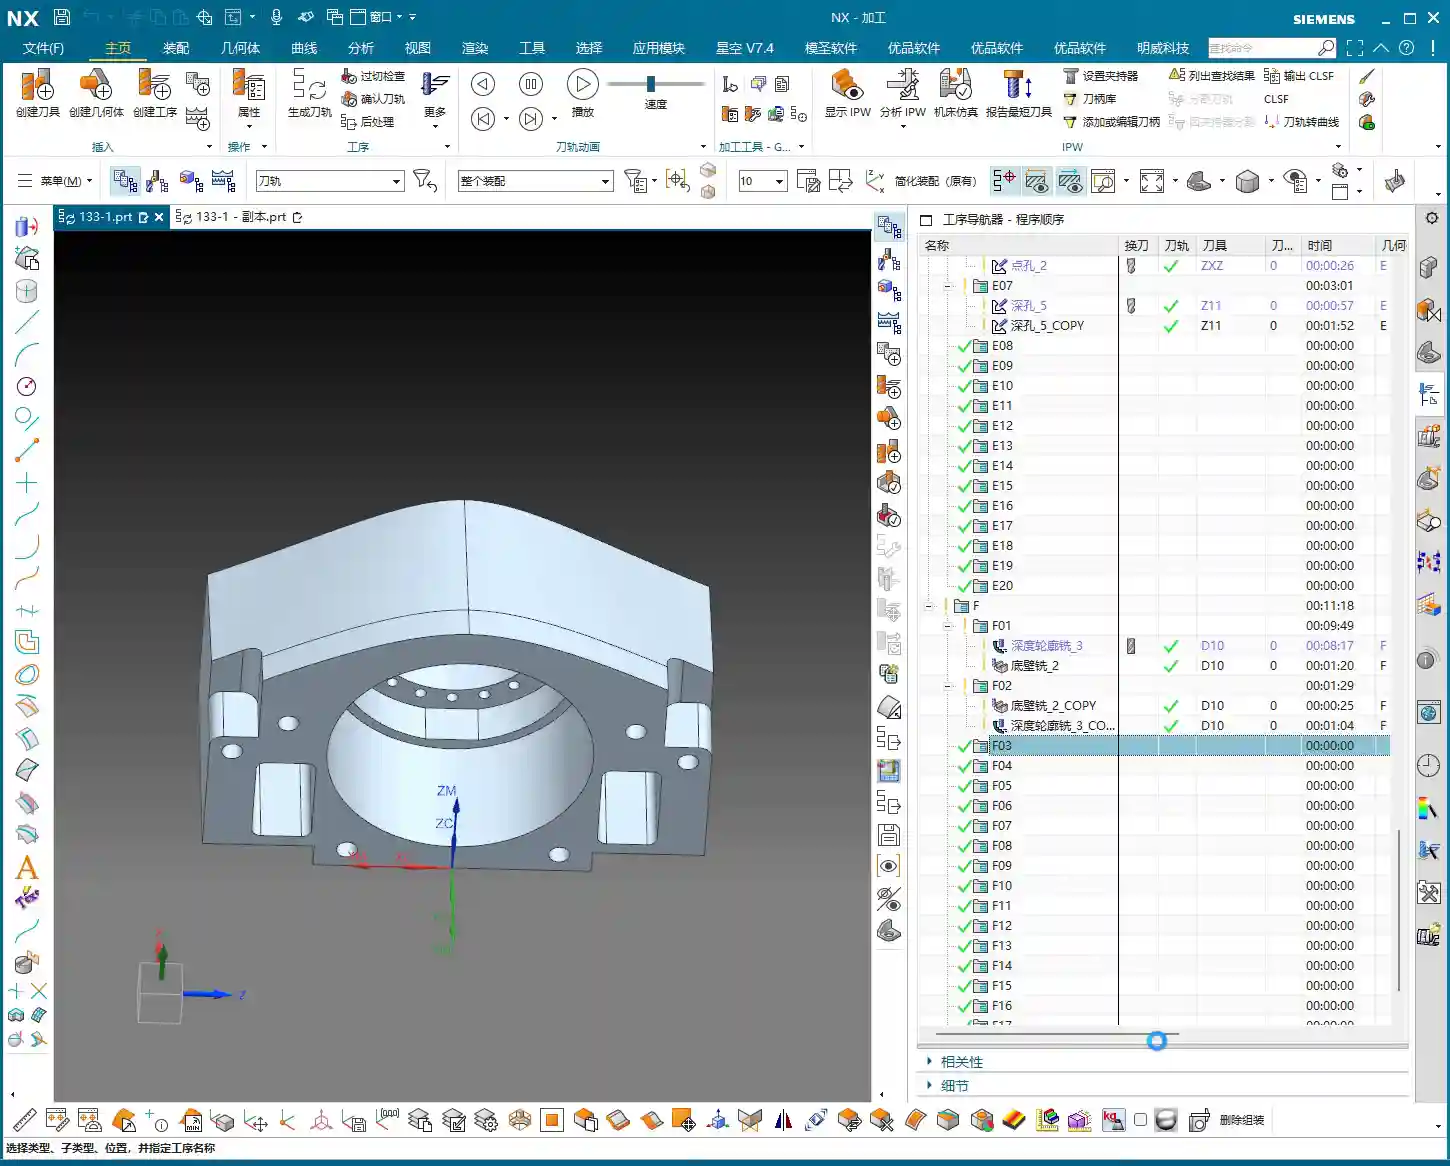
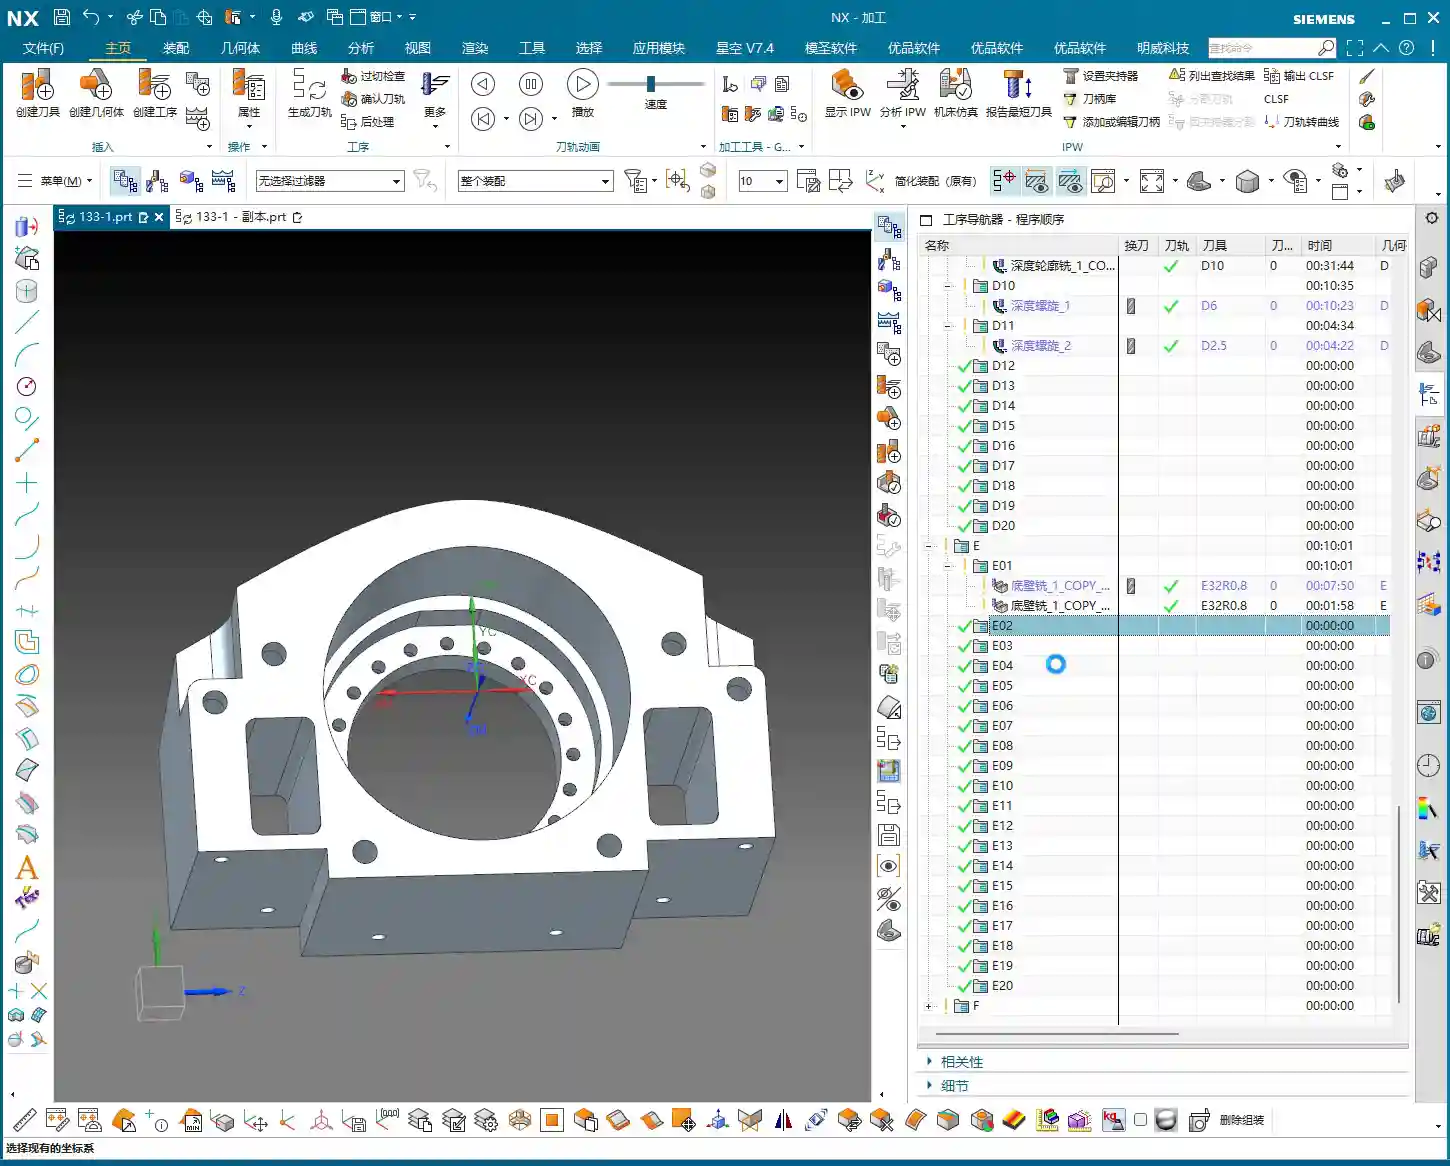
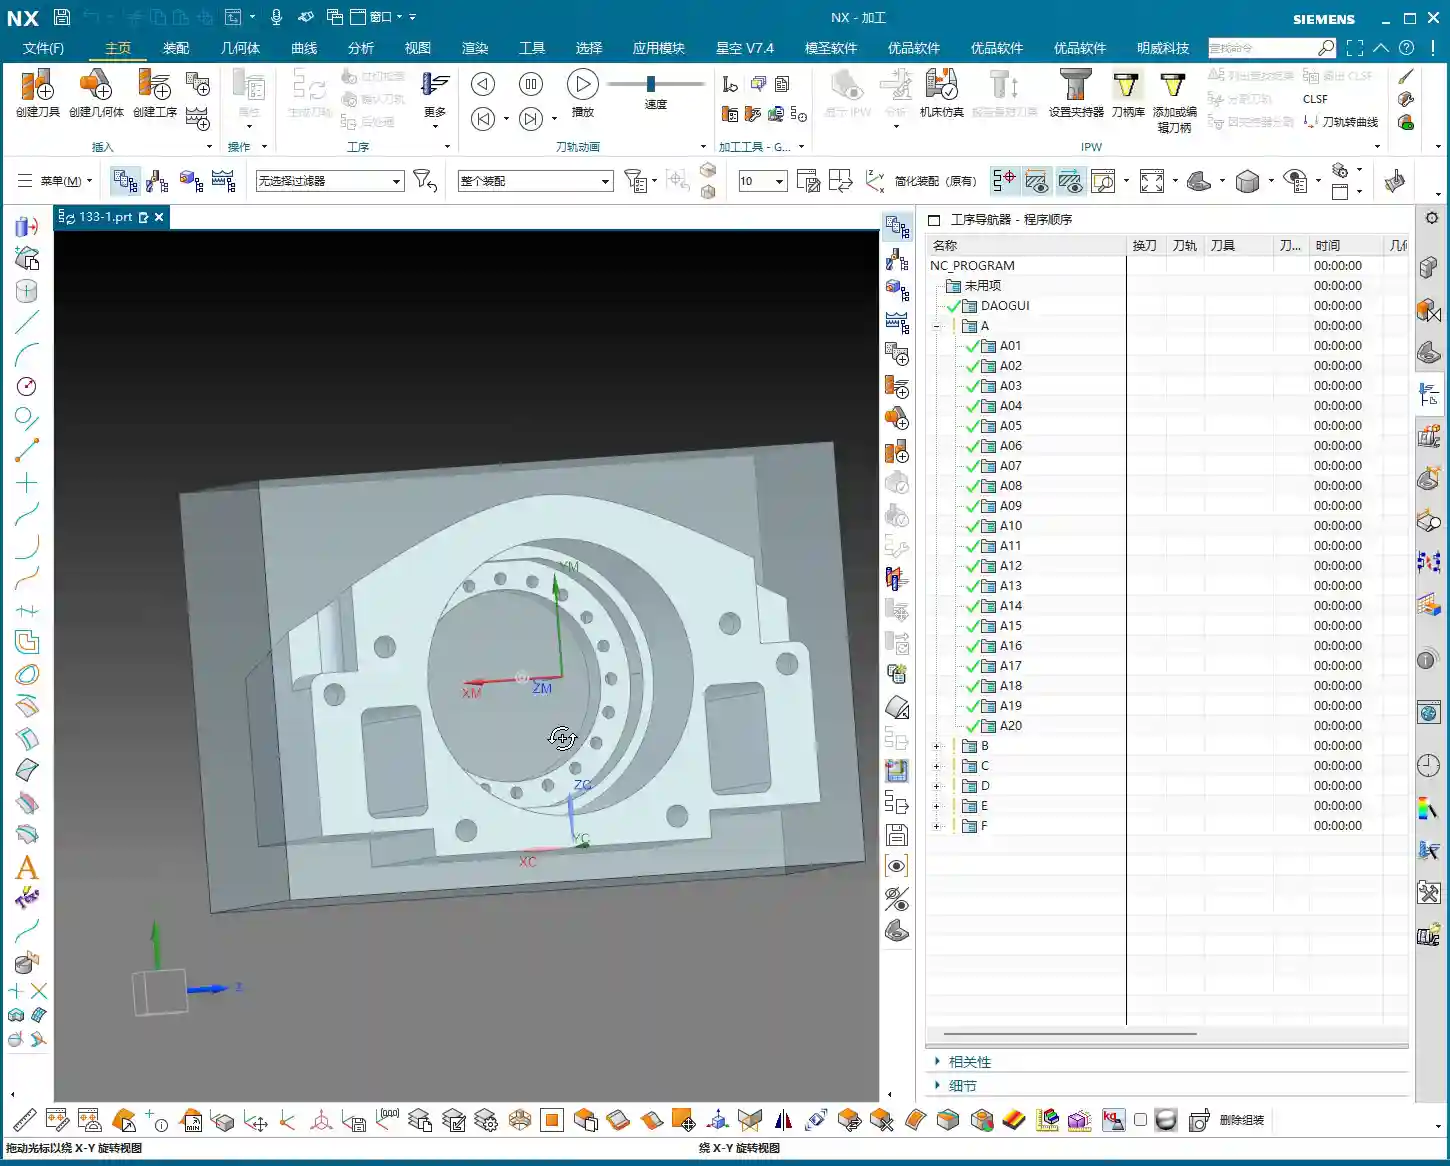
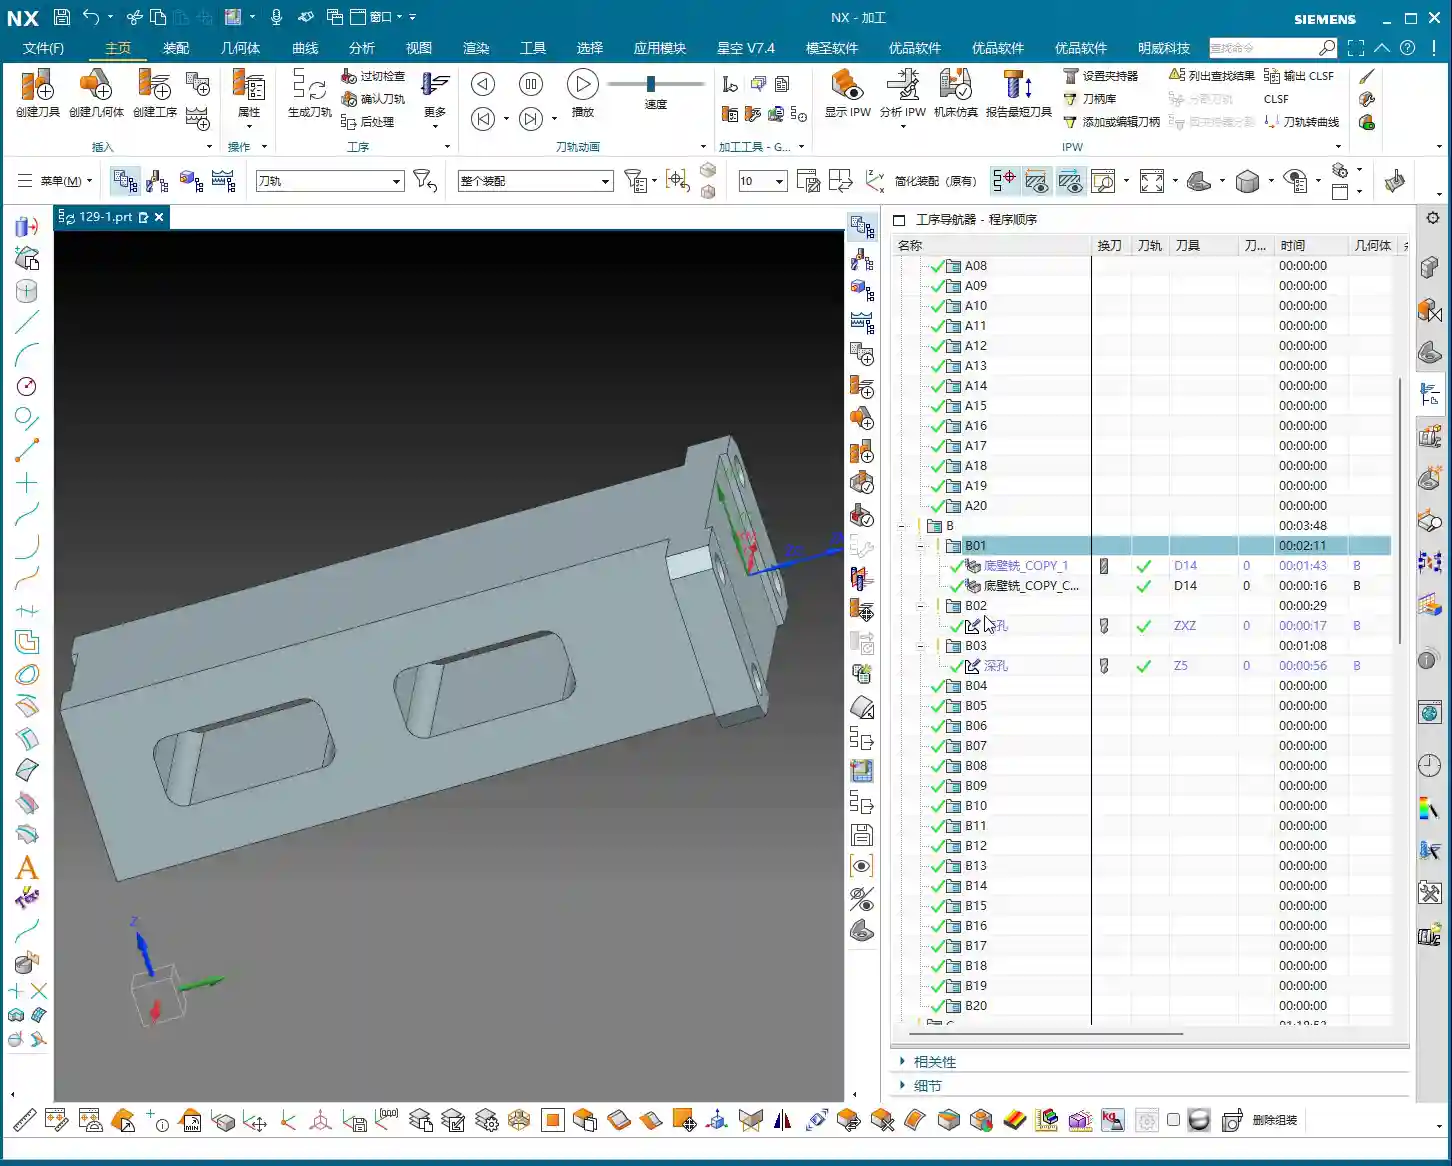
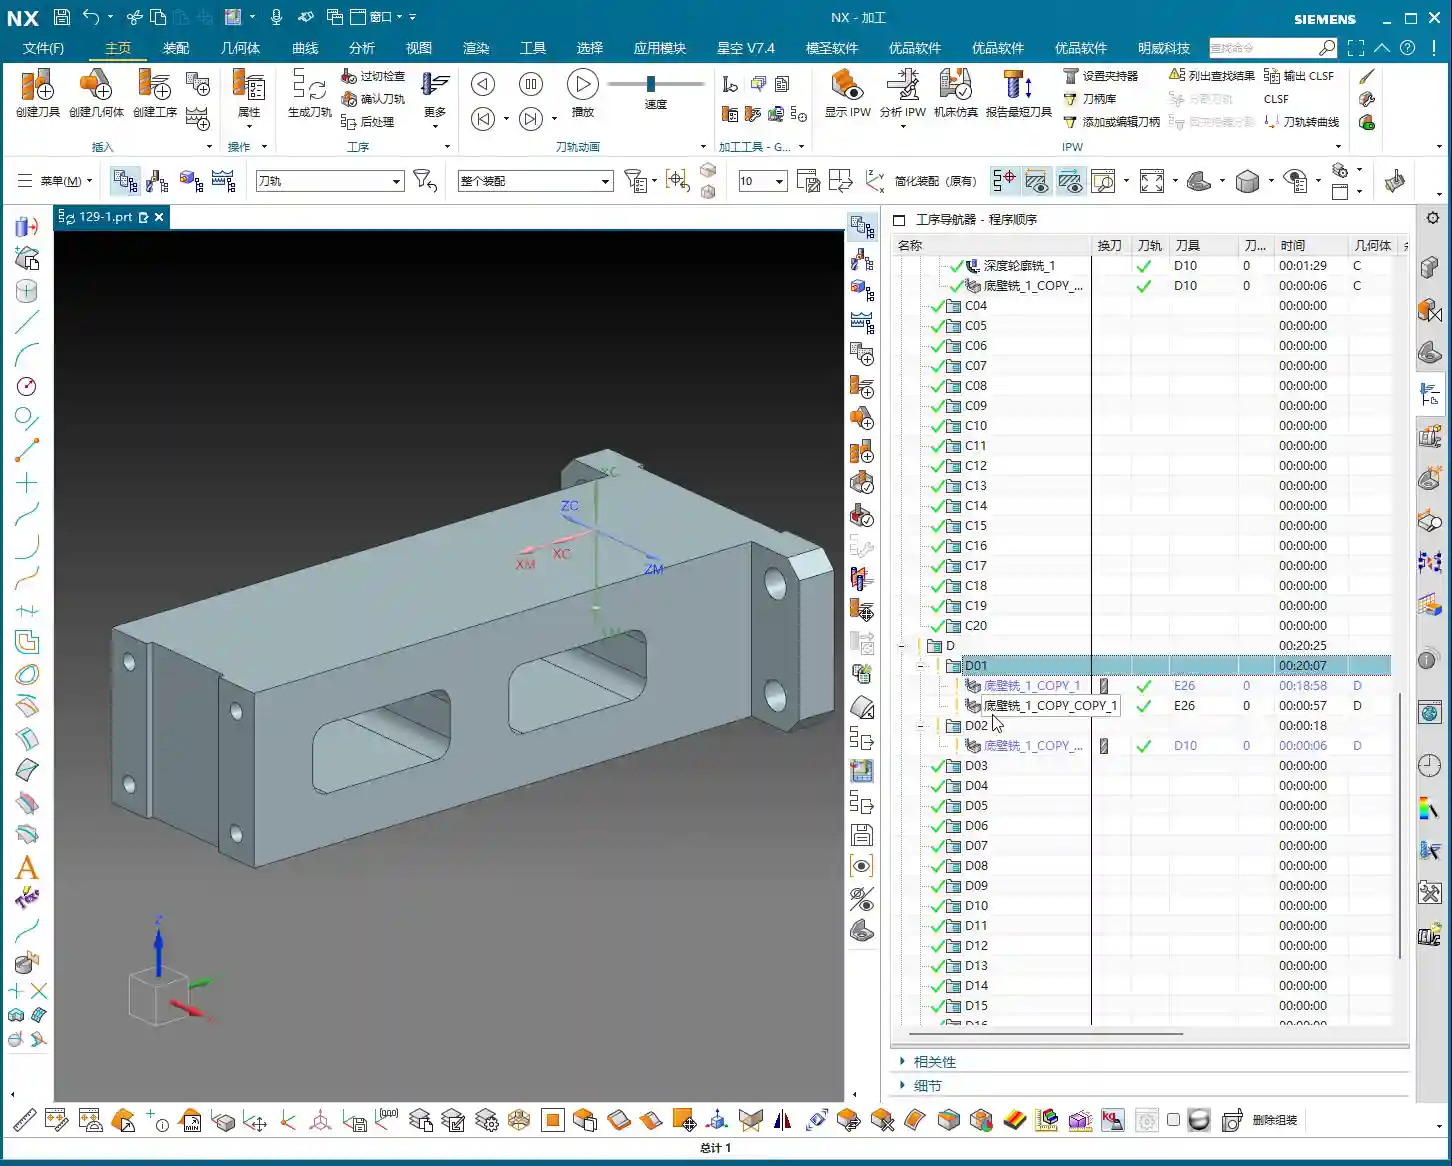
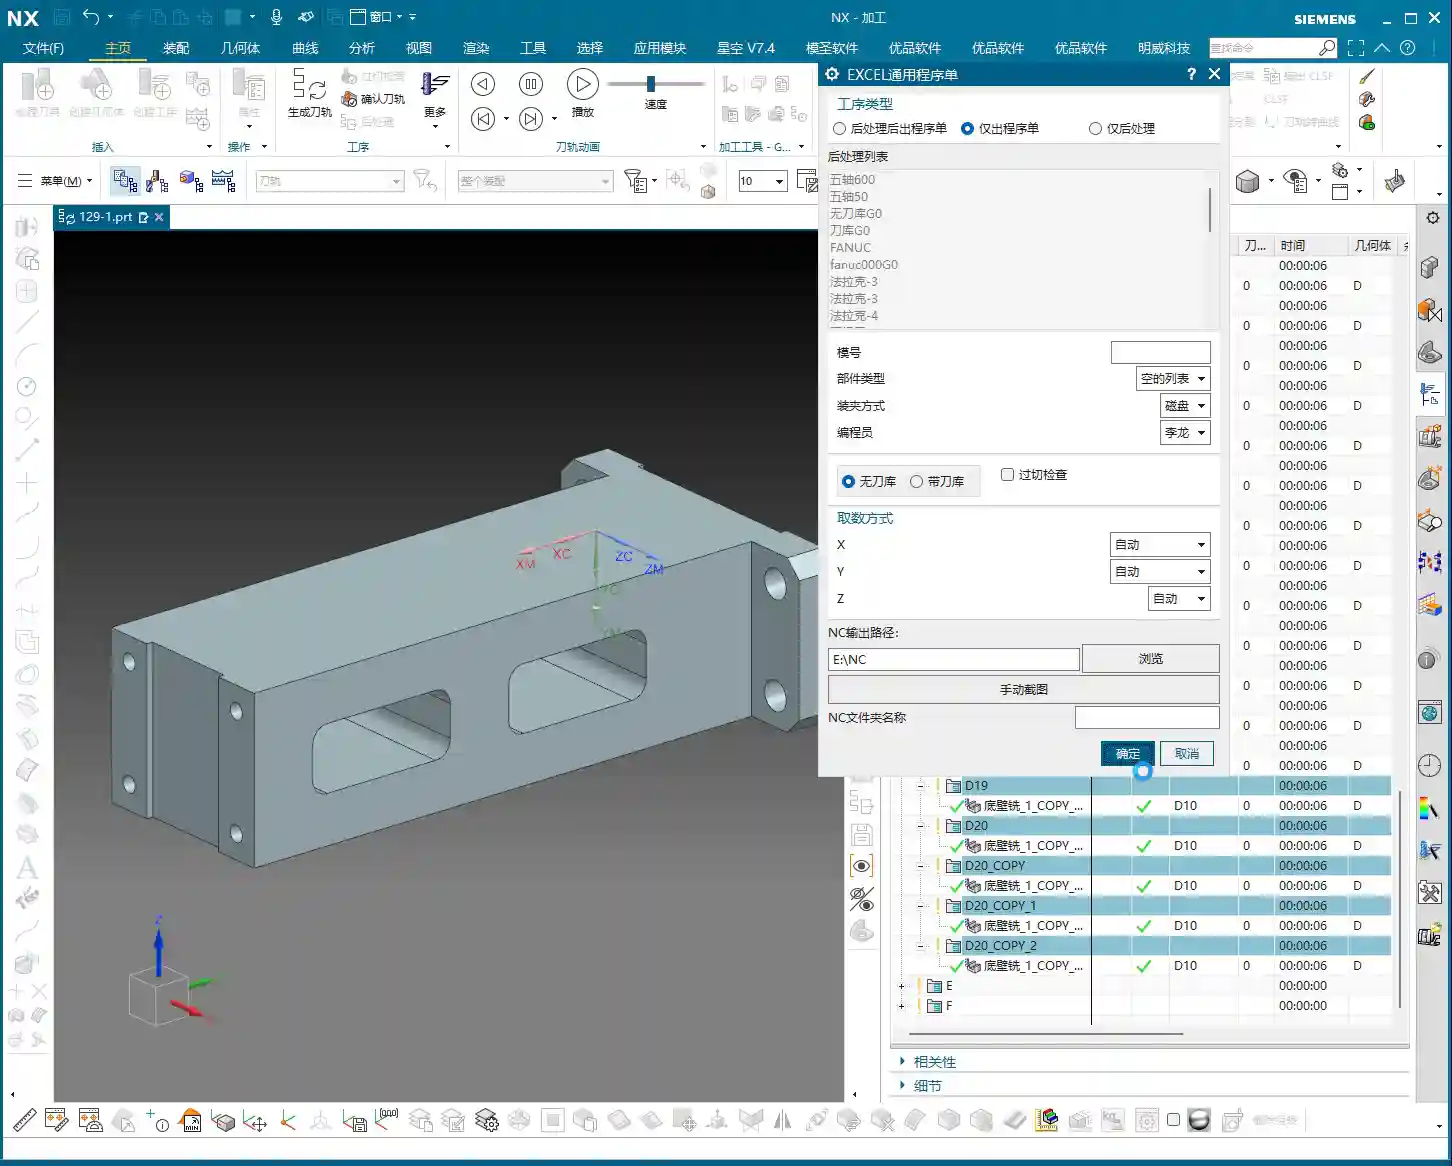
    In Siemens NX, defining the raw stock is the first step, so the software knows which areas need to be cut. I often prioritize speed, so sometimes I put everything on one layer, but you youngsters must develop good habits! Raw stock on one layer, part on another, and toolpaths for each operation on separate layers. This makes future modifications and searches easier, preventing clutter.

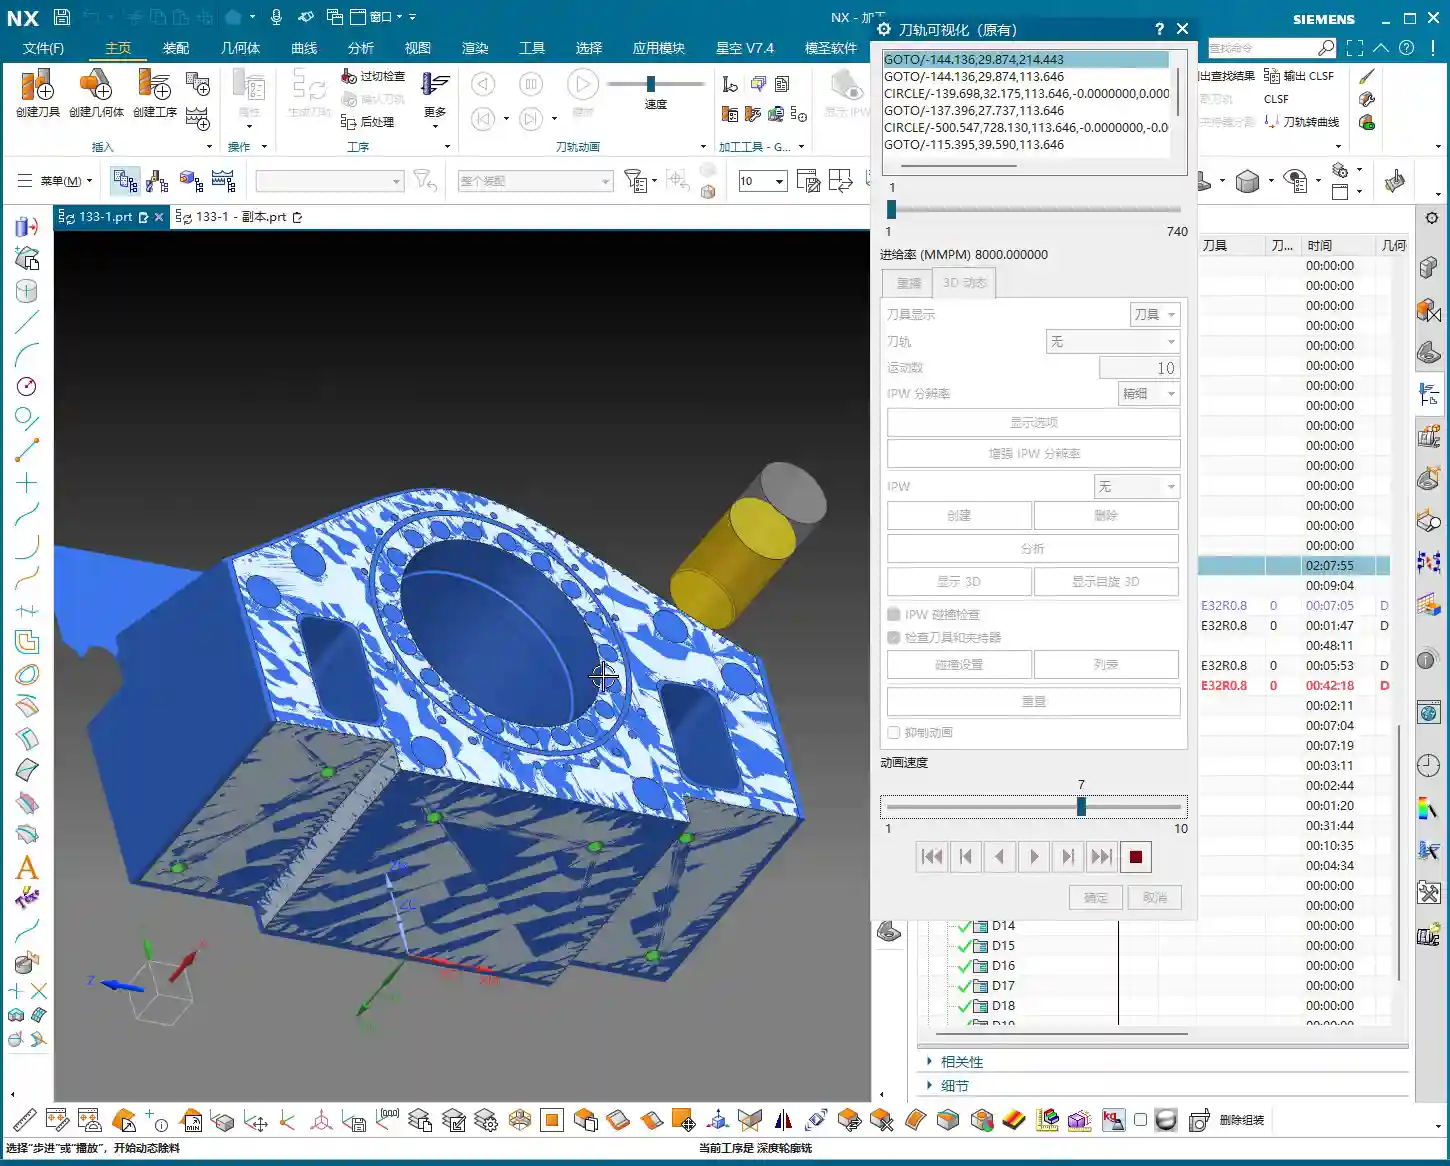
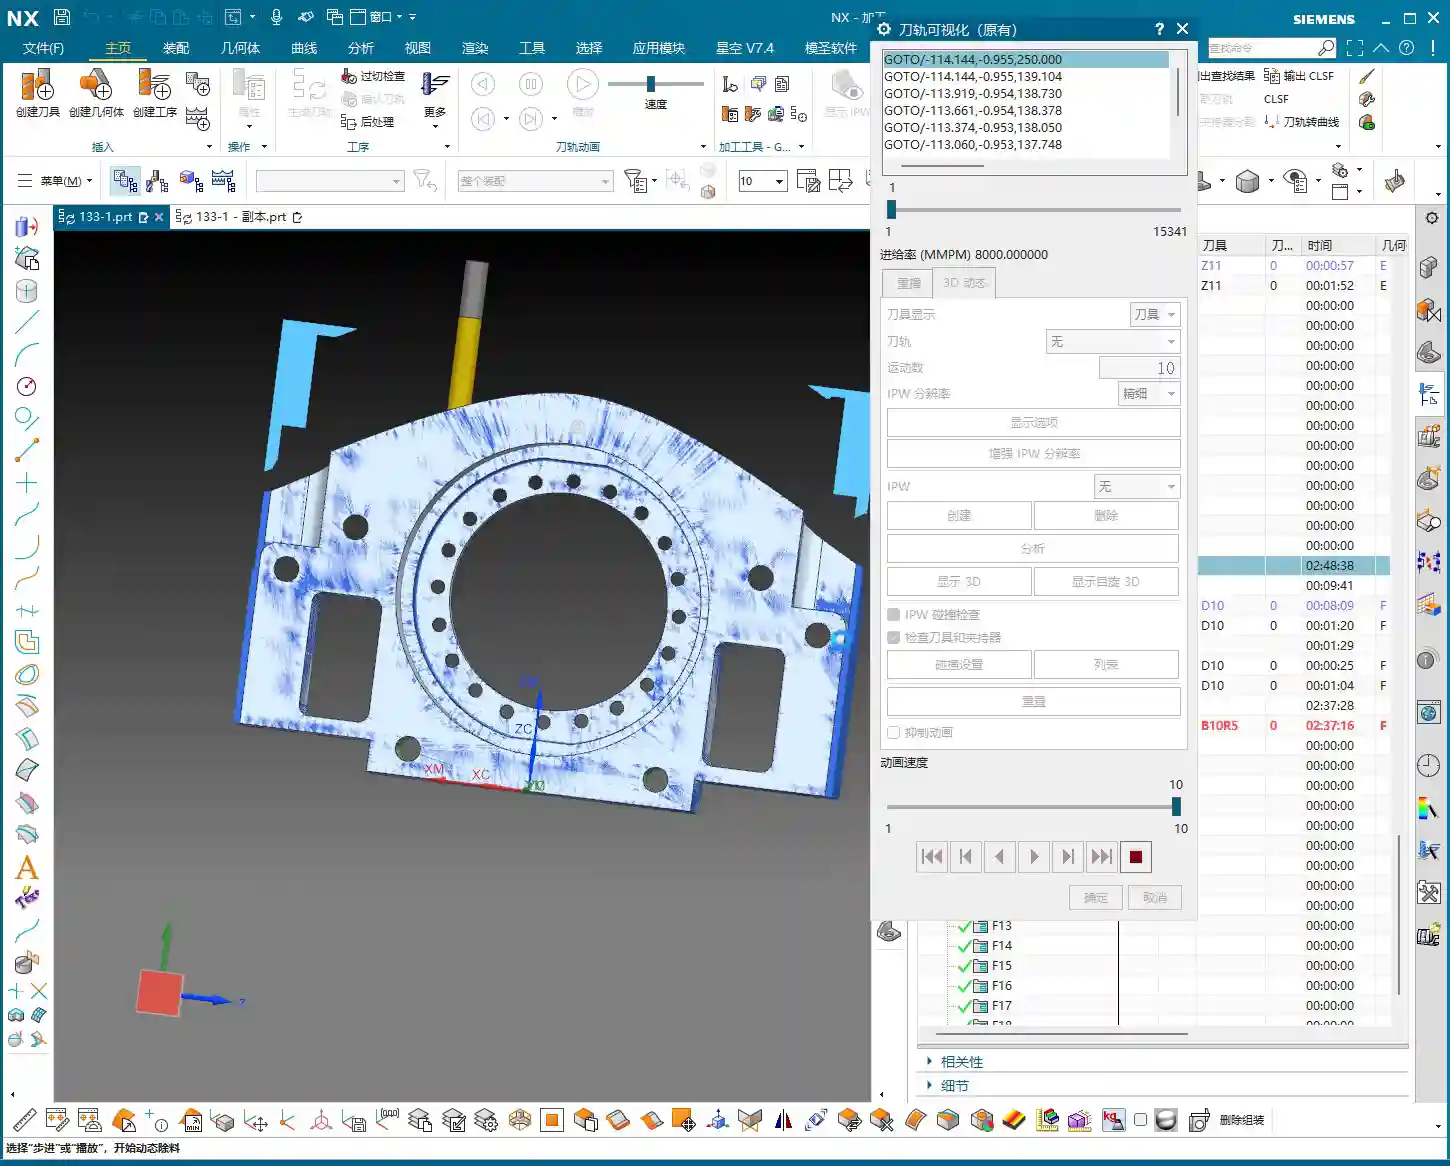
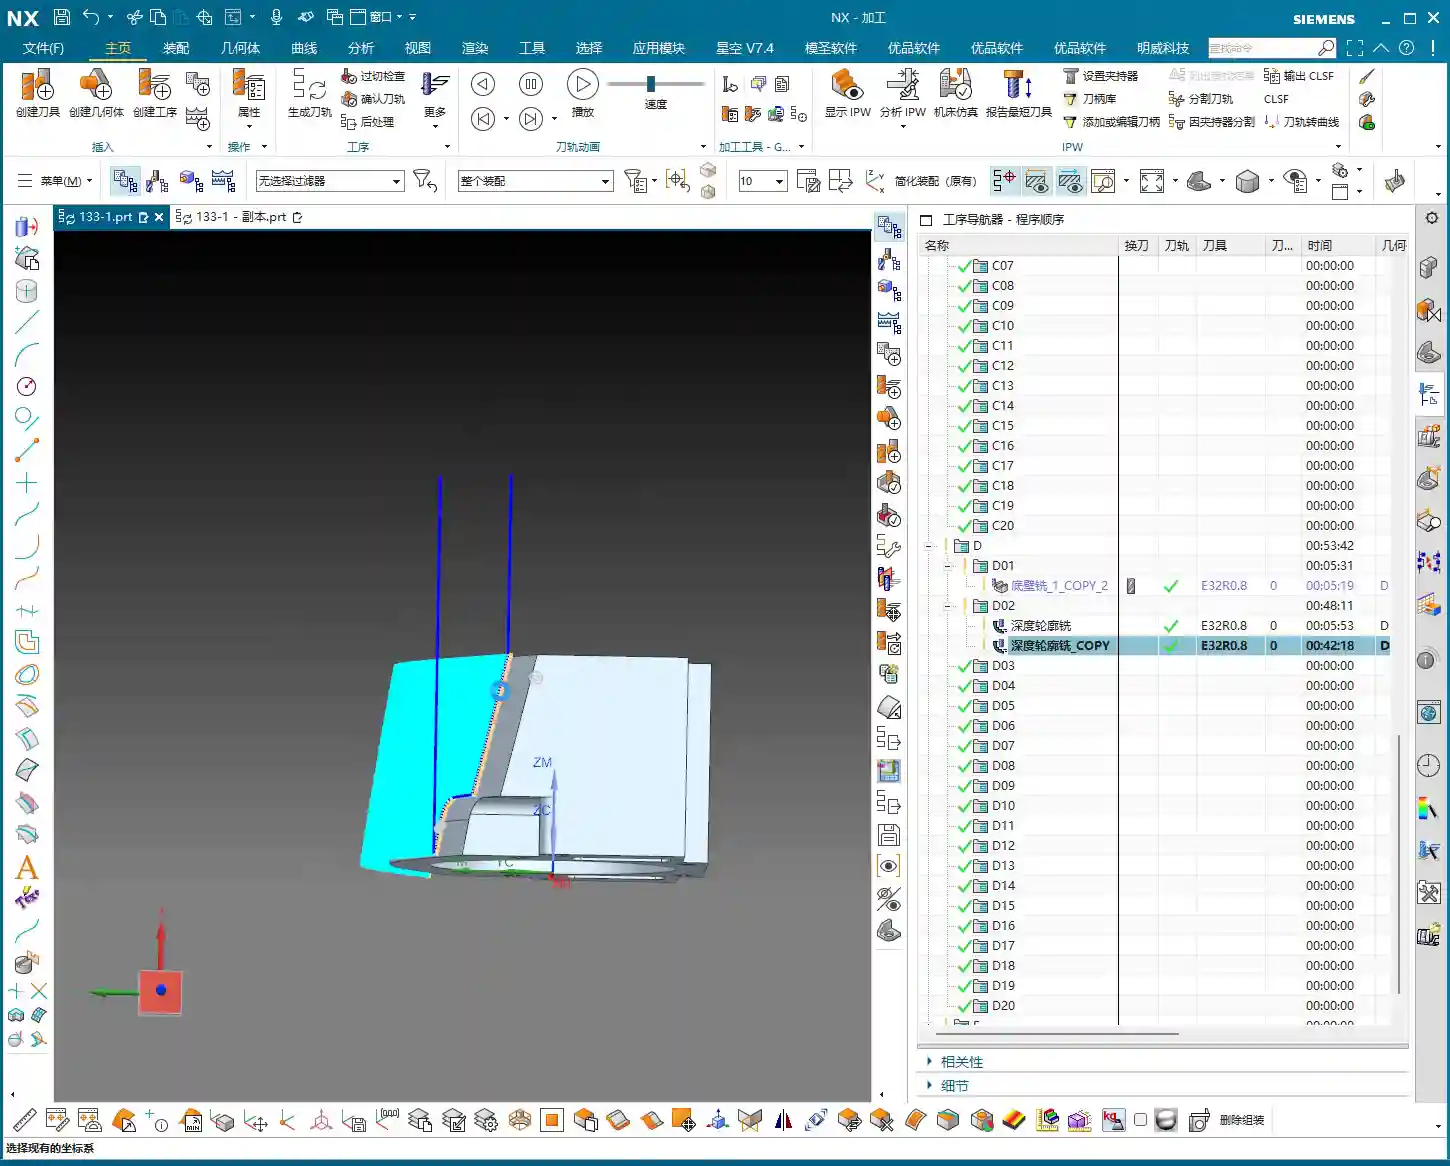
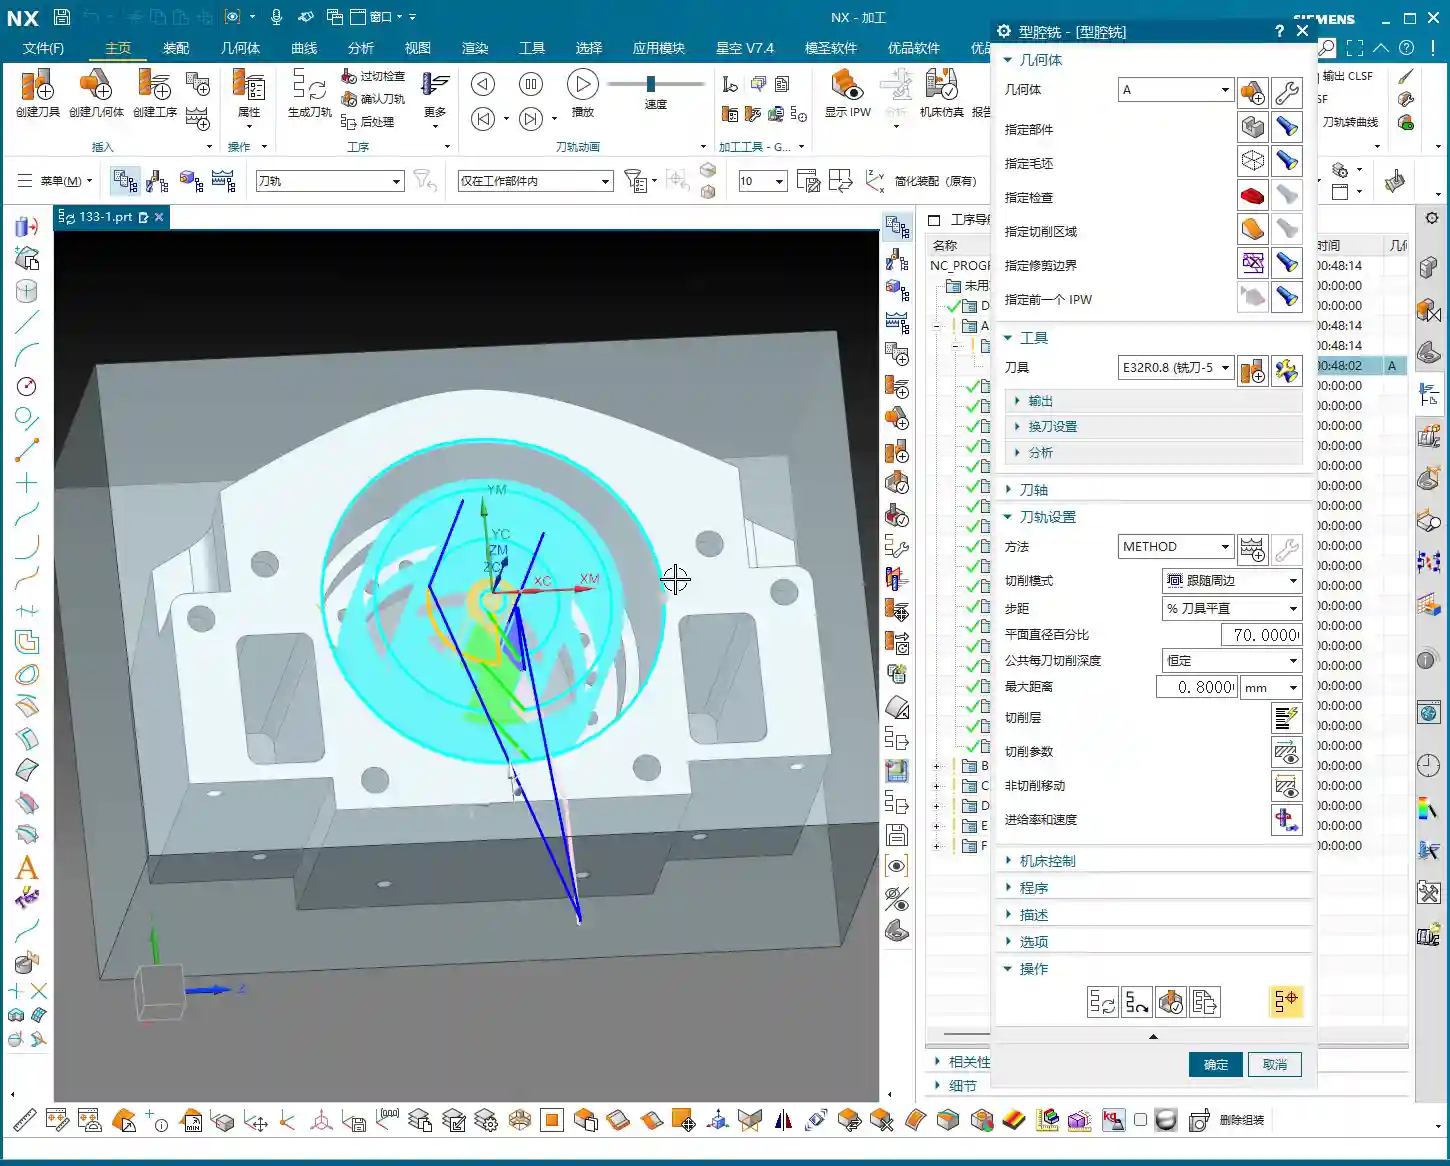
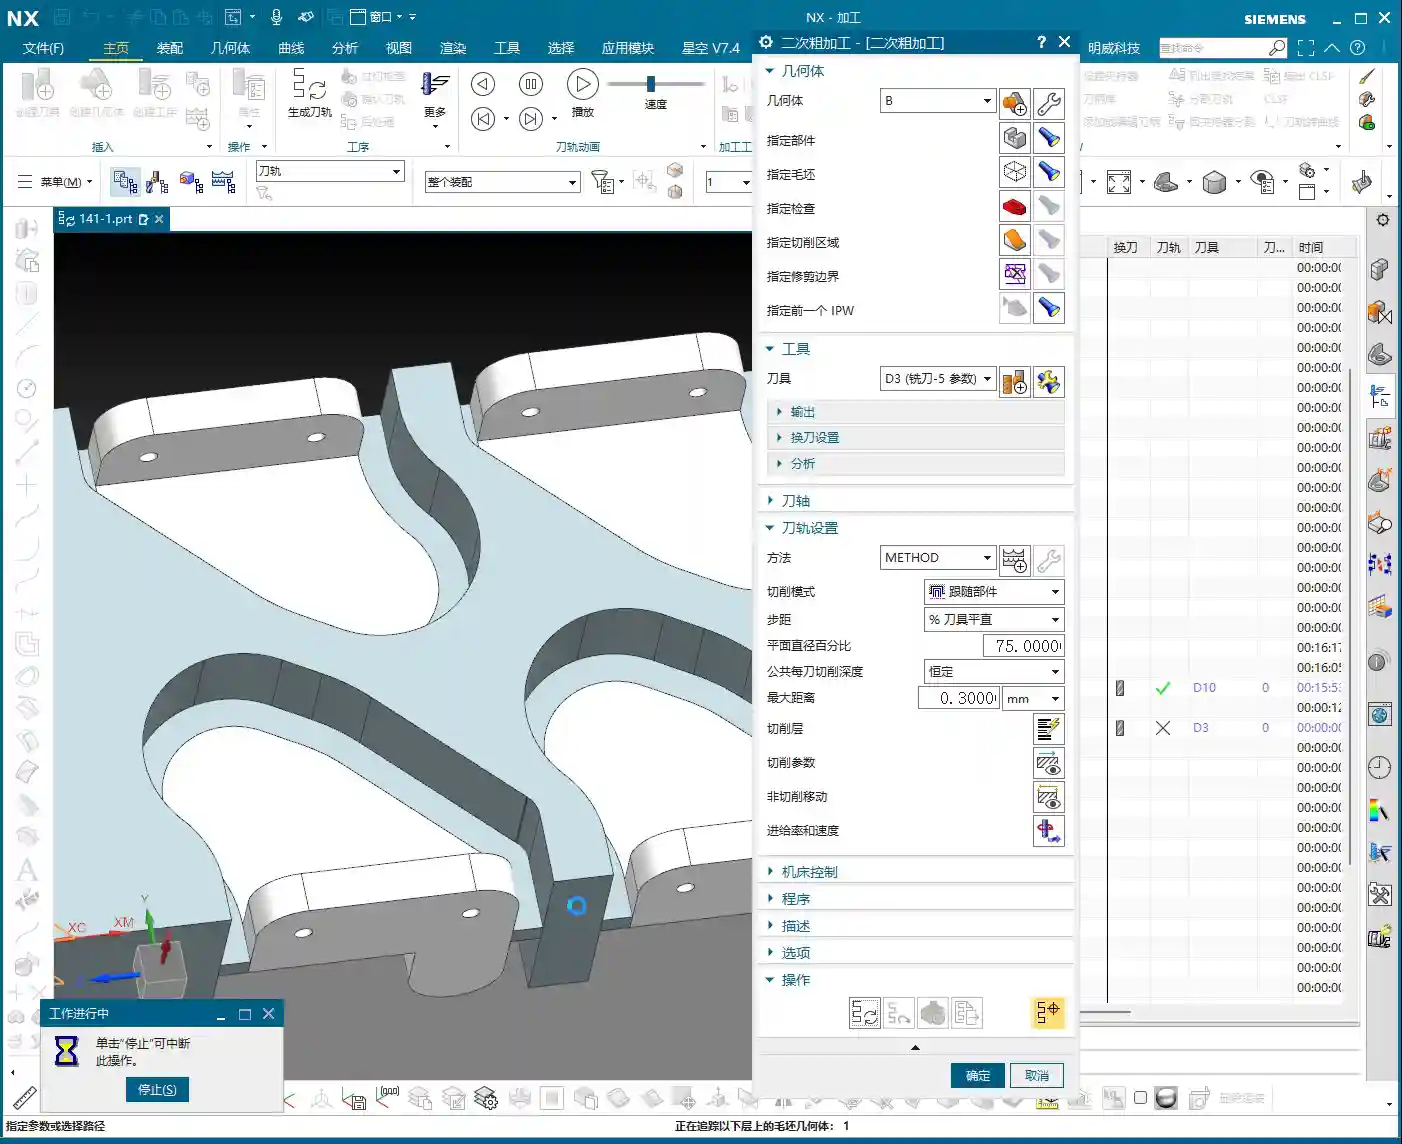
    Roughing Toolpath Errors and Correction

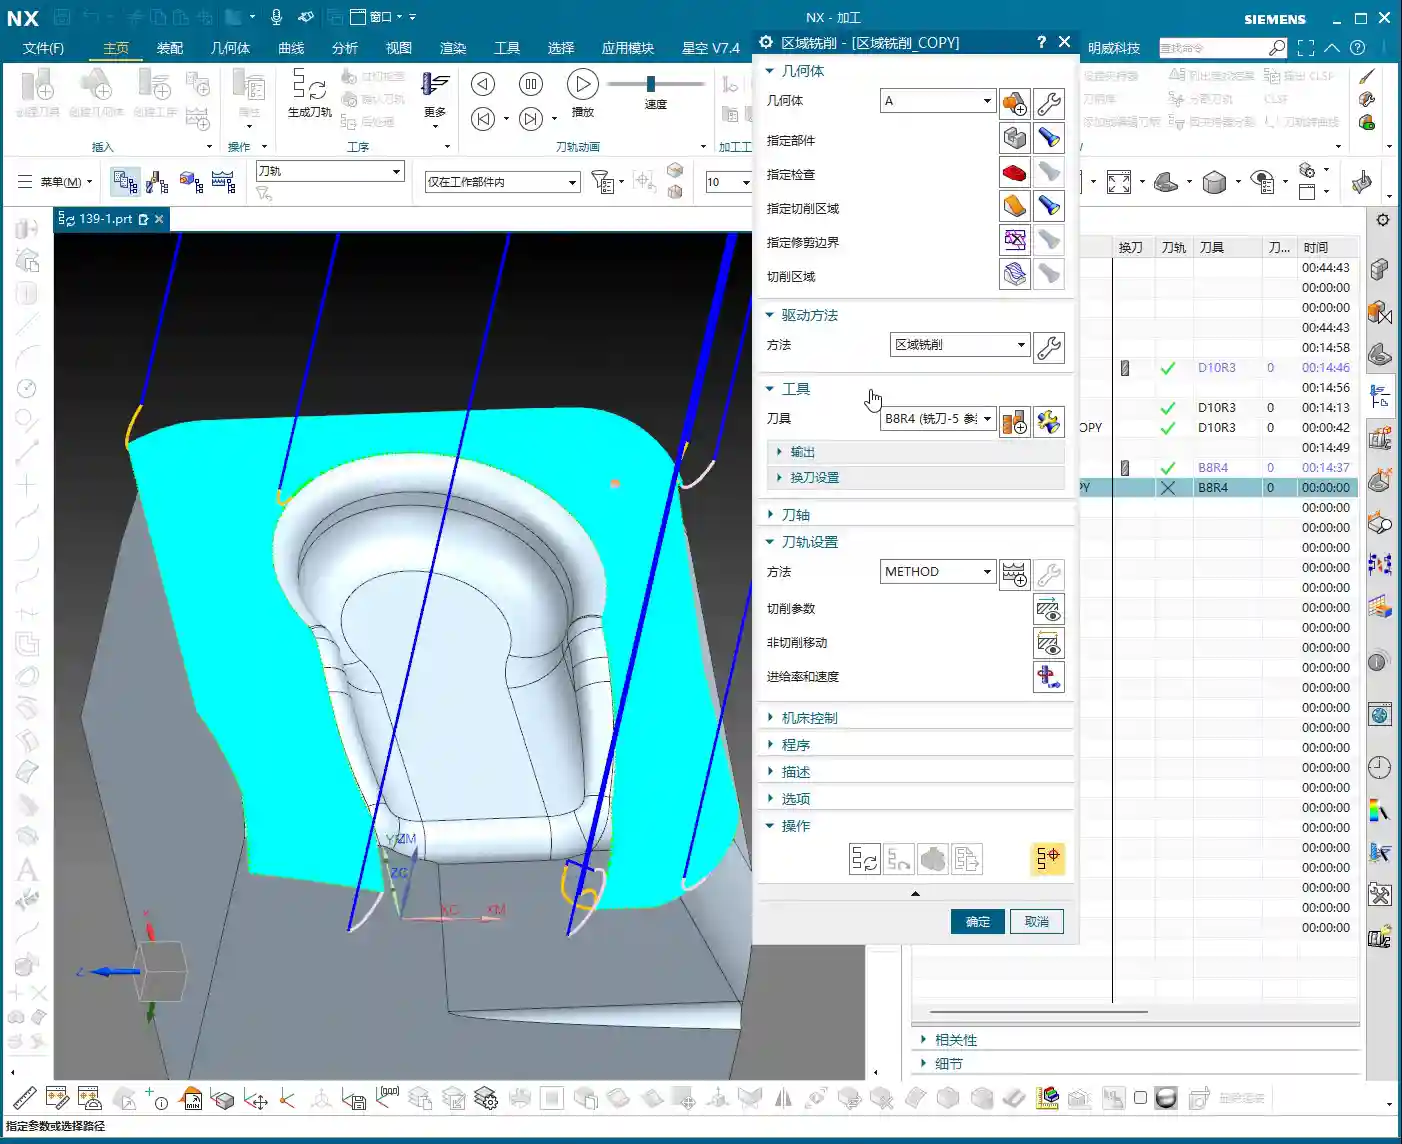
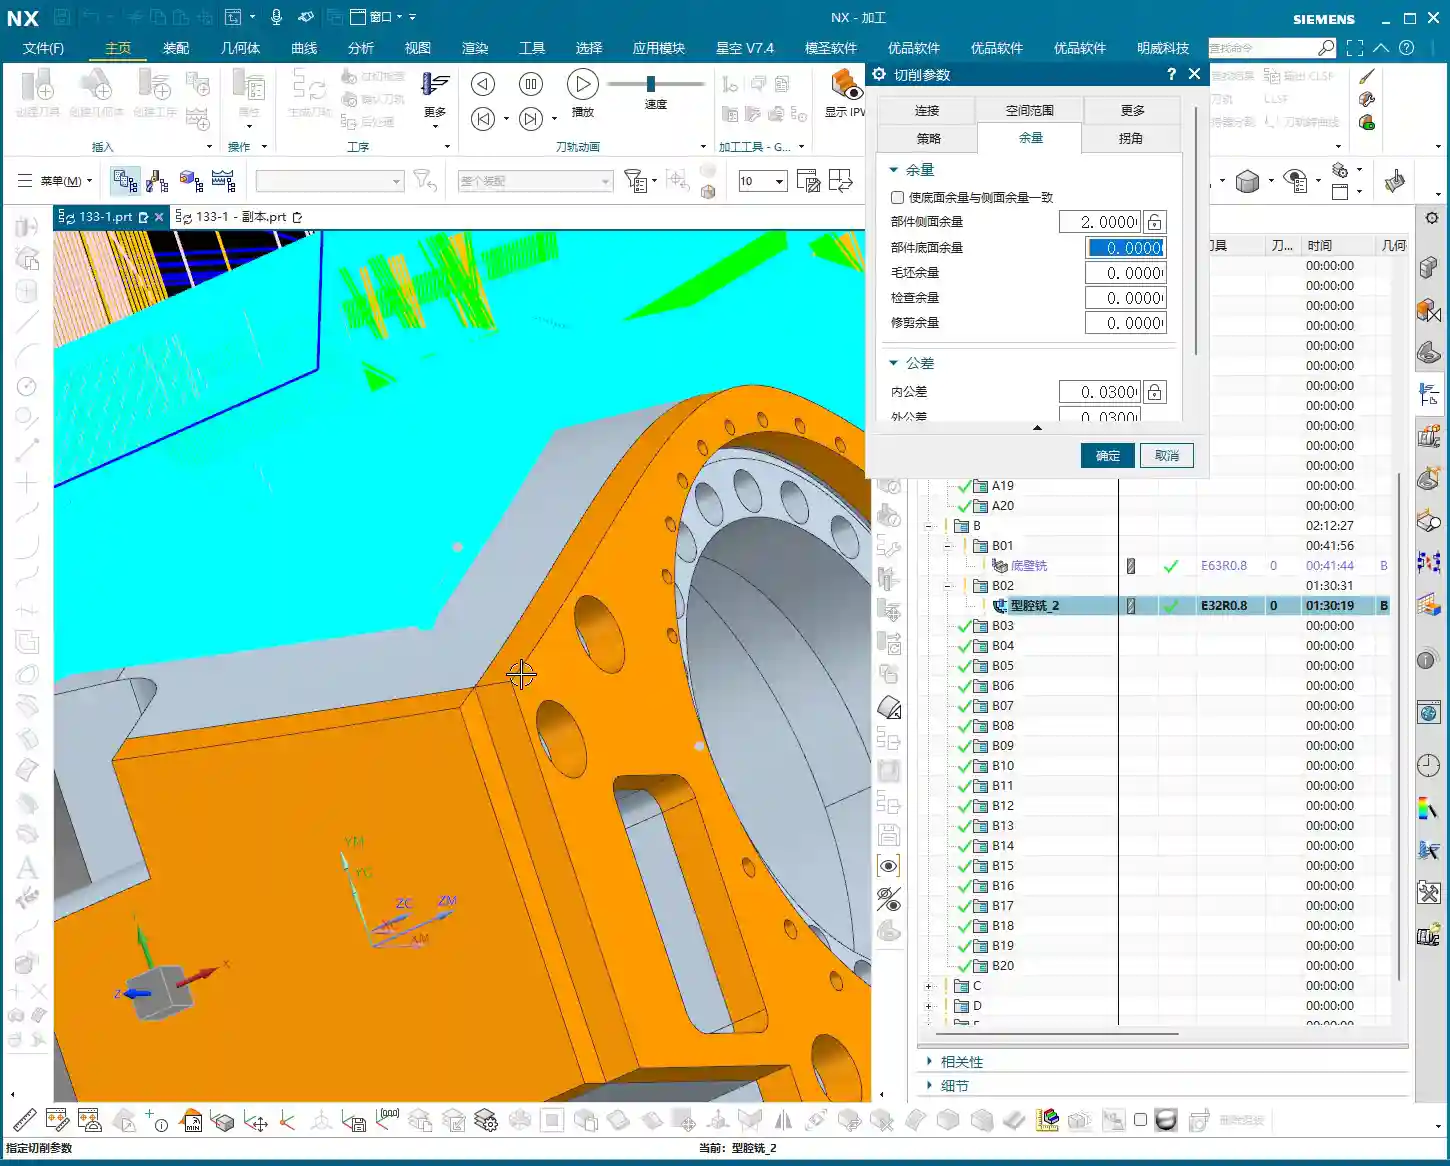
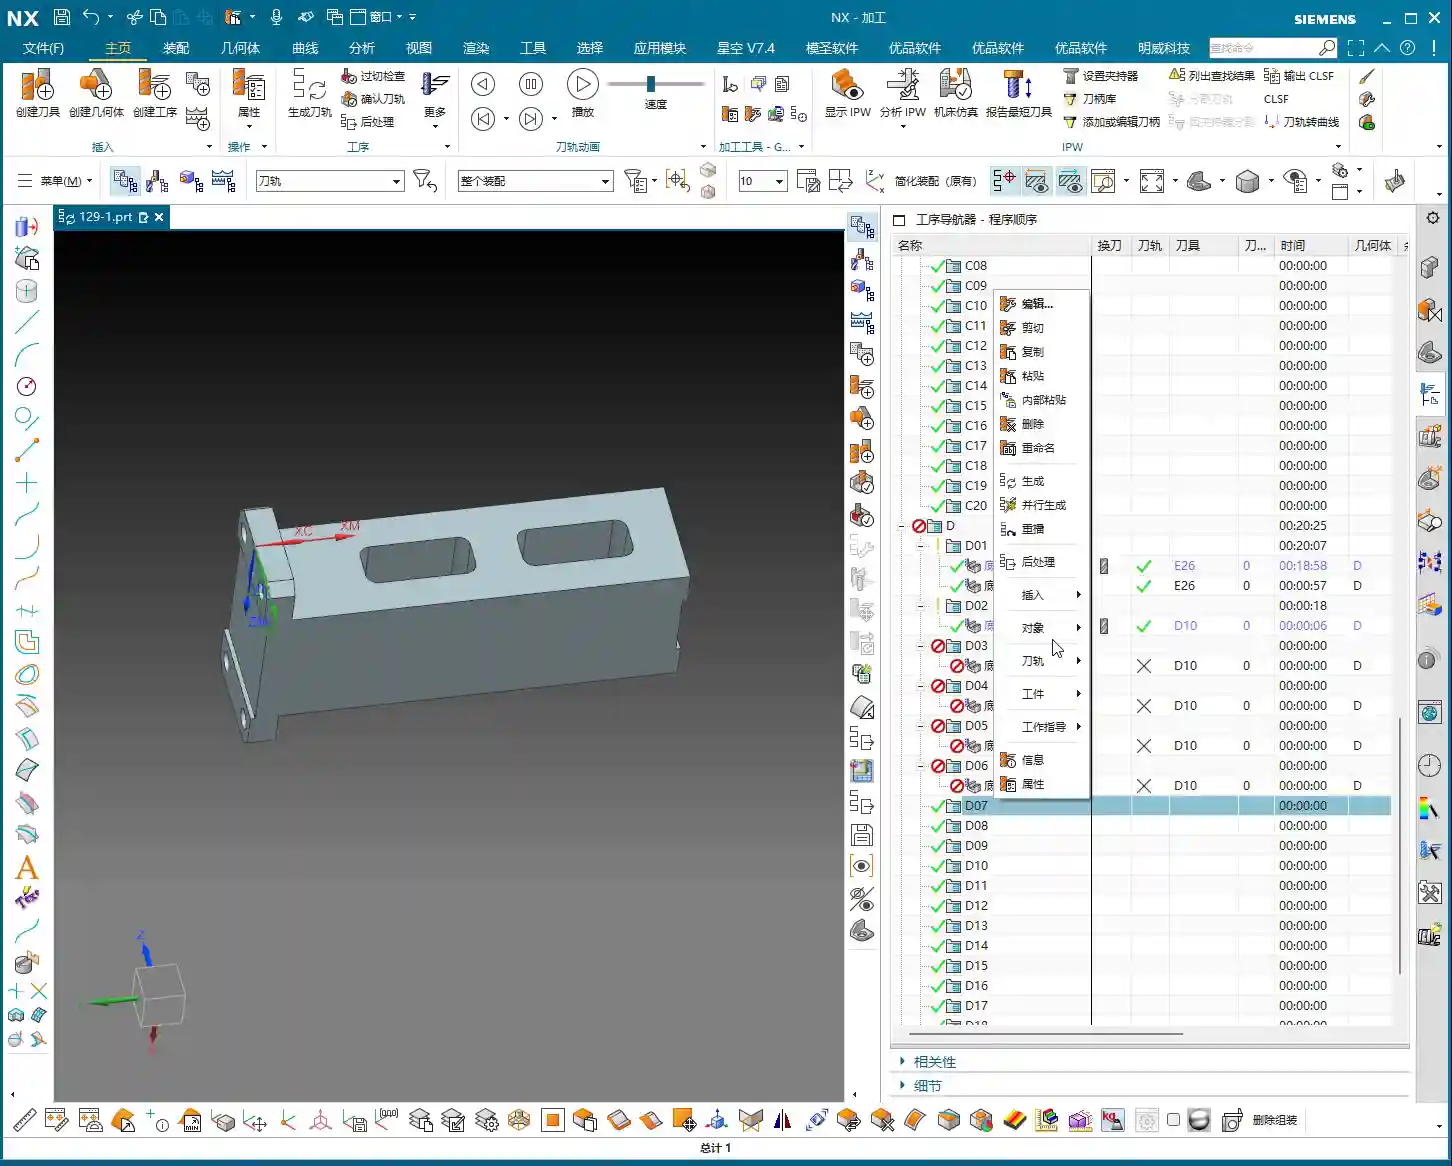
    During the programming for Face B roughing, after generating the toolpath, we discovered a problem: the tool was unexpectedly “cutting” on the outer contour! This won’t do; we intended to clear the slot, but it ended up milling away material from the outside perimeter instead. Errors like this must be identified and corrected immediately.

    The correction method is simple: in Siemens NX, use the “Trim” function or redefine the machining boundary. By selecting the correct boundary points or lines, the toolpath is precisely confined to the interior of the slot we intend to machine. Don’t let the tool “go off course”; scrapping a part is minor, but damaging the fixture or machine tool would be a real problem.

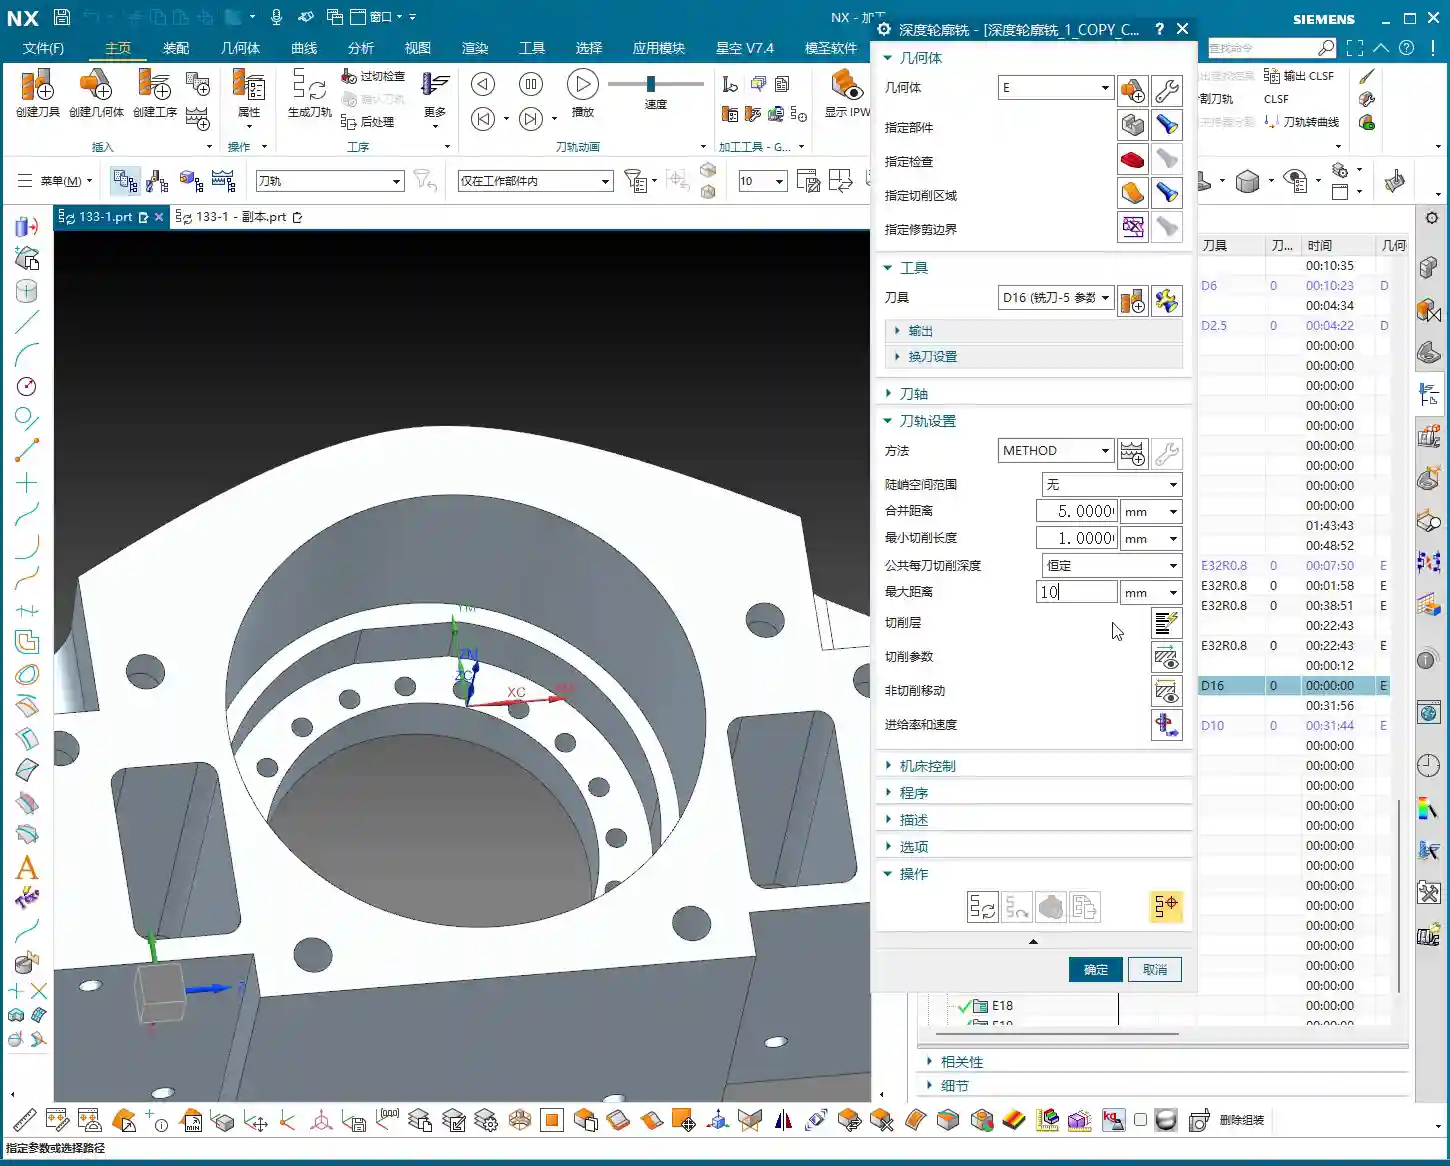
    Revisiting Slot Machining: Ultimate Considerations for Tools and Allowances

    Let’s get back to this 4 mm slot. A D4 (4 mm diameter) tool indeed won’t work. Where’s the problem? The core issue lies with “machining allowance”. When modeling, designers often just draw the theoretical dimensions, forgetting to leave “breathing room” for the tool. It’s like walking: if you insist on running in shoes that are a perfect fit, wouldn’t you end up with blisters?

    Master Wang’s practical experience advises:

    1. If the final required slot dimension is 4 mm, then during modeling, you should design this slot to be 4.1 mm or 4.2 mm wide, leaving a 0.1-0.2 mm roughing allowance. This way, you can successfully cut with a D4 tool, and then use another tool for the finishing pass to remove the remaining stock and achieve the final dimension.
    2. If the drawing strictly specifies a slot width of 4 mm and the model cannot be modified, then for roughing, you must select a tool slightly smaller than 4 mm—for instance, a 3.8 mm or 3.9 mm diameter end mill—to perform the initial roughing. This ensures the tool can enter smoothly and leaves sufficient stock allowance for the subsequent finishing pass.

    You see, this is experience talking. When the drawing was made, they just drew it without considering machining allowance—a common mistake made by many beginners and designers. Therefore, design and process planning must be tightly integrated to avoid unnecessary detours!

    Summary: Guide to Avoiding Pitfalls

    Alright, youngsters, everything Master Wang has shared today is hard-earned, real-world shop experience you won’t find in textbooks!

    • Allowance Awareness: Any design dimension must account for machining allowance before processing. Especially for internal slots, holes, and similar features, a safe clearance must be left between the tool diameter and the actual dimension. Don’t expect a 4 mm diameter end mill to perfectly cut a 4 mm slot!
    • Layer Management: Develop good Siemens NX layer management habits. Use separate layers for different operations, raw stock, finished part, fixtures, etc. This facilitates searching, modification, and collaboration, preventing clutter. This is fundamental professional etiquette.
    • Fixturing Considerations: For multi-part or double-sided machining, always plan your fixturing strategy in advance. Ensure the workpiece is secure, accurately positioned, and that the tool can access all machining surfaces without interference. Unstable fixturing renders everything else useless.
    • Tool Selection and Verification: Before programming, always confirm the compatibility between tool dimensions and workpiece features. Use Siemens NX’s simulation function to carefully verify if the toolpath is correct, checking for air cuts, overcutting, or interference with the fixture. A quick simulation saves real money.
    • Precise Definition of Program Boundaries: Especially for roughing, ensure the toolpath is strictly confined to the required cutting areas. Utilize Siemens NX’s boundary, trim, and other functions to precisely define the toolpath range, preventing “milling away” material that shouldn’t be touched, saving rework.

    Keep these points in mind—save trouble, make more money!

    👤 About the Author:
    The author is a veteran CNC machining professional with 15 years of industry experience, specializing in UG NX programming. This article is an original work representing personal practical insights.

    ⚠️ Copyright Notice: Unauthorized reproduction or distribution without prior communication is strictly prohibited.

  • Siemens NX Full Sequence Programming for Small Mold Parts: Master Wang’s 15 Years of Practical Exper

    📝 Key Takeaways: Master Wang shares practical insights on full sequence Siemens NX programming for small mold parts: covering everything from rest milling to finishing passes. The focus is on effectively addressing corner remnants, optimizing toolpaths with Siemens NX, and boosting machining efficiency. He emphasizes the practical application of surface selection, Depth of Cut control, and helical entry to bridge the gap between theory and real-world machining.

    I. Rest Milling: Don’t Let Small Remnants Spoil Your Finish Pass

    Listen up, apprentices. Today, let’s talk about full sequence programming for small mold parts—it’s not just about clicking a mouse. Especially after roughing and before moving to finishing, there’s a critical step: **rest material cleanup**. It might seem trivial, but it’s key. As I’ve said before, once the program runs, a dynamic simulation often reveals those tiny remnants in certain areas, particularly in **corners and deep slots**.

    1. Initial Rest Material Handling and Simulation Verification

    After the last program ran, you might think it’s good enough. But run a simulation, and see? In this area (pointing to a specific region on the model), isn’t there still a bit of **rest material**? Don’t underestimate that “little bit”; it’s a **hidden danger** for your subsequent finishing passes. So, we need to add another operation specifically to clear it out. Remember, NX dynamic simulation isn’t just for show; use it extensively, examine it closely, especially when simulating cutting sparks and material buildup – that’s where the real skill lies.

    We can copy the previous operation and then, for this specific rest material area, select only that small fillet for cleanup. For the Depth of Cut, let it go a bit **deeper** and extend the toolpath a bit further. Even if it seems “excessive,” ensuring the material is fully machined is always better than under-machining. It’s like in life, always leave a little leeway.

    2. Depth Control and Surface Selection Techniques

    A common mistake here is when the program doesn’t generate. Why? Nine times out of ten, it’s because the surfaces weren’t selected correctly or the cutting parameters are unreasonable. In NX, after you set the machining area, if the toolpath doesn’t generate, first check your selected machining surfaces and boundaries. Sometimes, missing just one small surface can cause the entire program to “strike.”

    Also, learn to control your cut layers. For example, if we want to start machining from a specific surface, NX has the “Starting Cut Level” option. Directly specify which surface to start from and move downwards, rather than from the highest point of the model. This effectively avoids air cutting and allows for more precise control over the Depth of Cut.

    I just demonstrated and noticed the toolpath was still a tad short. What do you do then? You don’t change the tool; instead, adjust the “Cut Layer” **”Extension Amount”** to extend it downwards by 0.5 mm. That’s enough. Don’t underestimate that 0.5 mm; it’s the secret weapon for ensuring no rest material is left in the corners.

    II. Machining Strategies for Corner Regions: Detailed Processing

    Next, let’s focus on those corners prone to accumulating “dirt.” Small molds are all about precision and surface quality; if the corners aren’t clean, the whole part is useless.

    1. Selecting the Correct Machining Area and Tool

    We insert a “Rest Machining” or “Area Milling” operation. Select the part, then the cutting region. In this area, I generally recommend selecting all relevant surfaces to ensure complete coverage. However, for certain special areas, like narrow slots in deep cavities, you can initially skip them and address them later with a finer tool or specialized toolpath.

    Regarding tool selection, as I said earlier, we’re using a D8 ball end mill. For finishing small molds, ball end mills are your workhorse. When choosing a tool, don’t just look at the diameter; also consider the tool’s flute length, shank diameter, and tool holder length to ensure no interference and smooth machining to the deepest points. Especially when performing collision detection in NX, that’s not something to take lightly; one collision could scrap a machine worth hundreds of thousands.

    2. The Art of Climb Milling Direction and Toolpath Strategy

    In NX, the cutting direction also matters. For instance, in this area, letting the tool run with climb milling yields better surface quality and longer tool life. Especially when machining challenging materials like titanium alloys or superalloys, climb milling effectively reduces built-up edge and enhances cutting stability. This requires adjusting the “Machining Strategy” within the “Cutting Parameters” in NX.

    Furthermore, the toolpath strategy is crucial. For mold cavities, especially those with slight tapers, Spiral Inward plunge is often more efficient than parallel passes, and the toolpath is smoother. It ensures the tool is continuously cutting, reduces air moves, and avoids sudden tool loading in corners, extending tool life. You can select “Spiral” or “Spiral Inward” path types in “Cutting Method”; try them out to see which works best.

    III. Tool Selection and Entry Methods: Optimizing Machining Efficiency

    The tool is the “tooth” of CNC machining; if you choose it incorrectly or use it poorly, even the best machine is useless.

    1. Flexible Switching Between Large and Small Tools

    Earlier, we used a D8 ball end mill for cleanup, but sometimes you’ll find an R3 tool might be too large, unable to fully clear certain areas, or simply inefficient. At this point, you need to consider a **”tool change”** strategy.

    For instance, during the roughing stage, you can boldly use a larger tool, like an R1 tool (an R1 tool is a ball end mill or bull nose end mill with a 1mm corner radius). This boosts efficiency. However, for finishing small molds, especially intricate features, you’ll need to switch to a smaller tool, or even a small carbide end mill. Remember, matching tool size with feature geometry is the prerequisite for achieving high precision.

    Of course, tool changes aren’t random. You need to consider tool change time costs and tool magazine capacity. When programming in NX, you can plan your tool sequence in advance to minimize unnecessary tool changes.

    2. Layered Machining and Safe Tool Entry

    For areas with significant depth or complex cavity shapes, “layered machining” is often the most effective approach. Cutting down layer by layer, from top to bottom, can significantly reduce tool load and prevent chipping. This can be achieved in NX by setting the “Depth of Cut” and “Depth per Cut” (Stepdown).

    Tool entry methods are also paramount. Besides the helical entry mentioned earlier, NX offers various entry methods, such as “Ramp entry” and “Plunge entry”. Choosing the right entry method effectively protects the tool, reduces impact, and extends tool life. Don’t underestimate these details; this is where you learn the “machine’s temperament” that isn’t found in textbooks.

    Finally, make extensive use of the “Clearance” function. NX’s “Non-Cutting Moves” has many options; properly setting retract height and approach/retract safety distances ensures the tool doesn’t collide with the workpiece or fixturing during non-cutting movements – this is the baseline for safe production.

    Summary: Pitfall Avoidance Guide

    • Dynamic Simulation is essential: Don’t rely solely on experience and guesswork; use NX’s simulation functions repeatedly, paying close attention to rest material and collisions.
    • Precision in Surface Selection: When selecting machining areas, even a small missed surface can lead to program errors or incomplete machining. It’s better to over-select than to under-select.
    • Cut Layers and Extension: Flexibly use “Starting Cut Level” and “Extension Amount” to precisely control the Depth of Cut, especially for corner cleanup.
    • Experiment with Toolpath Strategies: Helical entry, layered machining, and others – choose the most suitable one based on part characteristics; don’t use a one-size-fits-all approach.
    • Tool Matching Principle: Small features require small tools, deep cavities require long tools. Roughing uses large tools, finishing uses small tools. It’s not about the most expensive, but the most suitable.
    • Pay Attention to Detail Parameters: Climb milling and conventional milling each have their applicable scenarios; don’t mix them up, as it affects surface quality and tool life.

    Alright, that’s it for today’s practical takeaways. Practice more, ponder more; NX programming is a skill that comes with practice, but within that mastery, you need these real-world insights. We’ll pick up next time. If you have any questions, feel free to ask anytime.

    👤 About the Author:
    The author is a veteran CNC machining professional with 15 years of industry experience, specializing in UG NX programming. This article is an original work representing personal practical insights.

    ⚠️ Copyright Notice: Unauthorized reproduction or distribution without prior communication is strictly prohibited.

  • Siemens NX CNC Machining Practice: Complete Part Simulation, Integrated Roughing and Finishing Pass

    📝 Key Takeaways:

    NX CNC Machining Practice: Complete Part Simulation

    Hello everyone, I’m Engineer Wang. Today, let’s discuss how to streamline the entire…

    [VIDEO_HERE]

    Hello everyone, I’m Engineer Wang. Today, let’s discuss how to streamline the entire Siemens NX (UG) CNC machining process for a part, from roughing to finishing, and all the way through final simulation and verification. This session marks the final stage of machining for this particular part, focusing on finishing all the top surfaces to complete the job. Listen up, this is all based on real-world experience.

    Coordinate System and Stock: Laying a Solid Foundation

    First, we need to establish the ground rules. The coordinate system and stock are the foundation of our machining. If the foundation isn’t solid, any structure built on top, no matter how elaborate, will be useless.

    Coordinate System Selection and Clamping Considerations

    For the final operations on this part, I’ve positioned the Work Coordinate System (WCS) at the front clamping location. Why there? Because this most accurately reflects the actual clamping setup and makes it easier to observe the toolpaths. X-axis centered, Y-axis to the front, Z-axis at the bottom face – this is the most reliable approach. Don’t just think about a pretty model; consider if the part can be securely clamped on the machine and if there will be any interference.

    Stock Size Setting is Critical

    When creating the program group, select a milling type, for instance, “Face Milling”. Initially, I tried a stock size of 200 mm. After some consideration, it felt a bit small, so to be safe, I directly set it to 250 mm. Better to be a bit larger than too small; leave sufficient material for flexibility. During the later finishing passes, if the stock size is set improperly, “undercutting” or “overcutting” issues can easily occur, which always leads to rework, wasting both time and effort.

    Roughing Strategy: Aggressive Cuts, Efficiency is King

    Roughing emphasizes “speed, precision, and aggressiveness” to remove most of the material, easing the burden for subsequent finishing passes. However, speed doesn’t equate to recklessness; you need to be precise with tool selection, parameters, and toolpaths.

    Tool Selection and Machining Area Division

    For the upper section of this part, we have two approaches. The first is to perform roughing with a D10 or D16 tool to remove bulk material, then switch to a D10 tool for a finishing pass. The second is to use a D12 tool directly to complete the job in a single pass. I generally prefer the second option, as it avoids tool changes and, provided the tool’s rigidity is sufficient, it’s more efficient to complete in one shot.

    Cavity Milling and Bottom Face Roughing Parameter Settings

    We’ll use Cavity Milling for side wall machining. Select a D12 tool, and set the single Depth of Cut (DOC) (step) to 0.2 mm. This parameter needs to be adjusted based on the material and machine rigidity; don’t just blindly chase speed. For the side walls, we’ll initially leave 2 mm of stock, and also leave 2 mm of stock on the bottom face. Why? Because the bottom face will be finished later with a smaller tool; leaving a larger allowance now prevents interference with the larger tool. Cutting layer settings are crucial; don’t let the tool plunge directly to the bottom; leave enough space for the subsequent finishing pass.

    For bottom face roughing, we’ll use a D10 tool. The single Depth of Cut (DOC) will still be 2 mm, and the bottom face stock allowance will be 0.15 mm. The purpose of roughing is to remove the bulk material, leaving just a small allowance for the finishing pass.

    Avoid Air Cuts and Optimize Toolpaths

    No matter how powerful NX’s simulation is, it cannot replace your judgment of actual cutting conditions. Air cuts not only waste time but can also lead to machine chatter, affecting machining quality. When programming, always consider how to make toolpaths more compact and reduce unproductive travel. For instance, the stock allowance set earlier for the bottom face is specifically to prevent the large tool from making ineffective cuts, or it’s a deliberate arrangement for the subsequent finishing pass.

    Finishing Passes: Details Determine Success

    Roughing removes the bulk material; finishing is about refining the contours. At this stage, toolpaths, stock control, and cutting parameters must be meticulous; there’s no room for error.

    Implementing Bottom Face and Side Wall Finishing Passes

    After completing bottom face roughing, simply copy that operation. Set the bottom face stock allowance to 0, and that becomes your finishing pass. The same applies to the side walls: copy the roughing operation and set the side wall stock allowance to 0. Remember to change the cutting layers to automatic, allowing the system to determine them. At this point, you’ll need to observe the cutting sparks and listen to the sound. If something sounds off, stop immediately and check.

    Flexible Use of Tool Extension

    When making a finishing pass, if you feel the tool isn’t cleanly cutting the edges, you can appropriately add a bit of tool extension, for example, 2 mm. This ensures the tool completely exits the workpiece, preventing residual material. But don’t extend blindly; excessive extension could lead to collision with the fixturing or moving to an unintended area, causing an accident.

    Complex Area Machining: Ball-End Mills to Tackle Tricky Corners

    For areas with curved surfaces or fillets, you must use Area Milling. We’ll select a ball-end mill, select the entire area directly, and perform a finishing pass. Since roughing has already been performed, there’s no need to leave any stock allowance here; go straight to the final depth. The advantage of a ball-end mill is its ability to handle various complex surfaces and transitions, resulting in a smoother part surface.

    Precise Control of Cutting Layers to Avoid Recutting

    When performing Area Milling, a common issue is frequent air cuts. NX allows you to solve this by controlling the cutting layers. For instance, you can specify the tool to start machining from the side wall of the part, rather than plunging from thin air. This not only reduces idle travel time but also prevents secondary cutting of already machined surfaces, ensuring surface quality.

    Simulation Verification: Seeing is Believing, Mitigating Risks

    Once programming is complete, the most important step is simulation. Don’t think NX simulation is just for show; it’s your “safety fuse” for discovering potential issues and preventing machine crashes!

    Critical Precaution Before Simulation

    Listen up, this is a hard-learned lesson from Engineer Wang: Before performing any simulation, always save your program! Although NX’s simulation is powerful, it can sometimes freeze or even crash when encountering complex toolpaths or model issues. If you haven’t saved at that point, all your previous effort will be wasted.

    Key Points to Observe During Simulation

    During simulation, don’t just watch how fast the tool moves; observe carefully:

    • Are there any overcuts or undercuts? Check if the machined model surface is smooth, if there’s any excess material (undercut), or if areas that shouldn’t be cut have been removed (overcut).
    • Is there any tool-fixturing interference? This is a critical mistake! The purpose of simulation is to detect interference points beforehand to prevent machine crashes.
    • Is the toolpath logical and efficient? Are there excessive air cuts? Are entry and exit moves smooth? These all relate to machining efficiency and surface quality.

    Although this part appears simple, we actually divide it into six operations: roughing, semi-finishing, followed by heat treatment, and then the final finishing passes. Don’t underestimate these steps; not one can be skipped, and each has its own rationale.

    “Complex” Operation Planning for Seemingly Simple Parts

    In the simulation, we will see:

    1. First, roughing down to the bottom face to remove the bulk of the material.
    2. Then, preparation for finishing (semi-finishing), at which point heat treatment may still be required, so some stock allowance is left.
    3. Next is drilling.
    4. Finally, the final finishing and finish cuts, machining all surfaces to the required dimensions.

    Although some minor display issues may occur during simulation, such as lag or incomplete graphic rendering, as long as the core toolpaths and cutting actions are correct, these are usually not major problems and can be ignored. What’s important is that through simulation, we can ensure all machining steps and toolpaths meet requirements and that no mishaps occur during actual machining.

    Summary: Pitfall Avoidance Guide

    • Secure Coordinate System Setup: Always prioritize actual clamping for stable and precise machining.
    • Sufficient Stock Size Allowance: Better to be slightly oversized than undersized, leaving room for subsequent operations and avoiding undercuts.
    • Roughing for Efficiency, Finishing for Detail: Proper tool and parameter selection, precise stock allowance control.
    • Eliminate Air Cuts: Optimize toolpaths and precisely control cutting layers to reduce unproductive travel and enhance efficiency.
    • Ball-End Mills are Key for Surface Machining: Utilize ball-end mills effectively for complex contours, but pay attention to cutting layer control.
    • Always Save Before Simulation: This is your last line of defense for protecting your work!
    • Simulation is Not Just for Show, but for Insight: Pay attention to overcuts, undercuts, interference, and toolpath rationality.
    • Multi-Operation Processes are Standard: Many seemingly simple parts inevitably require multiple operations to ensure quality, especially those involving heat treatment.

    That concludes this discussion. Remember, textbook theory is foundational, but real-world experience on the shop floor is true gold. Observe more, think more, and get hands-on experience, and you’ll become a true master!

    👤 About the Author:
    The author is a veteran CNC machining professional with 15 years of industry experience, specializing in UG NX programming. This article is an original work representing personal practical insights.

    ⚠️ Copyright Notice: Unauthorized reproduction or distribution without prior communication is strictly prohibited.

  • UG (NX) Part Finishing: Master Wang’s Practical Guide to Avoiding Pitfalls, Enhancing Precision and

    📝 Key Takeaways:

    Practical Finishing in UG (NX)

    Hello everyone, I’m Master Wang. Today, let’s continue our discussion on the intricacies of part finishing…

    [VIDEO_HERE]

    Hello everyone, I’m Master Wang. Today, let’s continue our discussion on the intricacies of part finishing. This job might look simple, but to do it right, you need practical experience. Listen up, I’m going to share all my accumulated wisdom.

    I. Preparation for Finishing: Workpiece and Tool Selection

    Finishing Strategy for Radii and Slots

    For the parts we’re working on, some areas require a finishing pass. Take the R2.5 fillet, for example. Many might immediately reach for a small tool, but that’s often unnecessary. To balance efficiency and tool life, I typically choose a D10 end mill to tackle it. Don’t just rely on the tool catalog; consider the actual situation. Good tool rigidity is essential for ensuring surface finish.

    Additionally, for some deeper slots or bores, such as the R9 bore/slot, a D6 or D8 tool can also be used. Provided there’s no interference, try to use a slightly larger tool for better rigidity and higher cutting stability. This is crucial for both machining precision and surface finish.

    II. UG (NX) Machining Operations and Toolpath Optimization

    Finishing Parameter Settings

    In UG, the core of any finishing program is to control the feed rate and remaining stock. Put aside your roughing programs for now. What we need to do is completely remove all remaining stock.

    • Finishing Depth: For finishing passes, the Depth of Cut (DOC) for a single pass is generally controlled at 0.5 mm. This ensures both surface finish and minimizes machining time. For harder materials, such as titanium alloys or high-temperature nickel-based alloys, the stepover needs to be even smaller, and specialized coated tools might even be required.
    • Stock Control: For all finishing operations, both part stock and blank stock must be set to 0. This step is critical; otherwise, it’s not truly a “finishing” operation. Leave even a few thousandths of a millimeter of stock, and you’ll be dealing with rework.

    Toolpath Adjustment for Complex Areas

    For fillets in corners and edges, if you follow the default path directly, UG might “gouge” the material in the corner or fail to reach it completely. This is when you need to use the trim function to precisely control the toolpath. By adjusting the trim boundaries, you can make the toolpath better conform to the part contour, especially for internal fillets in grooves, preventing overcutting.

    Furthermore, when selecting machining faces, remember this: you don’t always need to select the entire part. Especially in certain situations, for example, when the tool diameter precisely matches the feature size to be machined (e.g., a 2.5mm tool machining an R2.5 fillet), UG might be unable to generate a toolpath. In such cases, you only need to select one side or a single face, and the program will generate smoothly. This is a little trick they don’t teach you in books.

    Application of “Constant Z Spiral Machining”

    For holes or cavities with moderate depth and a taper, if the “constant Z spiral” toolpath isn’t ideal, you can try “Constant Z Spiral Machining”. This method allows the tool to descend smoothly from top to bottom in a helical motion, resulting in more uniform cutting, reduced tool wear, and improved surface quality. However, remember that if the machining surface is complex, or if there are special requirements, you might need to manually adjust the connection method, or even change to a “follow” toolpath to ensure more logical tool movement.

    III. Tolerances and Tool Compensation: Key to Precision Control

    When and How to Apply Tool Compensation

    Many times, design drawings specify high-precision tolerances for certain dimensions, especially for bores and slots, such as ±0.005 mm (approx. ±0.0002 inch) or even tighter. In such cases, relying solely on the program won’t achieve it; the machine’s inherent precision errors and tool wear will affect the final dimensions. What to do? Apply tool compensation!

    Applying tool compensation is simple:

    1. In UG’s “Machine Control”, find “Tool Compensation Parameters”.
    2. Select to enable tool compensation; the direction is typically “Left” (G41).
    3. Here’s the key point: enable tool compensation “before each entry move” and “after each retract move”.
    4. Set the compensation number to D01 (or D02, D03, depending on your machine and tool numbering).

    Note: Programs with tool compensation must be generated and machined separately! Do not mix them with other programs. This is because tool compensation is applied at the machine controller, not by altering the toolpath within the UG program itself. You must first machine the part, then measure it, and based on the measurement results, adjust the corresponding compensation value for D01 in the machine’s CNC system to achieve ±0.005 mm (approx. ±0.0002 inch) level precision.

    IV. Program Generation and Simulation Verification

    Generation and Inspection

    After every parameter change, remember to regenerate the toolpath. UG’s calculation speed depends on the complexity of your part and your computer’s specifications. Waiting a minute or two is normal, don’t rush it. Once the toolpath is generated, don’t just send it to the machine! You must carefully inspect the toolpath, especially the entry, retract, and lift moves, and check for any overcutting phenomena.

    I’ll teach you a simple method to identify overcutting: observe the cutting sparks in the UG simulation. If you see unusually large sparks in a particular area, or if the tool motion trajectory is clearly illogical, it’s highly likely there’s overcutting. Of course, the safest approach is to perform a simulation in UG, watching the tool’s movement trajectory step-by-step to confirm there are no collisions or overcutting. If you find overcutting, your first reaction shouldn’t be to change parameters, but rather to check if the ‘part’ faces you selected are correct. Often, this is where the problem lies, leading the tool to cut where it shouldn’t. Ensure ‘lift’ (retract) settings are correct to prevent the tool from scratching the workpiece surface in non-cutting areas.

    Special Case Handling: Two-Sided Machining

    If you have a part requiring two-sided machining, once one side is finished, flip the part and machine the other side. In this case, you can directly copy the existing program for the first side, then modify the machining direction, or simply “reverse” it directly within the geometry. If selection issues arise, such as features needing machining on both sides, you must ensure you only select the current face to be machined each time, to avoid selection errors that prevent program generation or cause errors. Remember, after every modification, you must regenerate and check – this is an ironclad rule!

    Summary: Pitfall Guide

    • Tool Selection Must Be Flexible: Don’t blindly stick to the drawings. Select tools with good rigidity and high efficiency based on actual feature dimensions and material. For R2.5 fillets, use a D10; for R9 bores, use a D6/D8.
    • Finishing Stock Must Be 0: This is the bottom line for finishing; no remaining stock means meeting drawing requirements.
    • Leverage UG Selection Features Effectively: When dealing with ‘precisely matched’ features or complex surfaces, selecting a single side or a local face is often more effective than selecting the entire part.
    • Apply Tool Compensation Prudently and Independently: For features with high-precision tolerances (±0.005 mm / approx. ±0.0002 inch level), tool compensation is essential. The compensation program must run independently, with fine-tuning done via compensation values at the machine controller.
    • Toolpath Inspection is Paramount: After generating the toolpath, always perform visual checks and simulations for entry, retract, and lift moves, as well as overcutting, to ensure foolproof operation.
    • Understand Material Characteristics Well: Cutting parameters vary greatly for different materials (e.g., common aluminum, titanium alloys, high-temperature nickel-based alloys). Adjust cutting speed, feed rate, and tool selection accordingly. This is about experience, and it’s also about cost.

    “`

    👤 About the Author:
    The author is a veteran CNC machining professional with 15 years of industry experience, specializing in UG NX programming. This article is an original work representing personal practical insights.

    ⚠️ Copyright Notice: Unauthorized reproduction or distribution without prior communication is strictly prohibited.

  • Multi-Process Complex Part Finishing: Master Wang, an NX Expert, Guides You Step-by-Step from Roughi

    📝 Key Takeaways:

    Practical Finishing of Multi-Process Parts

    Hello everyone, I’m Old Wang, Engineer Wang. Today, let’s continue our discussion on machining…

    [VIDEO_HERE]

    Hello everyone, I’m Old Wang, Engineer Wang. Today, let’s continue our discussion on machining multi-process parts. Listen up, this isn’t a job you can do with your eyes closed; it’s all about experience and attention to detail. Let’s start from the beginning and talk about machining the front face (Face A).

    Roughing Strategy and Tool Path Optimization for the First Face

    Fixturing and Workpiece Positioning

    First, workpiece clamping. For roughing the front face (Face A), we’ll start by securing the raw material firmly with a vise. Why? Because roughing involves high cutting forces, and poor rigidity can easily lead to chatter, or even tool ejection, which would cause serious trouble. Positioning must be precise, and datums must be clear; this is the foundation for all subsequent precision machining.

    Roughing Tool Selection and Feed Strategy

    I just repositioned the tool start point; I accidentally clicked the wrong location earlier. We’ll continue roughing with a large-diameter flat-bottom tool with a corner radius (either a ball nose end mill or a corner radius end mill). For instance, here, we’ll choose a Φ32mm (approx. 1.26 inch), R0.8mm (approx. 0.03 inch) corn end mill, or a large face mill with a corner radius. This type of tool balances cutting efficiency and strength. The corner radius effectively distributes cutting stresses, extends tool life, and reduces stress concentration at sharp corners. For the tool path, the Depth of Cut (DOC) is set to 2mm (approx. 0.08 inch). However, we’ll initially leave a bottom stock of 0.8mm (approx. 0.03 inch), and some on the sides as well. This is to provide sufficient material for finishing, preventing the finishing tool from taking heavy impacts directly.

    For the tool path, we’ll start with a Zig-zag pattern to quickly remove most of the material. If the tool path doesn’t feel ideal—for example, too many air cuts or unstable machining—we need to adjust it. Siemens NX offers many strategies. Don’t just rely on software simulation; consider whether the cutting sparks on the actual machine are consistent and if the sound is smooth. No matter how advanced the software, it can’t fully replace the ears and eyes of an experienced machinist.

    Tool Path Optimization to Avoid Excessive Tool Engagement

    As mentioned, if the tool path strategy isn’t ideal, we need to adjust it. For example, switching from a Zig-zag pattern to an Offset pattern. The offset pattern provides more uniform tool engagement along the contour edges, preventing the tool from engaging too deeply in corners, which can lead to chipping or workpiece deformation. Especially when machining near edges, if a zig-zag pattern tends to cause overcutting or vibration, an offset pattern offers better control over cutting forces. We’ll set the Stepover to 85% of the tool diameter. This ensures both efficiency and sufficient material allowance for the finishing pass.

    After machining, check the part. We’re left with a bottom stock of 0.15mm (approx. 0.006 inch), which is an acceptable size, making it convenient for the subsequent single-pass finishing operation.

    Finishing and Detail Processing for the First Face

    Finishing Stock Control

    Once roughing is complete, it’s time for finishing. As usual, copy the roughing program and then modify the parameters. Finishing stock must be strictly controlled, with all allowances set to 0. However, pay attention: some side walls require a separate finishing pass with a smaller tool. Therefore, we can temporarily leave 0.25mm (approx. 0.01 inch) on the side walls. Don’t remove everything in one go; that can easily lead to “tool deviation” or failure to meet surface finish requirements.

    Planar Contour Milling and Boundary Control

    In Siemens NX, for finishing flats and contours, the “Planar Mill” or “Contour Mill” strategies are commonly used. If the workpiece contour is complex or has open boundaries, we cannot simply use a zig-zag pattern. We must use Planar Contour Milling and properly define the cutting region (face or curve) and boundary type (open or closed). For example, here, we’ll set the cutting direction for one open area to “Right” and another to “Left”, ensuring the tool path covers the entire area without cutting into unintended regions.

    We’ll still use the Φ32mm (approx. 1.26 inch), R0.8mm (approx. 0.03 inch) tool. Set the Depth of Cut (DOC) and stock allowance to 0, which means a single pass to the final depth, finishing the bottom face. This completes the large-area finishing.

    Side Wall Finishing and Dedicated Tools

    The side walls we mentioned earlier still have 0.25mm (approx. 0.01 inch) of stock remaining; now it’s their turn. These side walls typically require a better surface finish or smaller radii. We’ll need to switch to a small-diameter flat end mill, such as a Φ10mm (approx. 0.39 inch) flat tool, or even a smaller one for the finish cut. Set the stock allowance to 0, and change the cutting method to “Along Boundary” or “Follow Profile”. With a single pass, machine the side wall cleanly. This ensures both surface finish and perpendicularity. Don’t underestimate this 0.25mm allowance; it’s your margin for error, preventing large steps or damage from occurring during roughing with a larger tool.

    When finishing side walls, pay attention to the tool stick-out length. If the tool protrudes too far, it can easily lead to chatter, affecting surface finish, or even cause tool breakage. Therefore, keep it as short as possible. Here, my tool stick-out is a bit long, but for demonstration purposes, we’ll proceed as is. In actual machining, I would try to shorten the stick-out length as much as possible or opt for a reinforced tool holder.

    Hole Machining: Preparation Before Drilling and Tapping

    Hole Recognition and Optimized Drilling Sequence

    After machining the faces, next come the holes. Hole machining cannot be careless, especially when high dimensional accuracy is required. Siemens NX’s “Hole Machining” module is very powerful and can automatically recognize all holes. What we need to do is optimize the drilling sequence to minimize air cuts. Drill smaller holes first, then larger ones, or go from inside to outside, or high to low. This avoids multiple tool changes and unproductive movements, saving time and thus cost!

    First, use a center drill (or spot drill) to spot the holes for positioning and to prevent the drill bit from wandering. Then, use a twist drill for drilling the holes. Here, we’ll select a center drill to spot the hole locations.

    “Drawing is King” Principle for Drilling Depth and Dimensions

    After spot drilling, proceed with drilling. Here, I checked the hole diameter and found it to be 6.8mm (approx. 0.268 inch). This is clearly the pilot hole for an M8 thread. This means that after drilling this hole, an M8 thread will need to be tapped. The hole depth is absolutely subject to the “drawing is king” principle! Some holes are through holes, others are blind holes, and their depths vary. Never rely on intuition; always carefully cross-reference the drawing for each hole’s depth and requirements. If the drawing specifies a flat bottom for a blind hole, then a flat-bottom drill must be used for machining.

    For demonstration, I’ll set a random depth for now. But during actual operations, better slow than wrong! Especially before tapping, the pilot hole’s size and depth are critical. If the pilot hole is too small, tapping can easily break the tap; if it’s too large, the thread strength will be insufficient. These are lessons learned the hard way.

    Here, we’re just outlining how to program it. But for actual machine operation, you must be even more diligent, striving for perfection, especially regarding depth and tool life.

    Flip Machining: Establishing and Inheriting the Second Face Datum

    Datum Face Selection and Workpiece Preparation

    With the front face machined, it’s time to flip the part and machine the back face (Face D). The most critical aspect of flip machining is the establishment and inheritance of datums. We typically choose a previously machined, high-accuracy face as the secondary datum face for clamping. If the raw material edges have a large amount of stock from roughing, they can even be lightly cleared on a manual milling machine before CNC finishing. This ensures better clamping stability.

    I checked the raw material condition of the back face (Face D), and it’s quite similar to the previous Face B (side face). Can we directly reuse the tool path from Face B? After analysis, if the stock allowance and geometry are essentially identical, then absolutely!

    Tool Path Reuse and Parameter Adjustment

    Since the back face and Face B are similar, we’ll directly copy the roughing program from Face B. But remember, the face must be updated to select the new back face as the machining surface. Tool parameters and stock allowance will follow the previous Φ32mm (approx. 1.26 inch), R0.8mm (approx. 0.03 inch) tool, ensuring ample stock. While tool path reuse is convenient, the actual conditions of each face and each hole may differ, so parameter adjustment is essential—no cutting corners!

    One point to note here is the choice between Perpendicular to tool axis and Parallel to tool axis. When machining inclined or curved surfaces, this option directly affects the tool’s cutting posture and efficiency. Here, we’ll simply select a face and let the software automatically generate the path. During machining, do not use a Reciprocate (zig-zag) pattern; instead, follow the contour directly. This will result in more stable cutting.

    After roughing is complete, check again if there are any areas still needing roughing. Oh, right, the side faces and internal holes haven’t been roughed yet!

    For these internal holes, we can perform roughing using a Helical Ramp method, or directly use Trochoidal Milling, as long as it doesn’t damage the tool and is efficient. We’ll still use the Φ32mm (approx. 1.26 inch), R0.8mm (approx. 0.03 inch) tool. The Depth of Cut (DOC) can be larger, for example, 21.5mm (approx. 0.85 inch) (I deliberately went a bit deeper here; actual depth should be based on the drawing), leaving a 0.2mm (approx. 0.008 inch) stock allowance. The entry and exit paths must also be adjusted for safety. Pay attention to tool stick-out length; mine is a bit long here, but it should be shortened for actual operation.

    Finishing Strategy for Blind Holes and Irregular Holes

    For blind holes or irregular holes that may appear on the back face, the finishing strategy is similar to the front face. First, use a small-diameter flat end mill to finish the side walls, ensuring perpendicularity and surface finish. For blind hole bottoms, if high precision is required, a bottom corner cleanup tool must be used for corner cleanup to ensure a flat bottom. These details are crucial for determining the final product accuracy. Remember, ±0.005mm (approx. ±0.0002 inch) accuracy is achieved through this cumulative attention to detail and optimization.

    Summary: Pitfall Avoidance Guide

    Alright, today we’ve covered the roughing and finishing of multi-process parts, as well as hole processing. Finally, I’ll summarize a few points for you—these are pitfall avoidance experiences gained from hands-on practice:

    1. Datum First, Secure Clamping: Any machining operation must start from the most stable and precise datum. Poor clamping renders all efforts futile. During roughing, ensuring rigidity is even more critical.
    2. Stock Control, Distinct Stages: Leave sufficient stock for roughing, then uniformly remove it during finishing. Don’t attempt a single-pass finish; that will only lead to a loss of both accuracy and surface quality. Typically, roughing leaves 0.15-0.5mm (approx. 0.006-0.02 inch), and finishing leaves 0.05-0.1mm (approx. 0.002-0.004 inch). For special materials like titanium alloys and high-temperature nickel-based alloys, stock control must be even more cautious due to their severe work hardening tendency.
    3. Tool Selection, Material-Specific: Different materials and different machining stages require different tools. For example, a Φ32mm (approx. 1.26 inch), R0.8mm (approx. 0.03 inch) tool is efficient for roughing; a Φ10mm (approx. 0.39 inch) flat end mill is suitable for finishing side walls and corner cleanup. Don’t expect one tool to do everything; that’s impossible. For high-temperature alloys, carbide tools must be used, and cutting parameters should be slow to prevent chipping.
    4. Tool Path Optimization, Balancing Efficiency and Stability: The tool path generated by the software isn’t necessarily optimal; always combine it with real-world considerations. Minimize air cuts, avoid sharp turns, and maintain stable cutting forces. For thin-walled or easily deformable parts, consider gradual cutting strategies, or even multi-layer machining.
    5. Drawing is King, Verify Dimensions: Never guess dimensions based on experience, especially for hole depth, diameter, and position. The drawing is your bible; cross-reference it repeatedly before machining.
    6. Combine “See, Hear, Feel”: Don’t just stare at the NX simulation on the screen. On the actual machine, observe the color and shape of the cutting sparks, whether the cutting sound is smooth, and if the chip formation is normal. This is real skill you won’t learn from books. If the cutting sparks are white or the sound is harsh, it usually indicates tool wear or unsuitable parameters.
    7. Prevent Heat Treatment Deformation: If the workpiece requires heat treatment, machining allowances and clamping methods must be considered in advance, reserving sufficient finishing stock to compensate for deformation.
    8. Accuracy Compensation: When dealing with accuracies of ±0.005mm (approx. ±0.0002 inch), machine tool inherent errors, tool wear, and ambient temperature can all have an impact. Siemens NX allows for tool compensation, cutter compensation, and even direct fine-tuning in the G-code. However, the best approach is to optimize processes and parameters at the source to minimize cumulative errors.

    In our line of work, you can’t just know how to push buttons; you need to understand why you’re pushing them. These tricks of the trade are accumulated through time and expense. I hope you all avoid unnecessary detours!

    👤 About the Author:
    The author is a veteran CNC machining professional with 15 years of industry experience, specializing in UG NX programming. This article is an original work representing personal practical insights.

    ⚠️ Copyright Notice: Unauthorized reproduction or distribution without prior communication is strictly prohibited.

  • Master Wang’s Practice: In-depth Explanation of Multi-Process Part Roughing – Sequence 2, Avoiding C

    📝 Key Takeaways: **

    Multi-Process Roughing – Sequence 2: A Practical Guide

    Hello everyone, Master Wang here. Picking up where we left off, the first machi…

    [VIDEO_HERE]

    Hello everyone, Master Wang here. Picking up where we left off, the first machining sequence is complete. Now, we’re diving into the second roughing sequence. Listen up: this is a critical step in multi-process machining. If you don’t get the details right now, you’ll be dealing with rework during finishing!

    Sequence 2 Machining: Overview and Strategy

    For this second sequence, the primary goal is to rough out the part’s main face (typically the upward-facing machining surface), internal cavities, and top surfaces. Remember, the machining order is crucial: first, perform Face Milling to level the large flat surfaces; then, proceed with Roughing the internal cavities to remove the bulk of the material; finally, it’s common practice to consider heat treatment to stabilize the part’s properties before moving to Finishing pass. This is the most reliable process flow.

    The “Soul” of Siemens NX Coordinate Systems and Stock Setup

    The Secrets of the Work Coordinate System (WCS)

    Every time you switch sequences, or even subdivide into different machining strategies, the Work Coordinate System (WCS) must be re-evaluated and precisely positioned. This is the first critical gate for ensuring machining accuracy. For Face Milling, you can set the WCS at a corner or along an edge of the part for ease of operation.

    Master Wang’s Secret Tip: Don’t just rely on software simulation and think the WCS can be anywhere. An inaccurate WCS setup makes even the most beautiful tool path useless! Especially when you get to internal Roughing, make sure to position the WCS exactly at the “center” of the part. Otherwise, the tool will “get lost,” leading to eccentricity at best, or a tool crash and scrapped part at worst! This is a lesson many newcomers learn the hard way!

    Precisely Defining Stock: Residual Material is No Longer a Mystery

    For this sequence, we’ll directly use the stock state after the first machining sequence, which saves the hassle of re-modeling. The key is to understand how much material is currently remaining on the stock and how much allowance you plan to leave for Finishing pass.

    For example, after measurement, we find this face has a remaining height of 24.5mm (approx. 0.96 inch). I plan to leave 2mm (approx. 0.08 inch) of allowance for Finishing pass. Therefore, for Face Milling, I need to machine down to 24.5mm – 2mm = 22.5mm (approx. 0.88 inch). You can directly copy and paste this value in NX to ensure accuracy. Don’t underestimate these few tenths of a millimeter; they accumulate into precision issues!

    Practical Tip: Every time you transition between machining sequences, re-measure the actual stock dimensions instead of blindly trusting blueprint values or theoretical values from the previous program. Real-world data is what guides you to create the most optimal tool paths. In NX, you can use the “Offset” function to precisely offset a datum plane upwards or downwards by the required allowance, using it as a Depth of Cut reference.

    Face Milling Operation: The Art of Aggressive Material Removal

    Tool Selection and Parameter Configuration

    For Face Milling, we’ll go with a large tool. This time, I’ve chosen a D63 face mill with 0.8mm corner radius inserts. A “Zig” or “Zigzag” cutting pattern will be efficient and straightforward. For cutting parameters, set feed rates and spindle speeds to conventional values initially. But remember, when the machine is actually running, you must observe the cutting sparks and listen to the cutting sound, then fine-tune as needed. Textbook parameters are just a reference; real-world conditions are always changing.

    Critical Depth of Cut and Material Allowance Control

    As mentioned earlier, the target Depth of Cut (DOC) is 22.5mm. For the first pass, you can go slightly shallower, perhaps 0.5mm (approx. 0.02 inch), allowing the tool to “test” the surface, reduce impact, and protect the inserts. Subsequent passes can then use the normal DOC. Once the entire Face Milling program is complete, that shiny surface will give you peace of mind.

    Words of Experience: During Face Milling, you can leave a little extra material allowance, even 0.1-0.2mm (approx. 0.004-0.008 inch), to ensure there’s enough material for the subsequent Finishing pass and to prevent chipping. However, don’t leave too much, as it will impact Roughing efficiency. Especially for difficult-to-machine materials like titanium alloys and superalloys, the Depth of Cut on the first pass must be carefully controlled to minimize impact and extend tool life.

    Internal Roughing: The Starting Point for Precision Machining

    WCS Reset: The Lifeline for Internal Machining

    After Face Milling is complete, our stock has changed. Now we begin internal Roughing, which is a very crucial stage. Listen carefully: for internal Roughing, you MUST reset the WCS to the “center” of the part! Do not use the WCS from the Face Milling operation; that will cause tool path deviation, resulting in holes or cavities that are not round, or are incorrectly positioned. This is the most common mistake and the most overlooked area for newcomers.

    Master Wang’s Warning: If the WCS for internal Roughing remains in a corner, it could lead to eccentricity and a scrapped part at best, or a tool crash and machine damage at worst! Don’t make such amateur mistakes; we’re talking about equipment worth hundreds of thousands of dollars.

    Boundary Trimming and Auxiliary Surface Construction

    For internal Roughing, we need to use “trim boundaries” to precisely control the tool’s machining range. Some areas require material removal, while others have already been machined or don’t need cutting. This is where auxiliary surfaces come into play.

    How do you do it? It’s simple: use the “Thicken” or “Offset” commands in NX to create new auxiliary surfaces along the edges of surfaces where material allowance needs to be left or where the tool needs to avoid. These auxiliary surfaces become our “trim boundaries.” They tell the tool: “Don’t cross this line! Work only within these specified regions!” This not only prevents the tool from cutting unintended areas but also significantly reduces air cutting, greatly improving machining efficiency.

    Efficiency Boost: Judicious use of trim boundaries not only precisely controls the machining area but also drastically cuts down on air cutting time. The electricity and time saved are direct cost savings. For complex cavities, planning trim boundaries in advance ensures smoother and more effective tool paths.

    Stock Management and Program Verification

    Clean Up Redundant Stock for Clean Data

    During programming, it’s sometimes easy to accidentally copy redundant stock geometry or retain stock that was meant to be deleted from a previous operation. This superfluous data can interfere with NX’s calculations, leading to incorrect tool path generation or even errors. Therefore, regularly checking for and deleting excess stock geometry to keep your data clean and organized is a good habit.

    Programming Principle: Stock files must be singular and accurate. Excess junk data will interfere with system judgment, leading to disorganized tool paths or even incorrect program calculations. Especially when transitioning between multi-process sequences, always ensure the uniqueness and correctness of your stock definition.

    Tool Path Simulation and On-Site Verification

    Once the program is complete, tool path simulation in NX is a mandatory step. It helps you identify potential over-cuts, under-cuts, or collision risks. However, I must emphasize this: do not rely entirely on software simulation! Simulation is, after all, virtual.

    Master Wang’s Expertise: No matter how good the simulation, you still need to observe the machine’s cutting sparks and listen to the cutting sound! These are “languages” you can’t learn from textbooks; they tell you if the tool is cutting properly, if inserts are chipping. Newcomers might not understand it, but over time, you’ll be able to judge if cutting is normal, if the tool is worn, or even anticipate internal inclusions in the material, just from the spark color and sound intensity. That’s real-world experience!

    Summary: Pitfall Avoidance Guide

    • WCS positioning is paramount! Every time you switch sequences, especially for internal machining, always check and accurately place the WCS at the part’s center. This is fundamental for ensuring accuracy.
    • Stock definition must be precise! Allowance calculations cannot be sloppy; they must be determined based on actual measurements and Finishing pass requirements, directly impacting subsequent accuracy and tool life.
    • Trim boundaries are powerful tools! They are key to optimizing tool paths, avoiding air cuts, and preventing over-cutting. Make good use of auxiliary surfaces to construct precise trim boundaries.
    • Simulation verification is essential! After every program modification, especially for critical parameters, always perform NX simulation verification and combine it with judgments based on actual cutting sparks and sounds.
    • Clean data is foundational! Regularly clean up redundant stock geometry to maintain a clean programming environment and avoid unnecessary errors.

    👤 About the Author:
    The author is a veteran CNC machining professional with 15 years of industry experience, specializing in UG NX programming. This article is an original work representing personal practical insights.

    ⚠️ Copyright Notice: Unauthorized reproduction or distribution without prior communication is strictly prohibited.

  • Multi-Process Part Siemens NX Programming Masterclass: Master Wang Helps You Conquer Roughing Challe

    📝 Key Takeaways: Master Wang guides you through every meticulous step of multi-process part roughing programming, from tool selection to stock management and toolpath optimization. Deep pocket helical milling and dynamic stock definition are especially critical for boosting efficiency and preventing tool crashes. Remember, hands-on experience is paramount—don’t just rely on software simulations; look for the actual cutting sparks!

    Sit tight, folks! Today, Master Wang is going to lay out the ins and outs of multi-process roughing. We’re picking up where we left off, and this time it’s all practical wisdom—stuff you won’t find in textbooks. Multi-process part roughing is all about finesse, not brute force.

    NX Roughing: Tool Selection First – The Ø32mm Cutter Breakthrough

    Tool Selection Strategy and Path Planning

    Listen up! For roughing the external contours of this part, we typically start by testing with a Ø32 R0.8 end mill. Don’t rush into using larger cutters like a Ø63; you need to understand the terrain first. Smaller cutters are more versatile and can handle tough spots without issues. If you jump straight to a large cutter and take too aggressive a Depth of Cut (DOC), you risk snapping the tool or, worse, scrapping the workpiece – and that’s real money lost!

    When performing Planar Milling in NX, the cutting direction is paramount when selecting geometry boundaries. You must ensure the tool begins cutting from the outside of the stock and moves inwards. Otherwise, if it plunges directly into the material, that’s what we call a “tool crash”—can your spindle handle it? Can your workpiece handle it? This is fundamental; don’t get confused.

    Boundary Extension and Stock Allowance Control

    Sometimes, the boundary lines you’ve drawn result in a toolpath that’s “just a hair short”—it doesn’t fully cover the area, or the tool doesn’t fully exit the workpiece. In such cases, you need to use NX’s “Trim and Extend” function. Extend the boundary lines appropriately so the tool can smoothly enter and safely exit. Here, for instance, we sometimes have to push the cutting length to 100% or even more (e.g., 150%) to ensure a clean sweep with no remaining material.

    How much stock allowance should you leave for roughing? Side walls typically get 2mm, while the bottom surface can initially be set to 0mm, or 1mm, depending on your subsequent finishing tool and strategy. For this job, we’ll leave no allowance on the bottom for now and address it in the next operation.

    Regarding Depth of Cut (DOC), setting it to around 4mm is usually good. Choose Mixed Cut for the cutting method. This ensures efficiency while distributing the load evenly on the tool, extending its lifespan. Don’t underestimate these details; they’re all born from experience.

    Helical Milling Deep Pockets: Details You Can’t Overlook

    Deep Pocket Helical Milling Techniques

    When tackling deep slots or holes, Helical Milling is your go-to weapon; it’s a hundred times better than just plunging straight down. Here, we’ll use a Ø16 R0.8 end mill because it’s better suited for these relatively narrow internal features than a 32mm cutter.

    When machining geometric surfaces, remember to select the tangent faces. This ensures the toolpath hugs the slot walls tightly, resulting in a much better finish. Don’t pick the wrong faces; a slight error can lead to a huge deviation.

    This slot is quite deep, and machining it in a single pass can easily overload the tool. We can adopt a “half-depth-per-side” machining strategy, meaning we machine one half of the depth, then the other. This reduces the load on the tool for each pass, making it easier on both the tool and the machine, and ensuring better machining quality.

    Z-Axis Height and Depth of Cut (DOC) Fine-Tuning

    The starting Z-height for helical entry must be precisely calculated, not just guessed. I usually leave a little extra, for instance, setting a starting height of 3.5mm. This prevents the tool from directly impacting the stock, avoiding those “tool crash” incidents we discussed earlier.

    The helical angle and Stepover parameters need careful adjustment based on your material and tool. Don’t be fooled by impressive software simulations; the real cutting sparks and machine sounds are your most accurate feedback. The audio mentioned a 0.3mm cutting amount, but if the helical angle is too large, the tool load will be uneven. You need to iterate and test until the toolpath is stable and transitions smoothly.

    This area is mainly for weight reduction, so dimensional accuracy isn’t as critical. However, don’t get sloppy with the machining process, or else a high scrap rate will have your boss calling you in for a talk.

    Stock Management: Intelligent Avoidance, Efficient Machining

    Dynamic Stock Definition

    In multi-process machining, the most easily overlooked yet crucial aspect is stock (Blank/Stock) definition! It’s not static; it’s dynamic. After the previous operation is complete, you must re-extract or update the stock model based on the material actually removed. If you continue using the old stock, subsequent toolpaths will either be air cuts or crashes—there’s no certainty.

    NX has a useful function called “Replace Face”, which allows you to quickly replace the corresponding faces of the original stock with the machined model faces. This trick ensures that your subsequent operations calculate toolpaths based on the latest workpiece state—a secret weapon for avoiding air cuts and boosting efficiency.

    Allowance and Tool Compensation

    The stock allowance settings for new operations must be appropriate, otherwise you’ll find the tool either cutting air or cutting too much. For example, leaving 2mm on the sides is to provide enough room for finishing. For some internal machining areas, sometimes we’ll initially leave a 5mm allowance, then fine-tune it during semi-finishing or finishing passes.

    Don’t forget your R0.8 tool; it can take a bit more material when cutting sidewalls, so leaving a 1.3mm allowance is also acceptable. These decisions are based on the tool’s characteristics, so master them flexibly.

    Toolpath Optimization: Path and Allowance, Striving for Perfection

    Tool Entry/Exit Direction and Trajectory

    When reviewing toolpaths, a quick glance isn’t enough; you need to closely observe the tool entry and exit directions. Different settings, especially the “push cut” direction, can lead to subtle differences between simulation and actual machining paths. Sometimes, just this small difference can cause machining defects. Therefore, during simulation, be sure to rotate the model from multiple angles and inspect it carefully.

    For areas with complex boundaries, the cutting length percentage parameter requires iterative adjustment. You might start by trying 70%, find it hasn’t cut completely, then adjust to 90%, or even over 100%, until the tool fully covers or completely exits the workpiece. If this isn’t done right, you’ll easily end up with steps or an unclean cut.

    Experience and Parameter Adjustment

    I always tell you, programming parameters aren’t meant to be memorized blindly! Textbook theory is fundamental, but in practice, you must judge and adjust based on the machine’s actual condition, material properties, cutting sparks, and the sound of the machine. This is where NX programming’s flexibility comes in; it allows you to solve countless real-world machining issues, not found in textbooks, by fine-tuning relative position parameters.

    Another good habit is stock organization and management. I personally prefer to place stock files after sequence numbers like 100, 101. This makes them clear at a glance, easy to find and manage. Developing such good work habits can significantly boost your efficiency.

    Summary: Pitfall Avoidance Guide

    Everything I’ve shared today comes from my fifteen years of hard-won experience, so make sure you remember it:

    • Stock management is critical: For multi-process machining, you must dynamically update the stock model; otherwise, you’ll either crash the tool or make air cuts, wasting time and scrapping parts.
    • Toolpath boundaries must be extended: Especially for roughing, the tool must fully enter and exit the workpiece to avoid leaving remnants or steps, which would impact subsequent finishing passes.
    • Tool entry points must prevent crashes: Z-axis safety height and helical entry parameters need fine-tuning to eliminate direct tool impact with the stock—that’s a sure way to snap a tool in seconds!
    • Parameters require flexible adjustment: Combine textbook theory with actual cutting sparks and machine sounds for judgment; don’t be rigid. The machine won’t lie; it will tell you what’s wrong.
    • Leave sufficient and correct allowance: Too little makes finishing difficult and accelerates tool wear; too much wastes time and increases costs. Plan logically based on the tool and subsequent operations.
    • Understand push cut direction: For complex geometries, the tool’s push cut direction can affect the final result and surface quality; pay special attention during simulation.

    Process this information well, and spend more time experimenting on the machine. Only then can you truly become a master machinist!

    “`

    👤 About the Author:
    The author is a veteran CNC machining professional with 15 years of industry experience, specializing in UG NX programming. This article is an original work representing personal practical insights.

    ⚠️ Copyright Notice: Unauthorized reproduction or distribution without prior communication is strictly prohibited.

  • Siemens NX Programming for Multi-Process Parts: Master Wang’s Hands-on Guide to Pre-Programming Anal

    📝 Key Takeaways:

    Pre-Programming Analysis for Multi-Process Parts

    Alright folks, I’m Old Wang, your Master Wang. Today, we’re skipping the theoretical fluf…

    [VIDEO_HERE]

    Alright folks, I’m Old Wang, your Master Wang. Today, we’re skipping the theoretical fluff and getting straight to the practical stuff. I’m going to walk you through how to analyze a multi-process part – this is the crucial first step before programming. A solid analysis upfront will save you a ton of trouble down the line!

    Initial Part Analysis: Know Your Part, Win the Battle

    Part Overview and Machining Surface Identification

    Now, take a look at this part. It’s a 3-axis component, seems straightforward, but there are plenty of intricacies in machining it. It has four main machining surfaces: a front face, a back face, and two side faces. Don’t underestimate it just because it’s a 3-axis part; if you don’t plan your machining sequence and fixturing strategy carefully, you’ll definitely run into trouble.

    Listen up, while theoretically you could machine it flat, in practical operations, especially for certain deep pockets or side features, I prefer to machine it vertically. This allows for better control over tool stick-out, reduces chatter, and improves machining efficiency and surface quality. Don’t underestimate this decision; it directly impacts your subsequent fixture design and toolpath strategy.

    Material Properties and Raw Stock Considerations

    The material for this part is 3Cr13, which is fairly hard. You need to pay close attention to tool selection and cutting parameters during machining. Don’t just chase speed and burn up your tools; that’ll drive up costs. Also, this is customer-supplied raw stock, and it’s quite large. This reminds us that the dimensions and shape of the raw stock are the starting point for programming. We must determine your machining origin and the stock allowance distribution for each operation based on the actual raw stock condition.

    For this job, we’ll work directly with these actual raw stock dimensions. We won’t perform any additional Face Milling; we’ll jump straight into Roughing. This isn’t laziness; it’s a decision based on the actual raw stock, reducing unnecessary operations saves time and cost.

    Preliminary Process Flow Planning

    Let me outline the overall machining strategy for you first; this is our “machinist’s mindset”:

    1. Roughing the First Face: First, rough the “back face” of the part. This face needs to provide sufficient datum features and stock allowance for subsequent flip-over machining. We’ll leave a 3 mm roughing stock allowance. For internal pockets designed for weight reduction, we can leave slightly less, for example, 1 mm, but the outer contour and critical dimensions will still have a 3 mm allowance.
    2. Roughing the Second Face after Flipping: Flip the part over and rough the “front face,” leaving a 3 mm allowance as well.
    3. Heat Treatment: After roughing, the part needs to undergo heat treatment to relieve internal stress and increase hardness.
    4. Finishing after Heat Treatment:
      • First, finish certain datum faces using manual grinding or specific tools.
      • Then, clamp it in a vise and finish the front face.
      • Next, use a face mill to finish machine the back face.
      • Flip it again, and use a face mill to finish machine the other face.
      • Finally, orient the part vertically and finish machine the side features.

    In total, that’s six operations: two roughing passes and four finishing passes. This sequence is battle-tested and ensures maximum precision and efficiency.

    NX Slope Analysis: Identifying Potential Toolpath Issues

    In NX, don’t rush into generating toolpaths. First, run a Slope Analysis. This will quickly help you identify if the part has undercuts or insufficient clearance areas. For example, if you view it from above and everything is green, there are generally no undercuts. But if a certain face appears as an undercut from a particular angle, and we’re planning to machine from that direction, then we’ll need to adjust the process. After analyzing this part, we found no significant undercuts, which keeps things straightforward and saves a lot of headaches for subsequent programming.

    Remember this: While we can set aside design drawing tolerances for programming practice, in actual machining, when precision requirements reach levels like ±0.005mm, you absolutely must consider tool compensation. During the programming phase, stick to theoretical dimensions and leave sufficient stock allowance. Then, fine-tune during finishing by using the machine’s tool compensation function. That’s a veteran machinist’s secret.

    NX Programming in Practice: Strategy First, Toolpath Optimization

    Establishing Coordinate Systems and Machining Datums

    The first and most crucial step in programming: establishing your coordinate system and machining datums.

    In NX, first click to create a coordinate system. Use the automatic detection feature to place the coordinate system at the center of the part’s top face, with the Z-axis pointing upwards. This top face will serve as our zero datum (Z=0) for all subsequent machining operations.

    Here’s a tip: Before actual machining, this top face must first be face milled (Face Milling) with an end mill to make it flat and smooth, ensuring an accurate datum. Don’t underestimate this step; if your datum isn’t accurate, all subsequent machining will be wasted. After face milling, we’ll then set the Z-axis zero point on this newly milled flat surface. For our raw stock, we’ll simply define it as a rectangular block, roughly 200 by 100-something millimeters, and quite tall.

    Roughing Tool Selection and Path Planning

    Next up is roughing tool selection, which must be based on the part’s feature dimensions.

    • Internal Pocket Roughing: We measured the internal pocket, and its diameter is approximately 20 mm. Considering corner stock allowance and strength, we can choose a 32 mm diameter, R2.8 ball end mill (or a bull nose end mill with a corner radius) for roughing this pocket.
    • External Feature Roughing: Some external features on the part have widths in the 30+ mm range. Initially, we might think of a 16 mm tool, but after a closer measurement, there’s an edge dimension around 30 mm. A 32 mm tool might risk cutting into corners or not fitting. Therefore, for roughing the outer contour, we can use a 63 mm diameter end mill to machine the entire profile, quickly removing most of the stock.
    • Roughing for Narrow Slots or Small Areas: For roughing some narrower widths (e.g., close to 16 mm) or detailed areas, we’ll keep a 16 mm diameter end mill on standby. Combining large and small tools like this ensures maximum efficiency.

    In summary, for this roughing operation, we’ll stick with these three tools: Ø32mm R2.8, Ø16mm, and Ø63mm.

    Regarding toolpath planning, for roughing, we typically choose Cavity Mill. When setting up the path, for efficient chip evacuation and to reduce re-cutting, I’ll select “Follow Periphery” and set it to cut “Outward”. This way, the tool moves from the center outwards, resulting in more stable cutting.

    Critical Detail: Through Machining and Subsequent Datums

    Here’s a critically important point, listen up! For holes or pockets that need to be machined completely through from one side to provide an accurate locating datum after flipping, we absolutely must perform through machining.

    For example, this internal pocket is set to be machined starting from the top face (Z=0). The Depth of Cut needs to extend 4 mm deeper than the theoretical depth. Why the extra 4 mm? Because when we flip the part and machine the back face, that side still has a 3 mm roughing stock allowance. If you don’t mill through, that 3 mm allowance will remain after flipping, and you won’t be able to accurately use the edge of this hole as a centering datum. If the centering isn’t accurate, all subsequent machining will be ruined! Therefore, through milling is critical for ensuring the precision of subsequent operations.

    After flipping, the round edge of this pocket can then serve as our new machining datum, facilitating accurate secondary clamping and programming.

    Summary: Pitfall Avoidance Guide

    1. Raw Stock is King: Before programming, always meticulously verify the dimensions and shape of the raw stock provided by the client. It’s the starting point for all process planning. If the raw stock dimensions are off, everything else is wasted effort.
    2. Don’t Neglect Pre-Analysis: Don’t be lazy; make good use of NX’s built-in tools like Slope Analysis and dimension measurement. They help you proactively identify potential undercuts, tool interference, and other issues. Better to find problems now than when you’re actually on the machine – that wastes not just time, but real money.
    3. Stock Allowance and Through Machining: For multi-sided parts, stock allowance settings require comprehensive consideration. Especially for features requiring through machining, always allow sufficient Depth of Cut to ensure complete penetration, providing a stable locating datum for the next operation. Otherwise, you’ll find it impossible to accurately center during secondary clamping.
    4. Tool Selection and Dimension Verification: Don’t just guess your tool selection based on experience; measure the actual dimensions of the part features. For narrow slots or small radii in particular, a large tool might not fit, while a small tool will be inefficient. Spending extra time evaluating upfront will lead to the most suitable tool combination.
    5. Precise Boundary Control: Be extra careful with Boundary settings in NX, such as trim regions. If the raw stock edge coincides with the trim boundary, sometimes the software can glitch, generating unwanted toolpaths or even errors. In such cases, try offsetting the trim boundary slightly outwards or inwards to give the software some “breathing room.”
    6. Cost Efficiency is Core: For any programming decision, always keep “practicality first” and “cost efficiency” in mind. Optimizing toolpaths to reduce air cuts and choosing tools wisely to extend their lifespan are key factors directly impacting your machining costs and product competitiveness. Don’t just stare at the software simulation; watch the cutting sparks and listen to the cutting sound – that’s the real machining floor!

    👤 About the Author:
    The author is a veteran CNC machining professional with 15 years of industry experience, specializing in UG NX programming. This article is an original work representing personal practical insights.

    ⚠️ Copyright Notice: Unauthorized reproduction or distribution without prior communication is strictly prohibited.

  • Siemens NX: Practical Bulk Post-Processing – Master Wang Helps You Ditch Manual NC Generation, Doubl

    📝 Key Takeaways: ** Master Wang provides a practical explanation of Siemens NX bulk post-processing, addressing the pain points of single-file processing. Using the “Youpin” module, you can select the appropriate post-processor definition for your machine, generate NC code for multiple workpieces with a single click, and analyze common G/M codes. He emphasizes the importance of output format compatibility with the machine control system and offers a guide to common pitfalls, helping you significantly boost machining efficiency. **

    Master Wang Begins: Bulk Post-Processing, The Era of Ditching Manual NC Generation!

    Hello everyone, I’m Master Wang. Last time, we discussed how to generate setup sheets. This time, we need to talk in detail about post-processing. Listen up, this is a critical step that directly impacts our machining efficiency and finished product quality.

    Back when I used NX 12, post-processing and setup sheets could sometimes be generated together, integrated with the controller system, which was convenient. But after system upgrades, for example, to NX 18.0 or 1980, many old practices changed. Especially when used with the controller system, simultaneously generating setup sheets and post-processed files became impossible. While downgrading the post-processor to version 8.0 could work as a temporary fix, it’s certainly not a long-term solution.

    Now, the core pain point we need to address is: if we can’t complete both post-processing and setup sheet generation in one go, or if we need to generate NC code for multiple workpieces in bulk, clicking them one by one, that would take forever! This kind of efficiency bottleneck, which you “won’t learn from textbooks,” must be solved with practical tips. Today, Master Wang will introduce you to aSiemens NX OP module, which is what we commonly refer to as the “Youpin” module, that we frequently use in our workshop. It will help you ditch manual NC generation and achieve bulk post-processing!

    Traditional Single-File Post-Processing: Where are the Efficiency Bottlenecks?

    Before discussing bulk processing, let’s quickly review conventional single-file post-processing and see where the problems lie.

    Hands-On Demonstration: Steps and Pain Points of Single-File Post-Processing

    Typically, you’d operate as follows:

    1. In Siemens NX, select a program (e.g., “A01”).
    2. Click the “Post-Process” button.
    3. The system will pop up a window asking you to choose the output path for the post-processed file. At this point, you’ll have to manually navigate to your desired folder, such as the “NC” folder on our desktop.
    4. Then click “OK” to complete.

    This seems straightforward, but what if you have ten, twenty, or even more workpiece programs to generate NC code for? You’d have to repeat the steps above ten, twenty, or even more times. This not only wastes time but also increases the likelihood of errors when selecting paths or naming files. Especially when deadlines are tight, such inefficient operation is practically a “fatal flaw.” Furthermore, the software’s built-in post-processors sometimes lack optimal compatibility, potentially requiring manual adjustments or specialized customization, all of which incur additional time costs.

    Just like I demonstrated earlier, sometimes if the path isn’t selected correctly, the NC file ends up in another folder, making it a hassle to find later. This one-by-one post-processing method is simply too inefficient; we can’t operate this way in our workshop!

    The Siemens NX OP Module: The Practical Essence of Bulk Post-Processing

    Now for the main event! We’ll use thebulk post-processing function within the “Youpin” module. This tool is incredibly convenient to use and will double your efficiency!

    The operation is simple, listen carefully:

    1. Select Workpiece Programs: In the Siemens NX Operation Navigator, locate all your workpiece programs, such as A01, A02, A03, or even B01, B02, B03, etc. You can directly select an entire folder, or use the Ctrl key for multiple selections.
    2. Launch Bulk Post-Processing: After selecting, simply click our “Bulk Post-Process” button.

    See that? It automatically navigates to our preset output path. For instance, mine defaults to the NC folder on the D drive, saving you the trouble of manually selecting the path. This significantly boosts efficiency and prevents basic errors like incorrect paths.

    Core Settings: Post-Processor Definition and Machine Compatibility

    Here are a few crucial settings you must understand clearly to ensure your NC code runs smoothly:

    • Output Format: Should your NC file be output as .NC format? Or .MPF (commonly used by Siemens)? Or .TXT? This depends on your machine’s control system requirements.
    • Post-Processor Definition: This is the most critical part! The post-processor you select here must perfectly match your machine’s control system, number of axes (3-axis, 4-axis, 5-axis), tool magazine type, etc. For example, if your machine has a Fanuc control, you cannot select a Siemens post-processor; if it’s a 5-axis machine, you cannot use a 3-axis post-processor. We previously covered a course with four dedicated lessons on how to place post-processor files into the Siemens NX template and enable the software to recognize and read them. If any of you junior engineers are unclear, go back and review those lessons thoroughly! Only with the correct post-processor definition will the machine “understand” the code you generate.

    Siemens NX has a vast array of built-in post-processors for Fanuc, Siemens, Haas, Sodick, Mazak, covering 3-axis, 4-axis, 5-axis, with or without tool magazines – all sorts of variations. For instance:

    • There are those specifically for 5-axis machines, such as my own named “5-axis 600” and “5-axis 50”.
    • There’s “5-Tool Magazine G0”, specifically adapted for 5-axis machines with a tool magazine.
    • Fanuc systems have many options, including “Fanuc System”, “9-Tool Magazine”, and “3-Tool Magazine”.
    • Siemens also has quite a few, like “Siemens 880D 4-Axis”, and some that are modified Siemens systems in Fanuc format, such as “291”.
    • Others include “Haas”, “Okuma”, “Makino”, and so on.

    These post-processors are all customized for different machines and control systems. When selecting, you must always choose based on your actual machine. For the purpose of this course, we mostly use 3-axis machining, so I typically select a 3-axis post-processor with a tool magazine. Once confirmed, simply click “OK.”

    NC File Analysis: Understanding the Process from the Code

    Once post-processing is complete, the generated NC files will be uniformly placed in your specified folder. For example, the A01, A02, and A03 files I just bulk post-processed are now neatly located in the “129-1” subfolder within the NC folder on the D drive.

    Open one of the NC files using Notepad. Don’t just rely on software simulations; observe the cutting sparks, but more importantly, scrutinize this “royal decree”:

    • The beginning of the file will contain some basic program information.
    • Followed by common G-codes and M-codes, such as:

      • G5.1 Q1: High-speed, high-precision control command.
      • G54: Work Coordinate System selection.
      • G90: Absolute programming.
      • M03 S1000: Spindle forward rotation, 1000 RPM.
      • G43 H01 M08: Tool length compensation H01 active, M08 is for coolant on.
      • G0 Z100.0: Rapid move of the tool to Z-axis 100 mm.
      • G0 X50.0 Y50.0: Rapid move to specified XY coordinates.
      • F8000: Rapid feed rate (the value after F).
      • F1000: Cutting feed rate.

    These are our machine’s “language”; each command corresponds to a tool motion. If you’re using a 5-axis post-processor, it will definitely contain C-axis and A-axis rotation commands, such as A0 B0 C0, all of which will be present. If it’s a Siemens system, the program name might be in .MPF format. After opening, you might see Siemens-specific commands like J0, Z0. All of this indicates that the post-processor is correct.

    Bulk Post-Processing: Multiple Workpieces Handled in One Go

    See? I just quickly bulk post-processed these three programs, A01, A02, A03, in a flash – super fast! Let’s do it again; for example, I want to process these three workpieces: B01, B02, B03.

    The operation is still the same:

    1. Select the folder containing B01, B02, B03.
    2. Click “Bulk Post-Process.”
    3. Select the post-processor definition you need (e.g., a 3-axis with a tool magazine).
    4. Click “OK.”

    Once it’s finished, go check the NC folder, and you’ll find the NC files for B01, B02, and B03 neatly placed there. Isn’t this efficiency significantly higher than clicking them one by one manually?

    Summary: Pitfall Avoidance Guide

    Listen up, junior engineers, while bulk post-processing is simple, there are still some pitfalls to watch out for:

    1. Post-Processor Definition Must Match: This is paramount! Whatever machine you’re using, you must select the corresponding post-processor definition. A Fanuc machine cannot use a Siemens post-processor, and a 3-axis machine should not use a 5-axis post-processor. Otherwise, at best, you’ll get an alarm and the machine will stop; at worst, it could lead to tool deflection and a machine crash, resulting in significant losses.
    2. Output Format Must Be Correct: Understand whether your machine requires .NC, .MPF, or other formats; don’t just pick one arbitrarily. Generally, selecting the “Post-Processor Definition” will automatically handle the format issue, but you should still be aware.
    3. Path Check: Although bulk post-processing automatically selects a default path, when using it for the first time or if you’re unsure, manually confirm the path to ensure your NC files don’t get misplaced.
    4. Preliminary NC Code Check: After bulk processing, randomly pick one or two NC files, open them with Notepad, and quickly check critical parameters like spindle speed, feed rate, and tool compensation at the beginning to ensure everything is correct. This is especially important for new machines or new post-processors, requiring meticulous verification.
    5. Version Compatibility: As I mentioned earlier, Siemens NX software version upgrades can sometimes lead to changes in post-processing functionality, and even some plugins (like the Youpin module) might require updates. So, don’t panic if you encounter issues; first check for compatibility.

    Bulk post-processing is actually quite simple in principle and intuitive to operate. As long as you’ve established a solid foundation in post-processing, knowing how to properly configure post-processors and understanding the basic logic of NC code, then this function will be easy to master. It will save you a lot of time and boost our workshop’s overall efficiency – that’s the ultimate goal!

    Alright, that concludes today’s discussion on bulk post-processing. The next time I update course content, I’ll notify everyone promptly on platforms like Douyin, so remember to follow!

    Thank you for watching, and see you next time!

    👤 About the Author:
    The author is a veteran CNC machining professional with 15 years of industry experience, specializing in UG NX programming. This article is an original work representing personal practical insights.

    ⚠️ Copyright Notice: Unauthorized reproduction or distribution without prior communication is strictly prohibited.

  • Is Your NX Program Sheet Output Always Wrong? Master Wang’s Ultimate Guide to Multi-Operation NC Pro

    📝 Key Takeaways:

    Practical Guide to Multi-Operation NC Program Sheet Output in NX

    Master Wang Explains: The Pitfalls of NC Program Sheet Output

    Hello everyone, I’m Old Wang. Today, let’s discuss a persistent issue with generating NC program sheets in NX, especially for multi-operation setups. While this might seem like a simple software task, carelessness can lead to major headaches on the machine, from incorrect coordinate systems to scrapped parts. This is no laughing matter.

    Pitfall One: NC Program Sheets ‘Mysteriously’ Overwritten or Incorrect Coordinates

    Listen up. This is a common mistake made by many beginners, and even some experienced programmers. Let’s say last time you generated an NC program sheet for Operation A, and everything was fine. Then you proceed to generate an NC program sheet for Operation B, only to find Operation A’s sheet is gone, or when you open Operation A’s file, the coordinate commands point to Operation B’s location—a complete mess. Why does this happen?

    I’ll tell you why: You haven’t explicitly told NX which operation you intend to process!

    Take our example: you generated the NC program sheet for Operation A (e.g., file named 129-1), no problem. Then you directly hit ‘post-process’ to generate the NC program sheet for Operation B, but you didn’t select any operation under Operation B or Operation B’s folder itself. NX gets confused; it doesn’t know what you’re trying to do. It might default to processing Operation A again, or simply overwrite your previous output. The result is that Operation A’s NC program sheet gets replaced with Operation B’s content, or the coordinate system points in the wrong direction, with the X and Y axes pointing to arbitrary locations.

    Master Wang’s Secret: The ‘Killer Move’ for NC Program Sheet Output

    To avoid the pitfalls mentioned above, there’s one golden rule:

    1. Explicit Activation: Before every post-process, you must first click any operation under the specific setup (e.g., Operation A) you want to output, or directly click the parent folder of that setup itself. For instance, if you want to generate the NC program sheet for Operation A, click any toolpath within A, or click the Operation A folder.
    2. Immediate Naming: Once the NC program sheet is post-processed, immediately rename it with a clear, identifiable name. For example, for Operation A, name it A_Op.NC, and for Operation B, B_Op.NC. Don’t be lazy; otherwise, next time you won’t know which is which, and you might accidentally overwrite a file.

    Why emphasize this? Because when NX post-processes, it needs to know which machining environment is currently active, and which Work Coordinate System (WCS) and Machine Coordinate System (MCS) are in effect. If you select it, NX understands; if you don’t, it relies on ‘intuition,’ and that intuition is often wrong. It’s like in the shop: when you give a task to an apprentice, you have to clearly state which part and which face to machine, not just hand them a raw blank and expect them to figure it out, right?

    Remember this: always follow this procedure, whether it’s for A, B, C, D, or E, F, G. This workflow is a strict rule, and it guarantees efficiency and safety.

    Large Parts, Multi-Operation Setups: The Art of Paginated NC Program Sheet Output

    Selecting the Folder: The First Step to Saving Time and Effort

    Some colleagues have asked, ‘Master Wang, I have dozens, sometimes hundreds, of toolpath operations under a single setup. A single post-processed NC program sheet can’t contain them all, and the file becomes too long. What should I do? You can’t expect me to select them one by one, can you?’

    NC Program Sheet Too Long? Split Output is the Way to Go!

    If your setup (e.g., Operation D) contains many sub-programs (D01, D02, D03…), you don’t need to click and select each sub-program individually. You can directly select the parent folder of Operation D. The prerequisite is that you first click this Operation D folder to activate it, and then proceed with post-processing.

    This way, NX will include all toolpaths under the D folder and generate the NC program sheet for you in one go. This is much more convenient than selecting each one individually, especially when dealing with numerous programs, saving you a lot of effort.

    Alright, now we face a truly tricky problem. You selected the entire Operation D folder, post-processed it, and found that the generated NC program sheet only includes operations D01 to D18 – everything from D19 onwards is missing! This happens when the NC program sheet is too long, exceeding the software’s default output limit.

    In such a scenario, don’t panic. The solution is quite simple: paginated output.

    1. First Page NC Program Sheet: The first time you post-process, it might only output D01 to D18. Save this file and name it D_Op_P1.NC (Operation D, Page 1).
    2. Second Page NC Program Sheet: Then return to NX, find Operation D19, and select D19 or its next-level subfolder. Post-process again. This time, the outputted NC program sheet will start from D19. Save this file and name it D_Op_P2.NC (Operation D, Page 2).
    3. And so on: If there are more operations yet to be outputted, continue splitting them using this method.

    You might ask, ‘Won’t the machine operator get confused with separate files?’ No, they won’t. You just need to clearly mark at the beginning of the program or on the process sheet: this setup is divided into several pages, for example, ‘Operation D: P1 (D01-D18), P2 (D19-D35).’ When the operator receives these NC program sheets, they’ll know these are continuous parts of the same setup and can execute them in sequence. I once programmed a five-axis part with front, back, left, and right faces; a single part had eight or nine pages of NC program sheets, and it was machined perfectly fine.

    Master Wang’s Advice: Details Determine Success

    These ‘unwritten rules’ are tips I’ve gathered from over a decade of hands-on experience in the workshop, encountering countless pitfalls. Though they might seem like minor procedural steps, they significantly impact actual machining efficiency and product quality. Especially in today’s era, those of us in manufacturing not only need to produce quality goods but also know how to promote our expertise. If you can concisely summarize these practical experiences, along with illustrated tutorials, and share them online, it will become your ‘gold standard’ in the industry, drawing more peers to find and trust you.

    Summary: Pitfall Avoidance Guide

    1. Mandatory Activation: Before every post-process, always click and activate the program or its parent folder that you intend to output.
    2. Immediate Renaming: After the NC program sheet is outputted, immediately rename it to prevent overwriting or confusion.
    3. Segmented Processing: When programs are excessively long, output them in segments (paginated), and clearly mark page numbers and ranges on the process sheet or in the program header.
    4. Verify Coordinates: After output, quickly check if the coordinate system in the NC file is correct to prevent Work Coordinate System (WCS) / Machine Coordinate System (MCS) misalignment.
    5. Xingkong Video: For instructions on how to set up and install the Xingkong post-processor, refer to the relevant video tutorials, which provide more detailed steps.

    Alright, that concludes today’s lesson. Practice frequently, observe keenly, and always connect theory with practical application – that’s where true skill lies!

    👤 About the Author:
    The author is a veteran CNC machining professional with 15 years of industry experience, specializing in UG NX programming. This article is an original work representing personal practical insights.

    ⚠️ Copyright Notice: Unauthorized reproduction or distribution without prior communication is strictly prohibited.